
This is the before picture. A lot of trees died so that the components could get to my home safely.
↓ Table of Contents - click on the link to go directly to its section
I have been using computers on a daily basis since 1994 or 1995, when my family received an old Macintosh Plus from one of my uncles. 20 years after getting our first computer, I needed a new desktop computer. I wasn't able to find a computer that looked cool, was super fast, and priced right. So I decided that I would put my knowledge to the test and make my own!
I decided that my PC would be a Windows 8 machine, as I also had a tablet with Windows 8. I wanted both computer to be easily compatible with each other. I decided on a mid-sized tower so I could easily carry my computer to and from the living room to play games on the big-screen TV instead of the bedroom computer monitor. The mid-size tower would allow me to easily upgrade it in the future. Not being able to upgrade my old desktop any further was why I decided to replace it. I wanted my computer to be better than a PS4 (which I don't want to spend money on) and I also wanted it to be better than a PS5 if the latter will ever come out!
I have two reasons for making this page. First, I wanted to document how I made my computer and my thinking behind the process so if I wanted to make another computer in the future, or if others wanted to follow in my footstep, they would have a reference. The second reason is that I might teach a computer hardware class in the near future (on top of the web development class that I usually teach) so this will be a convenient way for me to show my work.
↑ Go back up to this page's Table of Contents
Here is a table of the major parts that a good desktop PC should have, and what I ended up getting for my build. Just for fun, I ranked them from most important (top) to least (but still!) important (bottom). As of April 17, 2015, the links below are all current and working.
| Component | Manufacturer | Model | Additional Info |
|---|---|---|---|
| motherboard | MSI | Z97M-G43 | Micro ATX |
| processor | Intel | Core i7-4790K Devil's Canyon | Quad Core 4.0 GHz |
| random access memory (RAM) | Corsair | Vengeance | 4 8-GB 240-Pin DDR3 SDRAM, low profile (LP) |
| power supply | Silverstone | Strider 650W | 80+ Gold, fully modular |
| operating system (OS) | Microsoft | Windows 8.1 64-bit | System Builder OEM |
| hard drive | Plextor | M.2 PCI Express Solid State Drive (SSD) | 512 GB |
| computer case | AeroCool | Dead Silence (DS) Cube | blue, windowed |
| thermal paste | Antec | Formula 7 (no link) | Diamond Thermal Compound |
| fan and heatsink | Intel | came with the i7-4790K | |
| video card | EVGA | GeForce GTX 970 FTW | 4098 MB (4 GB) GDDR5 |
| network adapter | Manhattan | Micro150N Wireless Adapter (no link) | USB 2.0 |
| optical drive | LG | Blu-Ray Disc Rewriter | WH16NS40 |
↑ Go back up to this page's Table of Contents
You can click on each image to see a larger version. Click your browser's Back button to return to this page.
This is the before picture. A lot of trees died so that the components could get to my home safely.
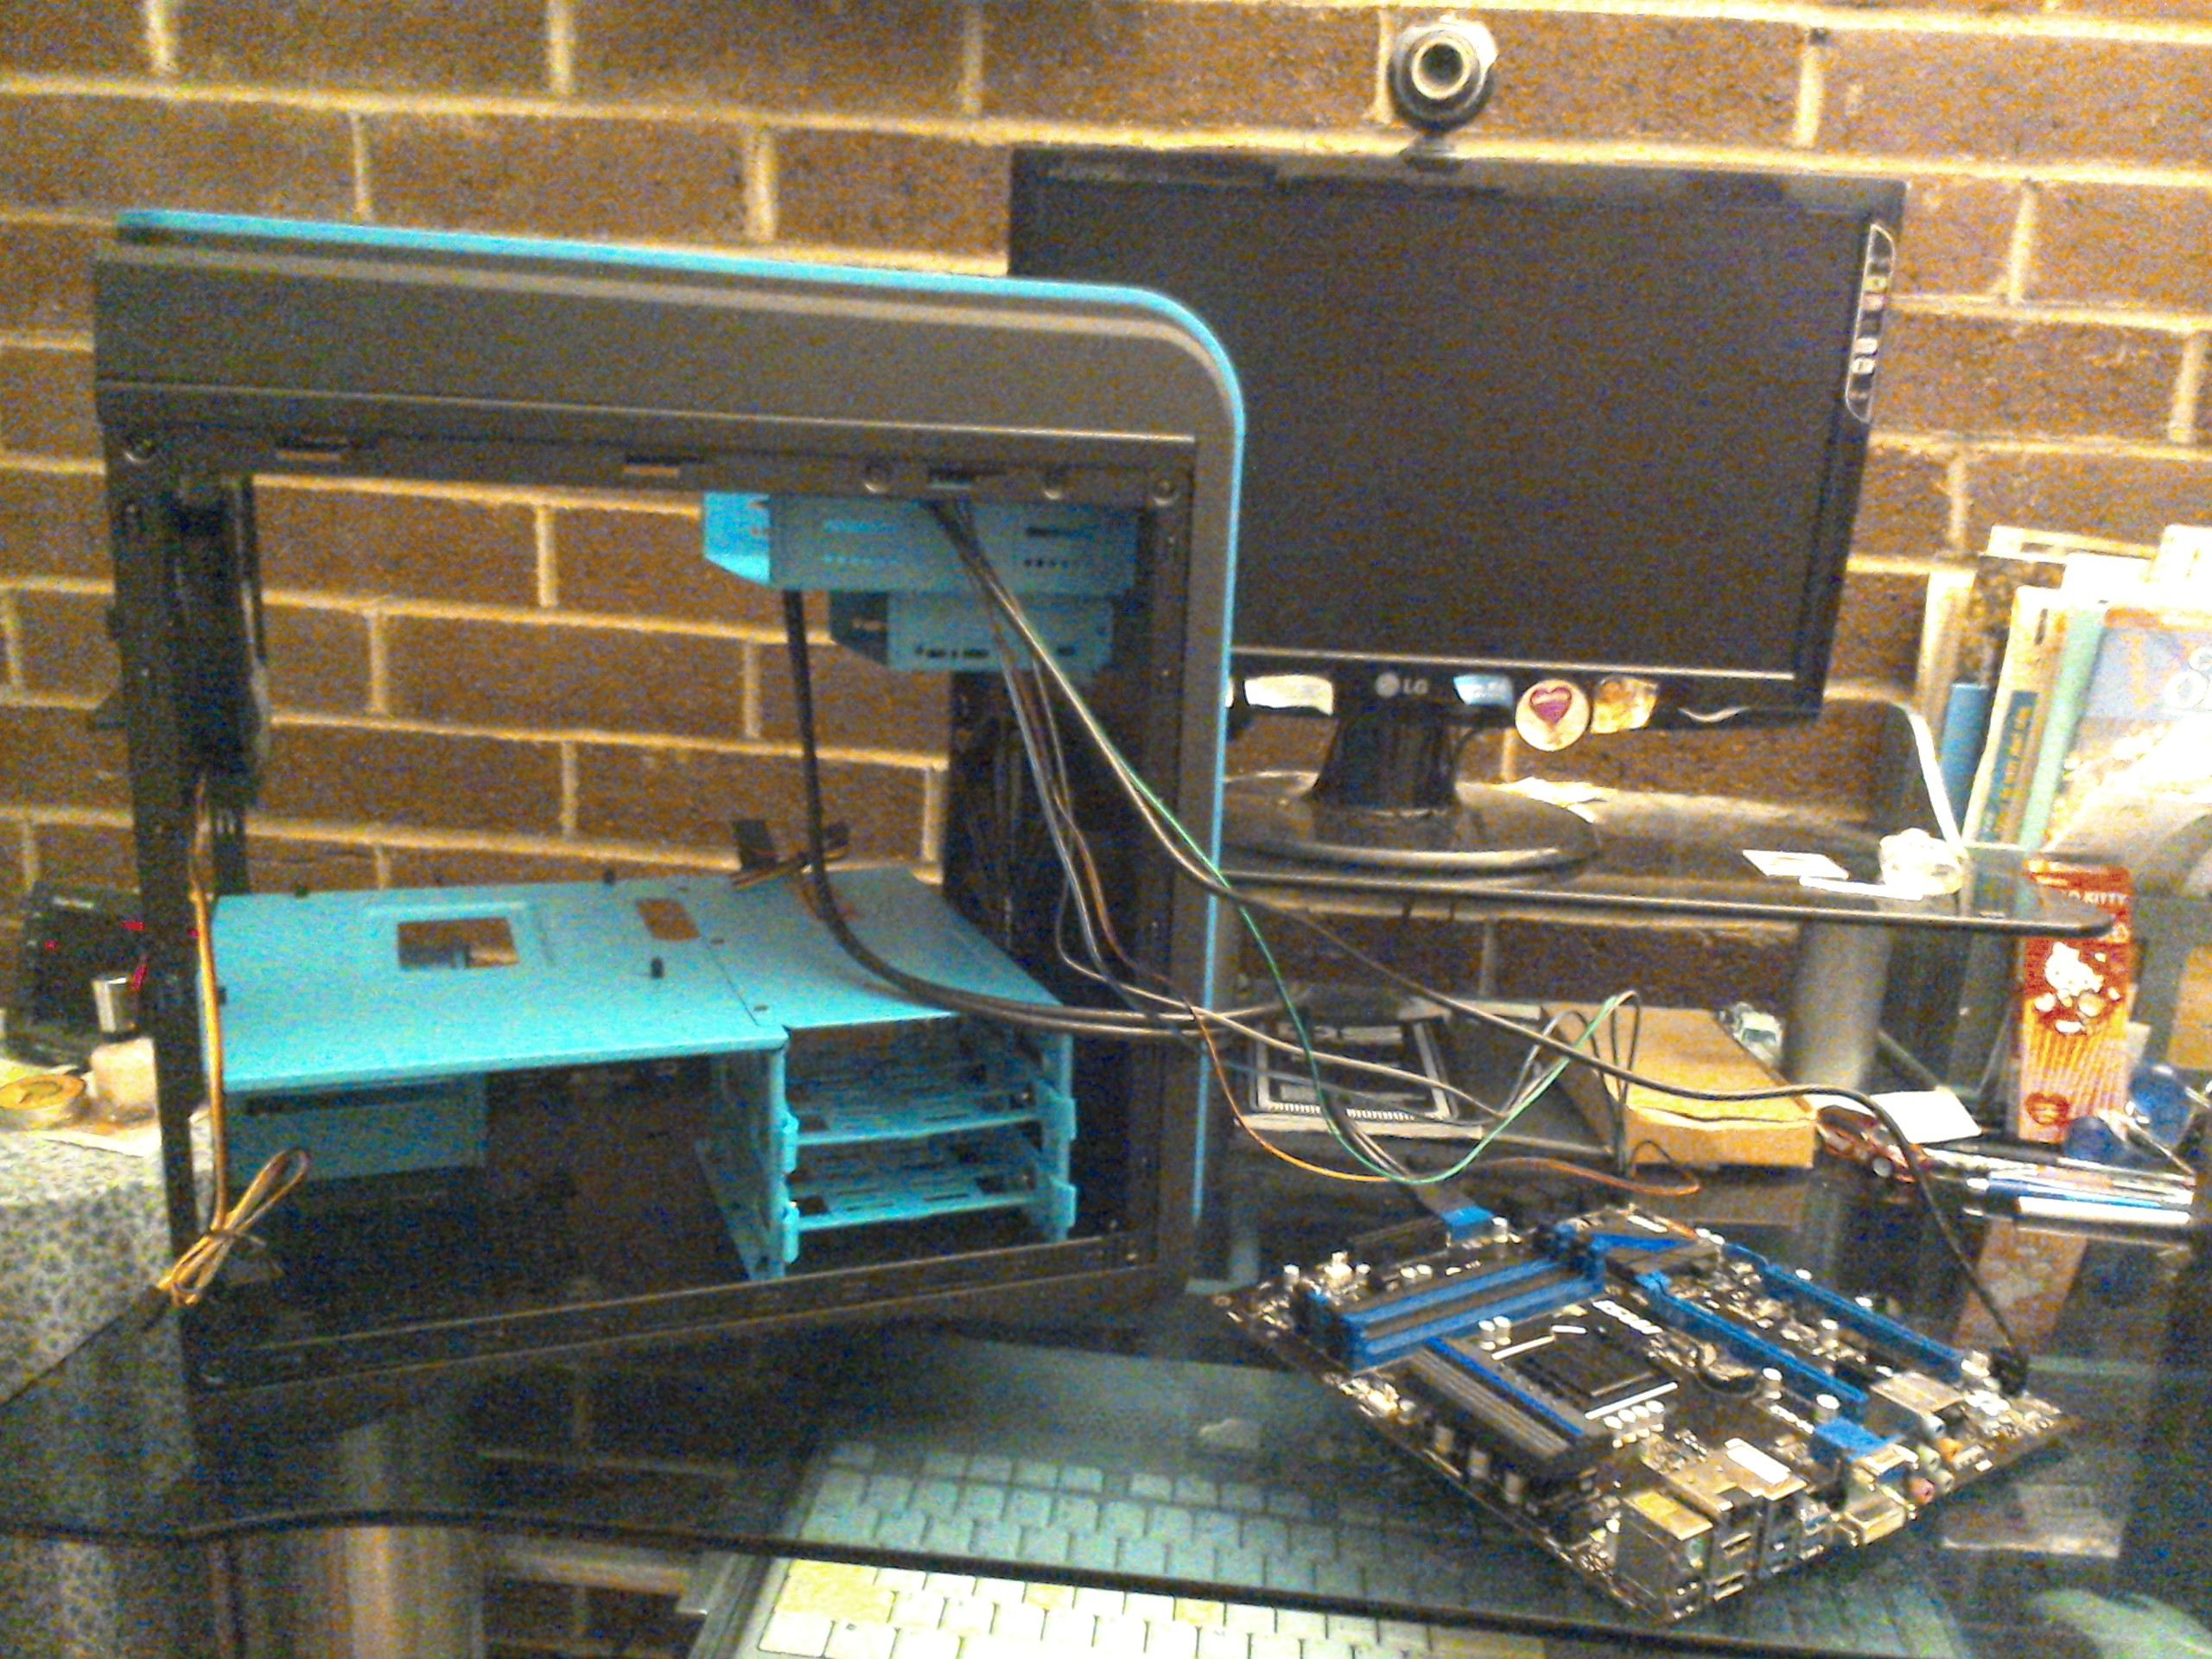
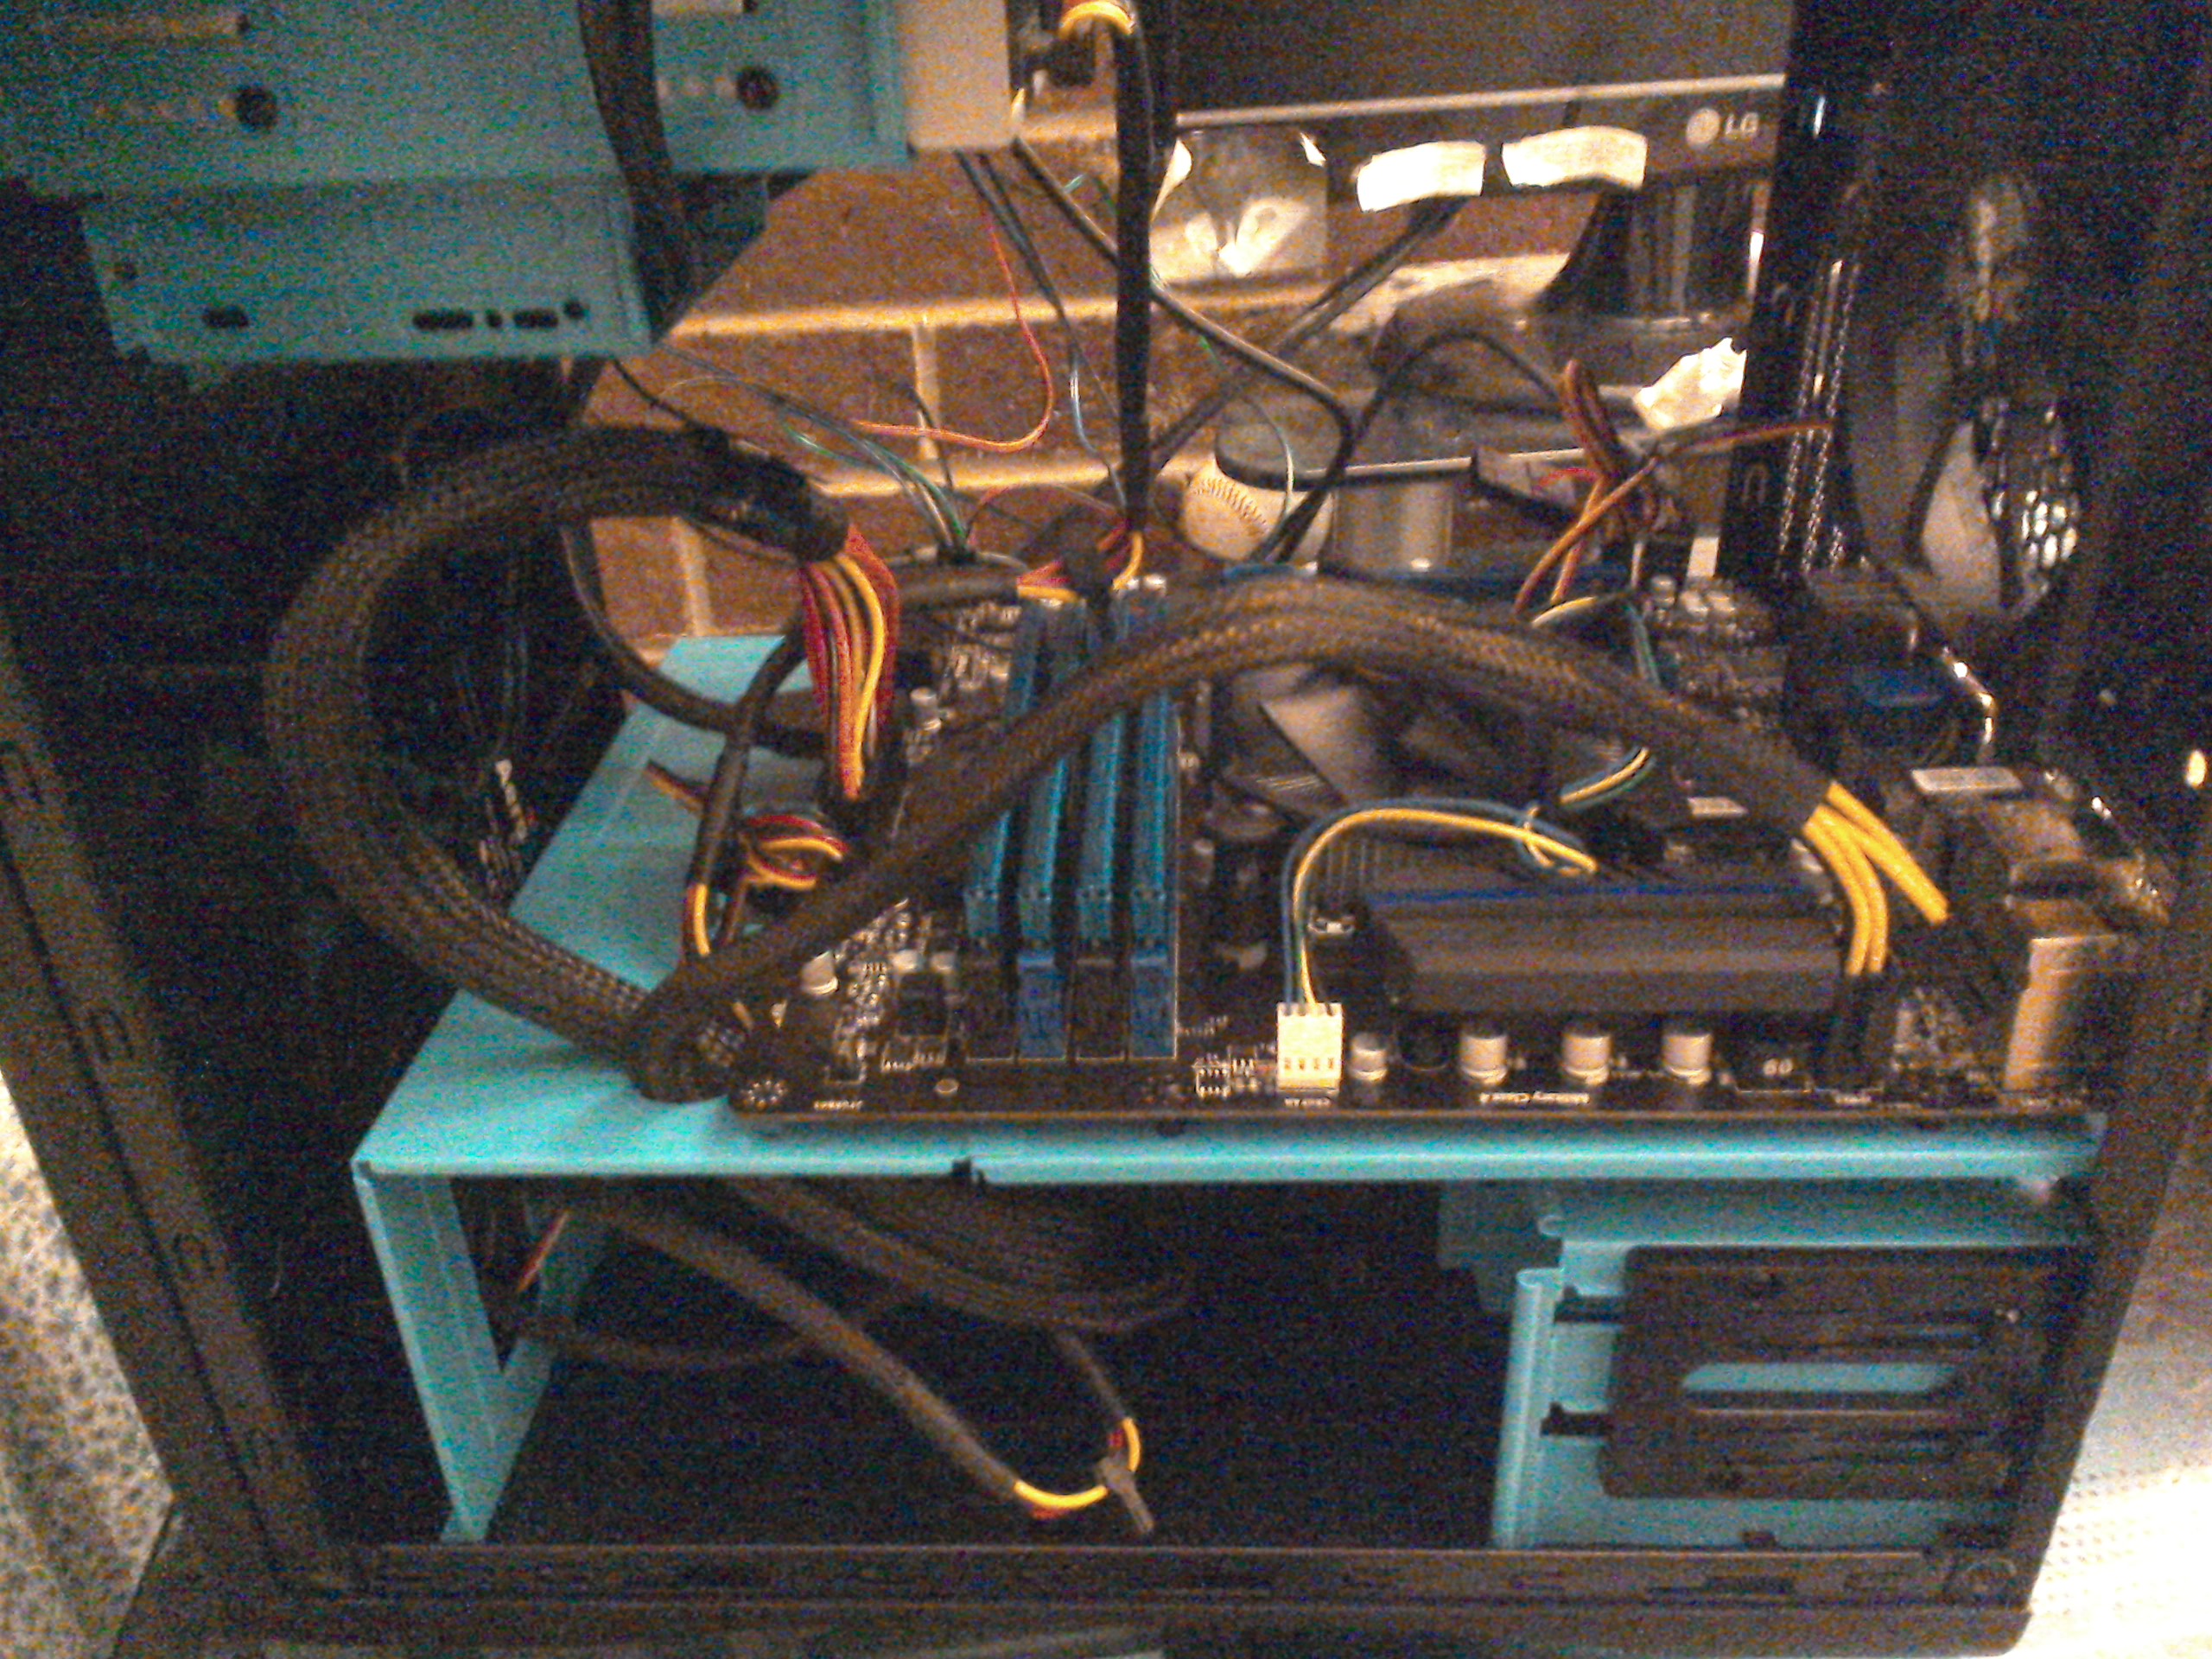
The case is very easy to use. The sides and top are easily removed by hand. I attached the wires to some of the ports on the motherboard. Most important is the wire that connects the power button to the motherboard itself.

See the motherboard close up. The thick cable on the top is for USB 3.0. The wires for USB 2.0 are much thinner. So today's lesson: thicker cables = more speed! Note the USB 2.0, HDMI, and Ethernet ports on the bottom.
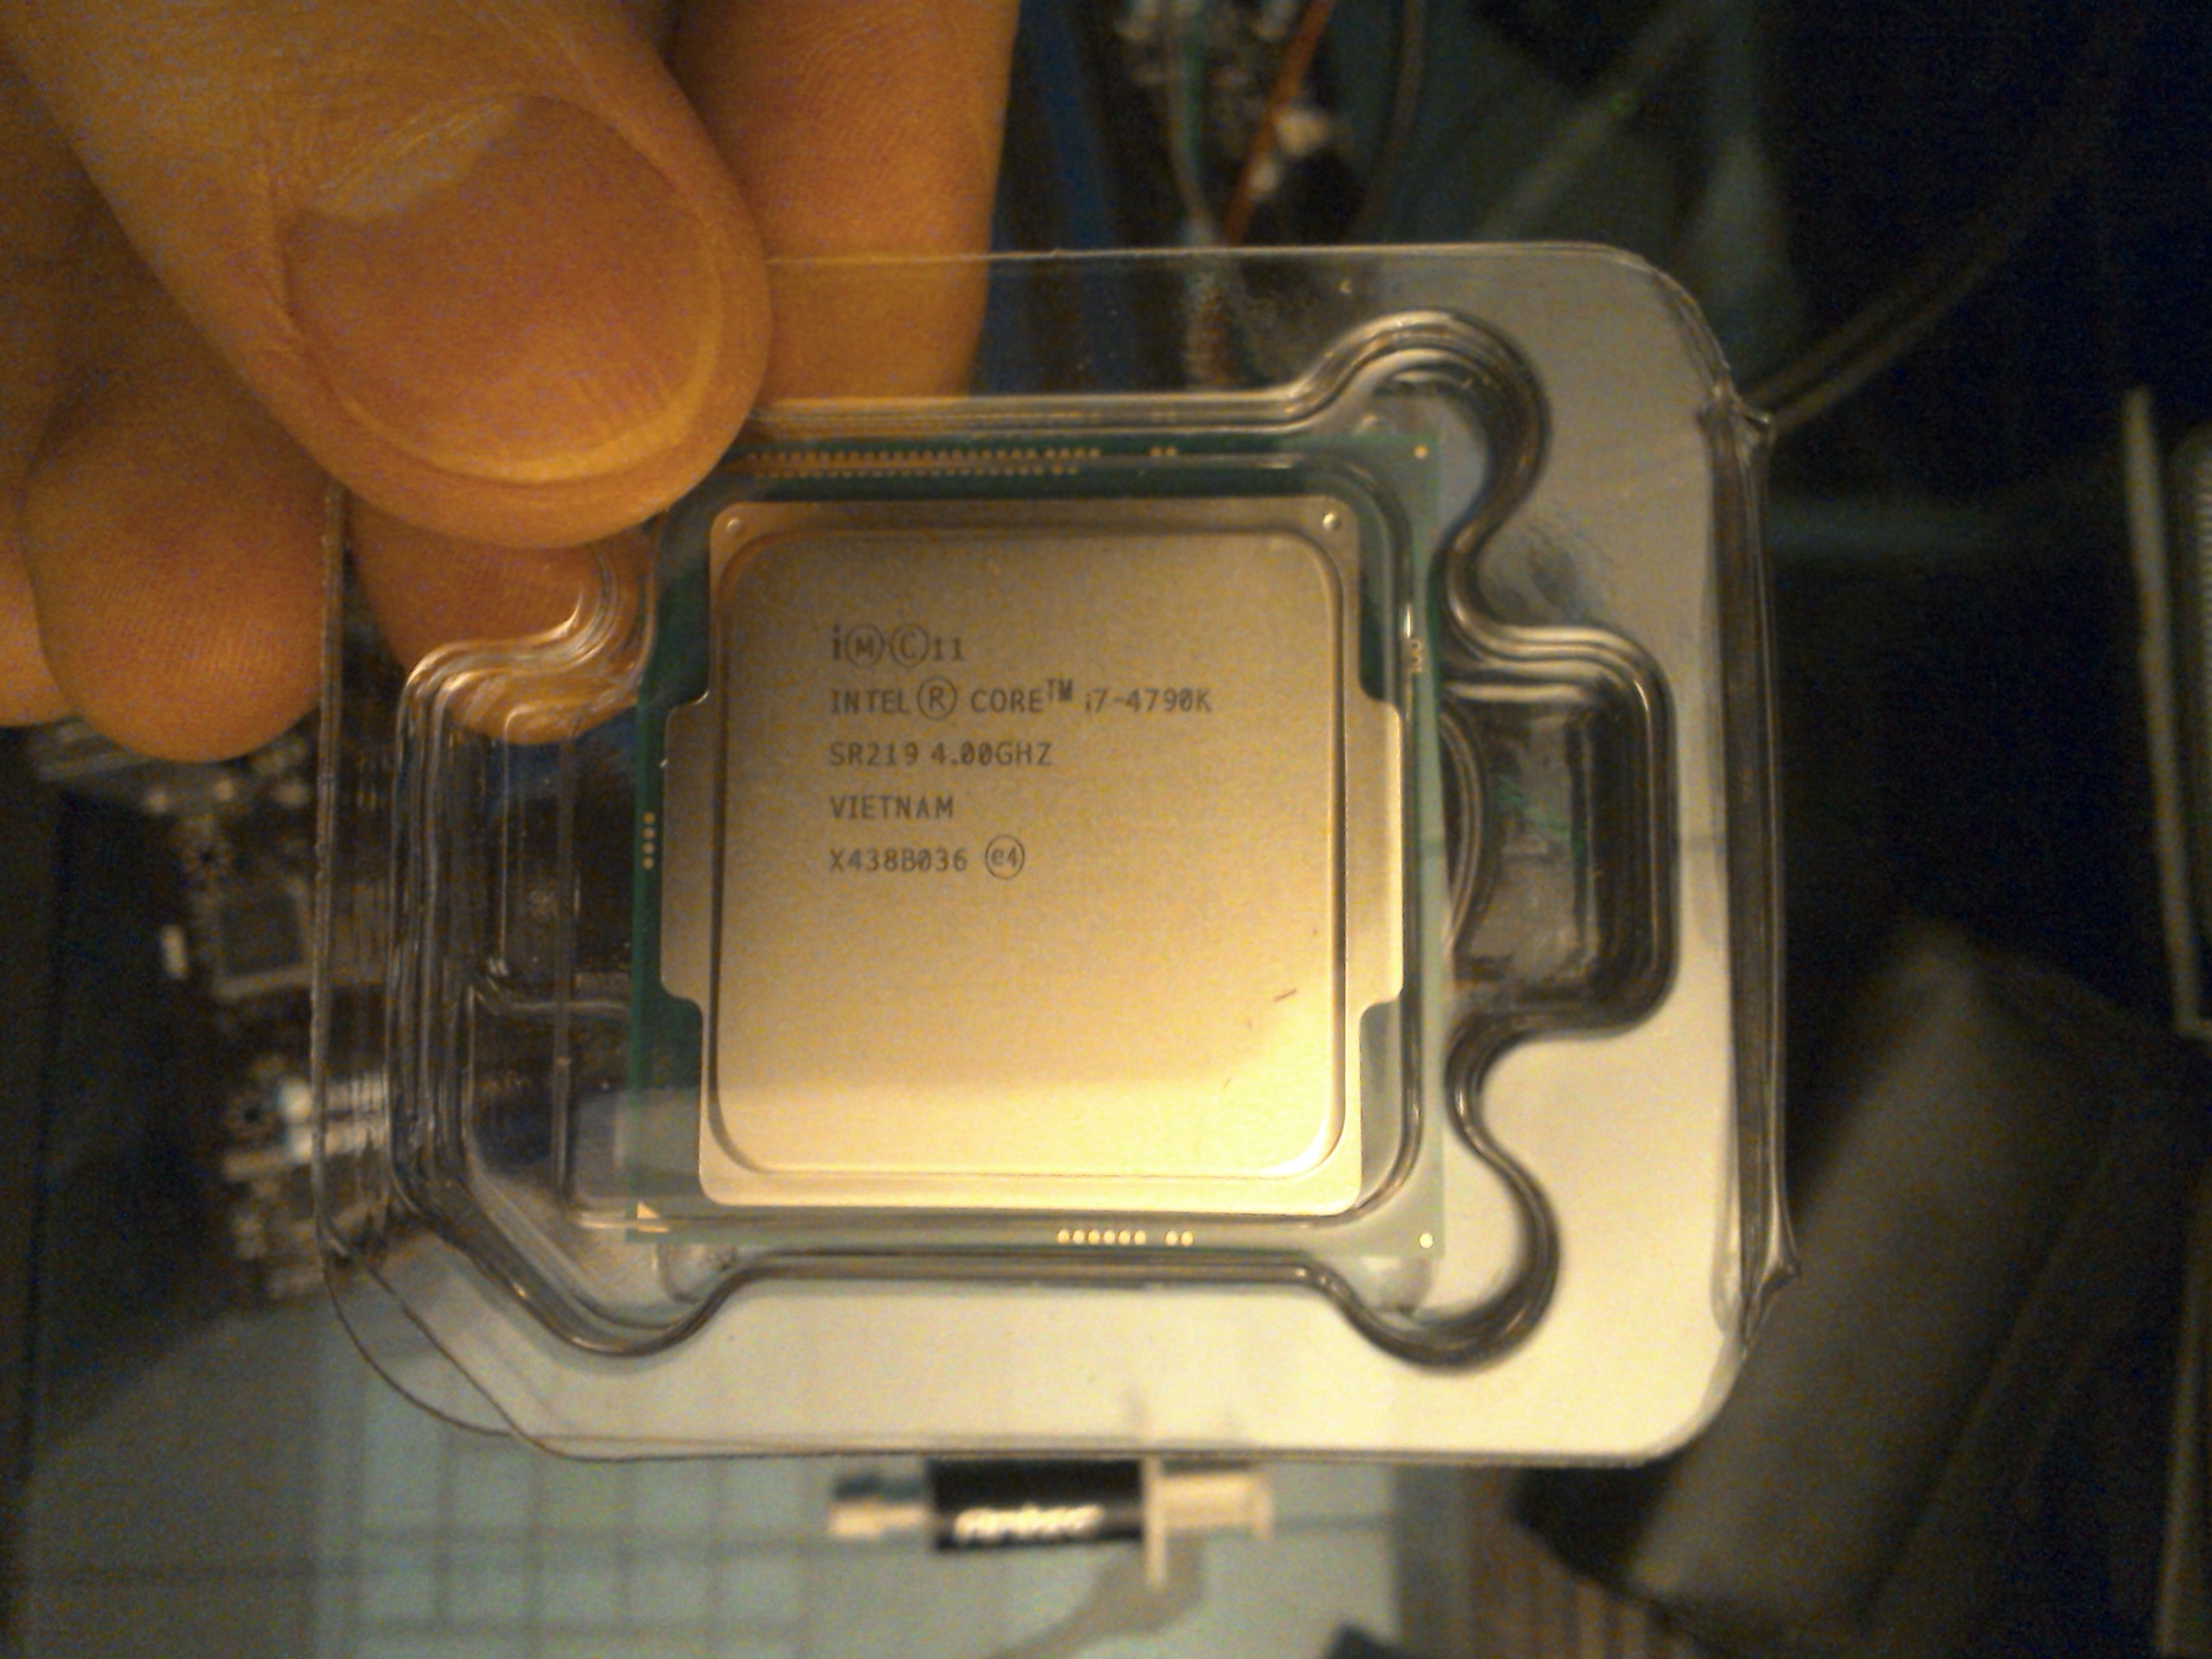
The Intel i7-4790K, at the time I bought it, was the fastest and most powerful processor not designed for gaming. When I shopped around before building my PC, most popular builds from companies like Alienware had i7-4770 for their "high-end" models. The models that had i7-4790K were not to my taste or didn't have everything that I wanted.
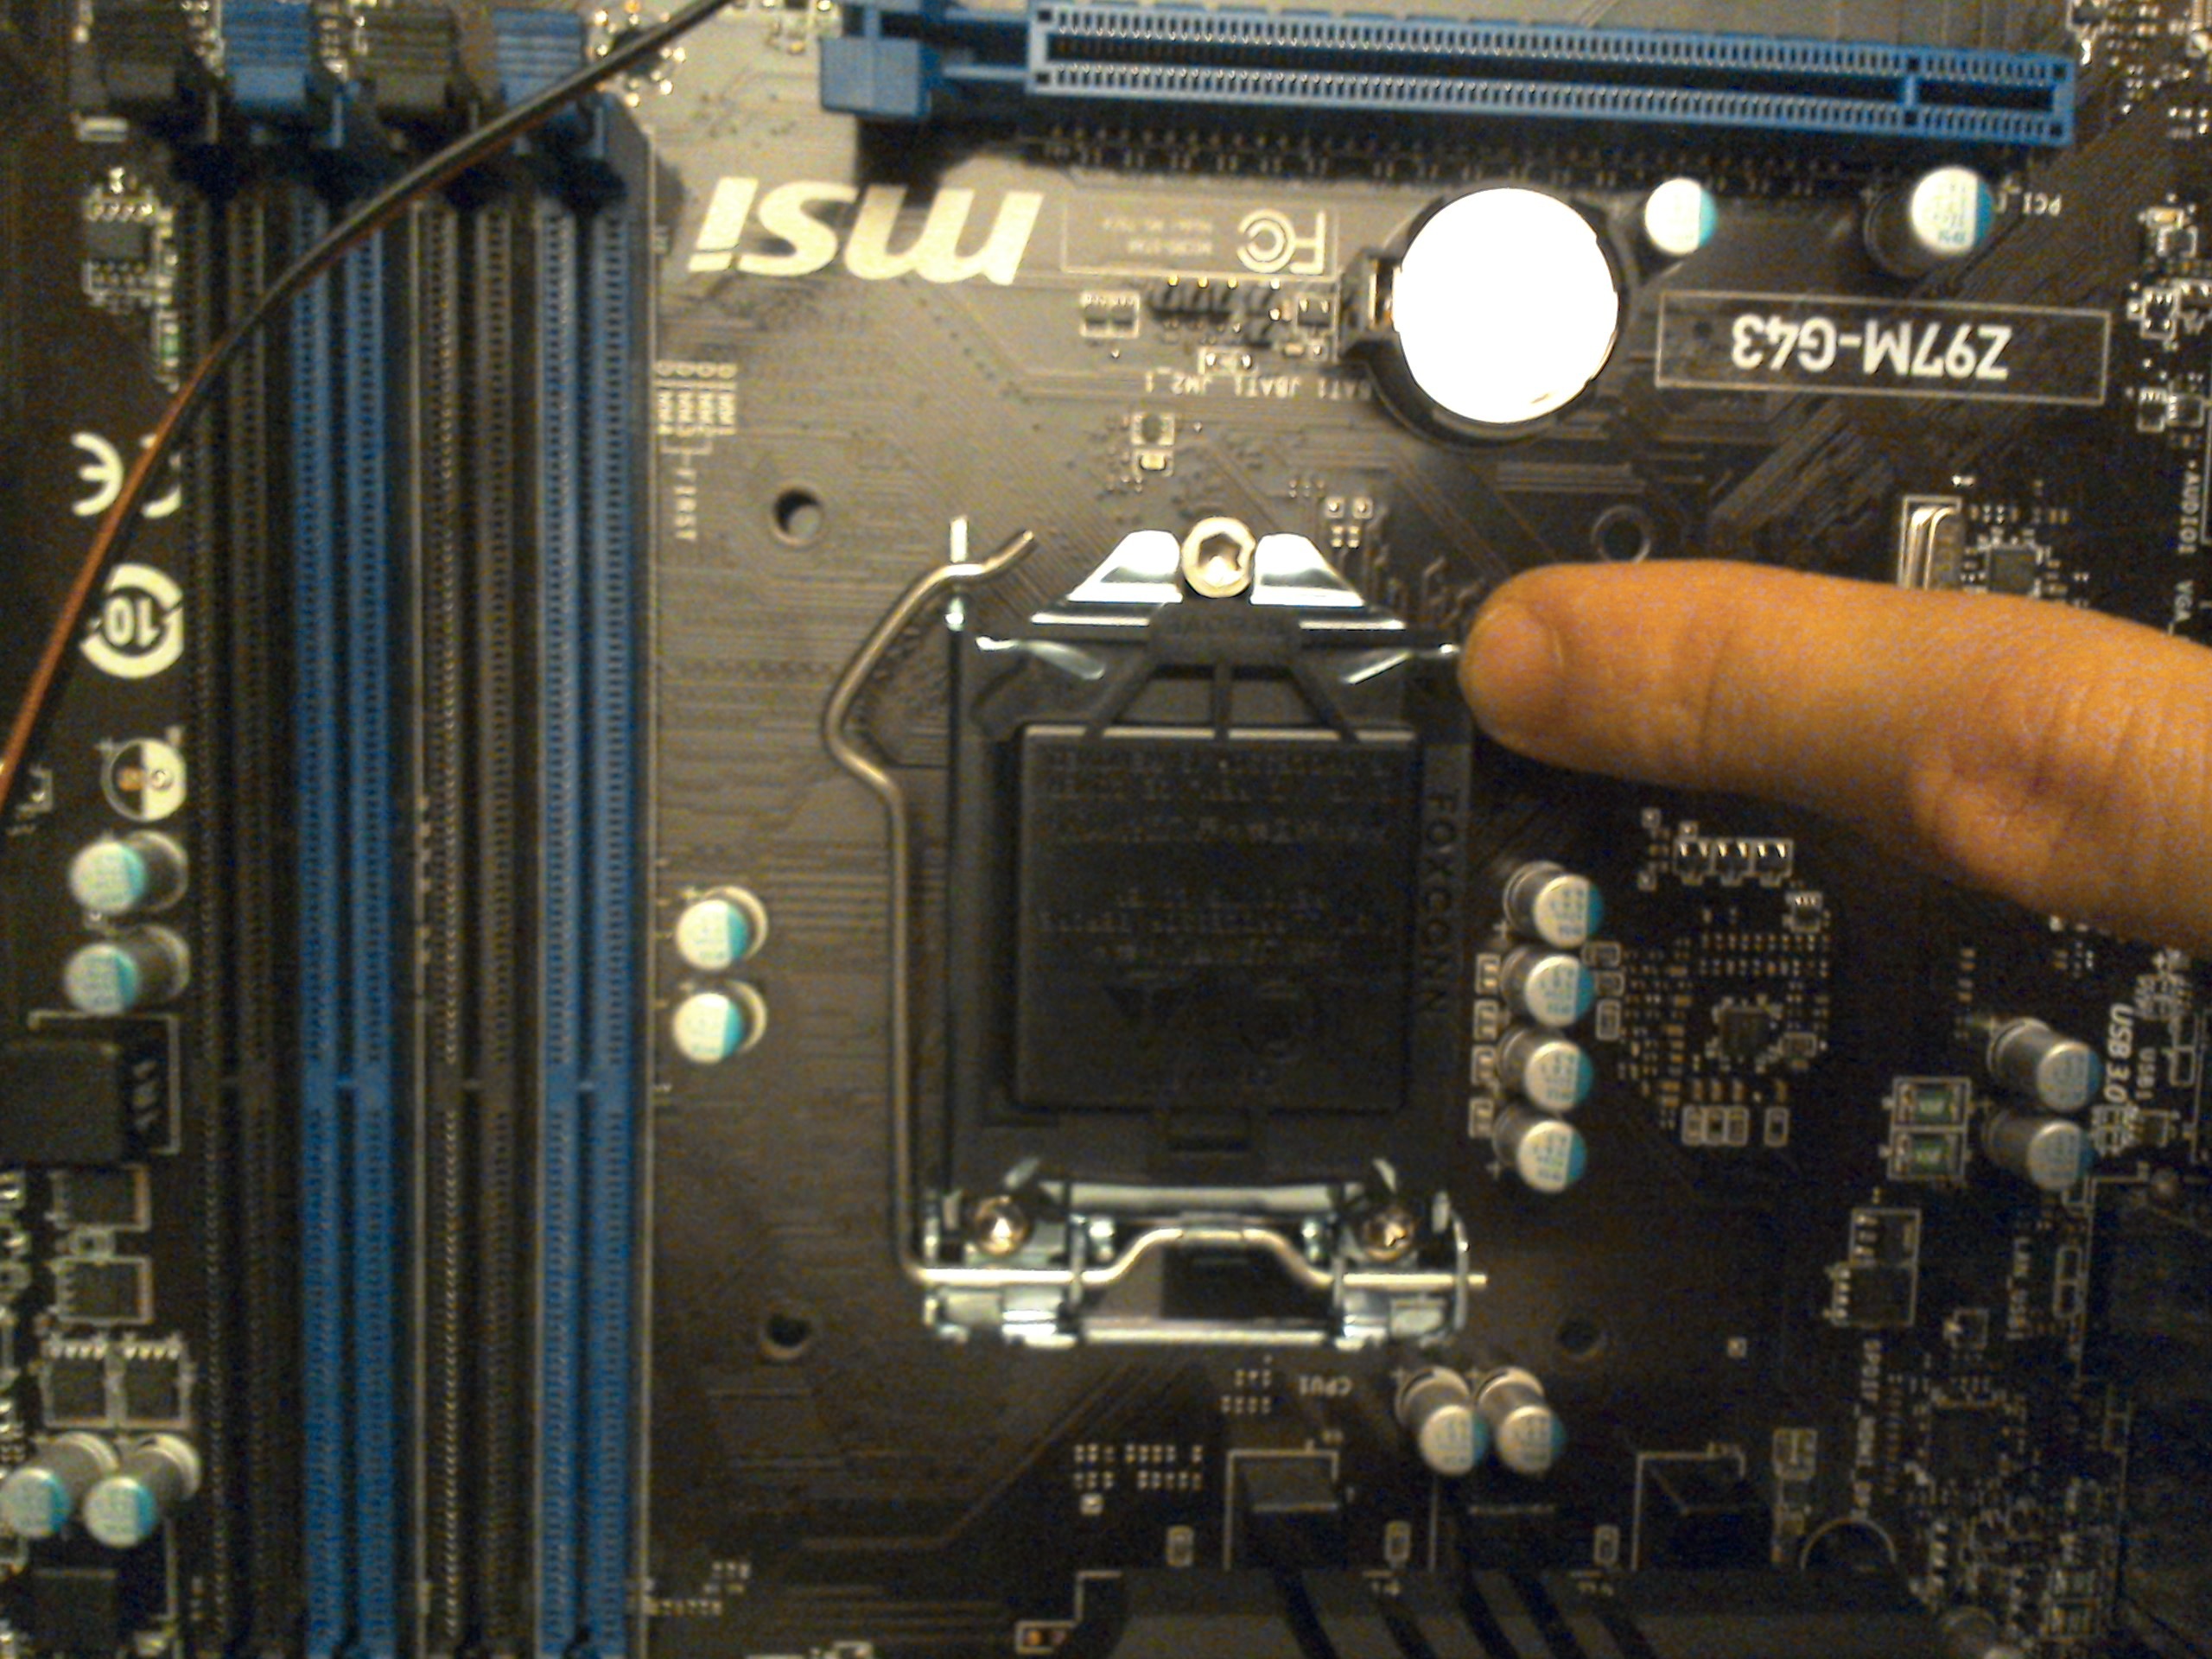
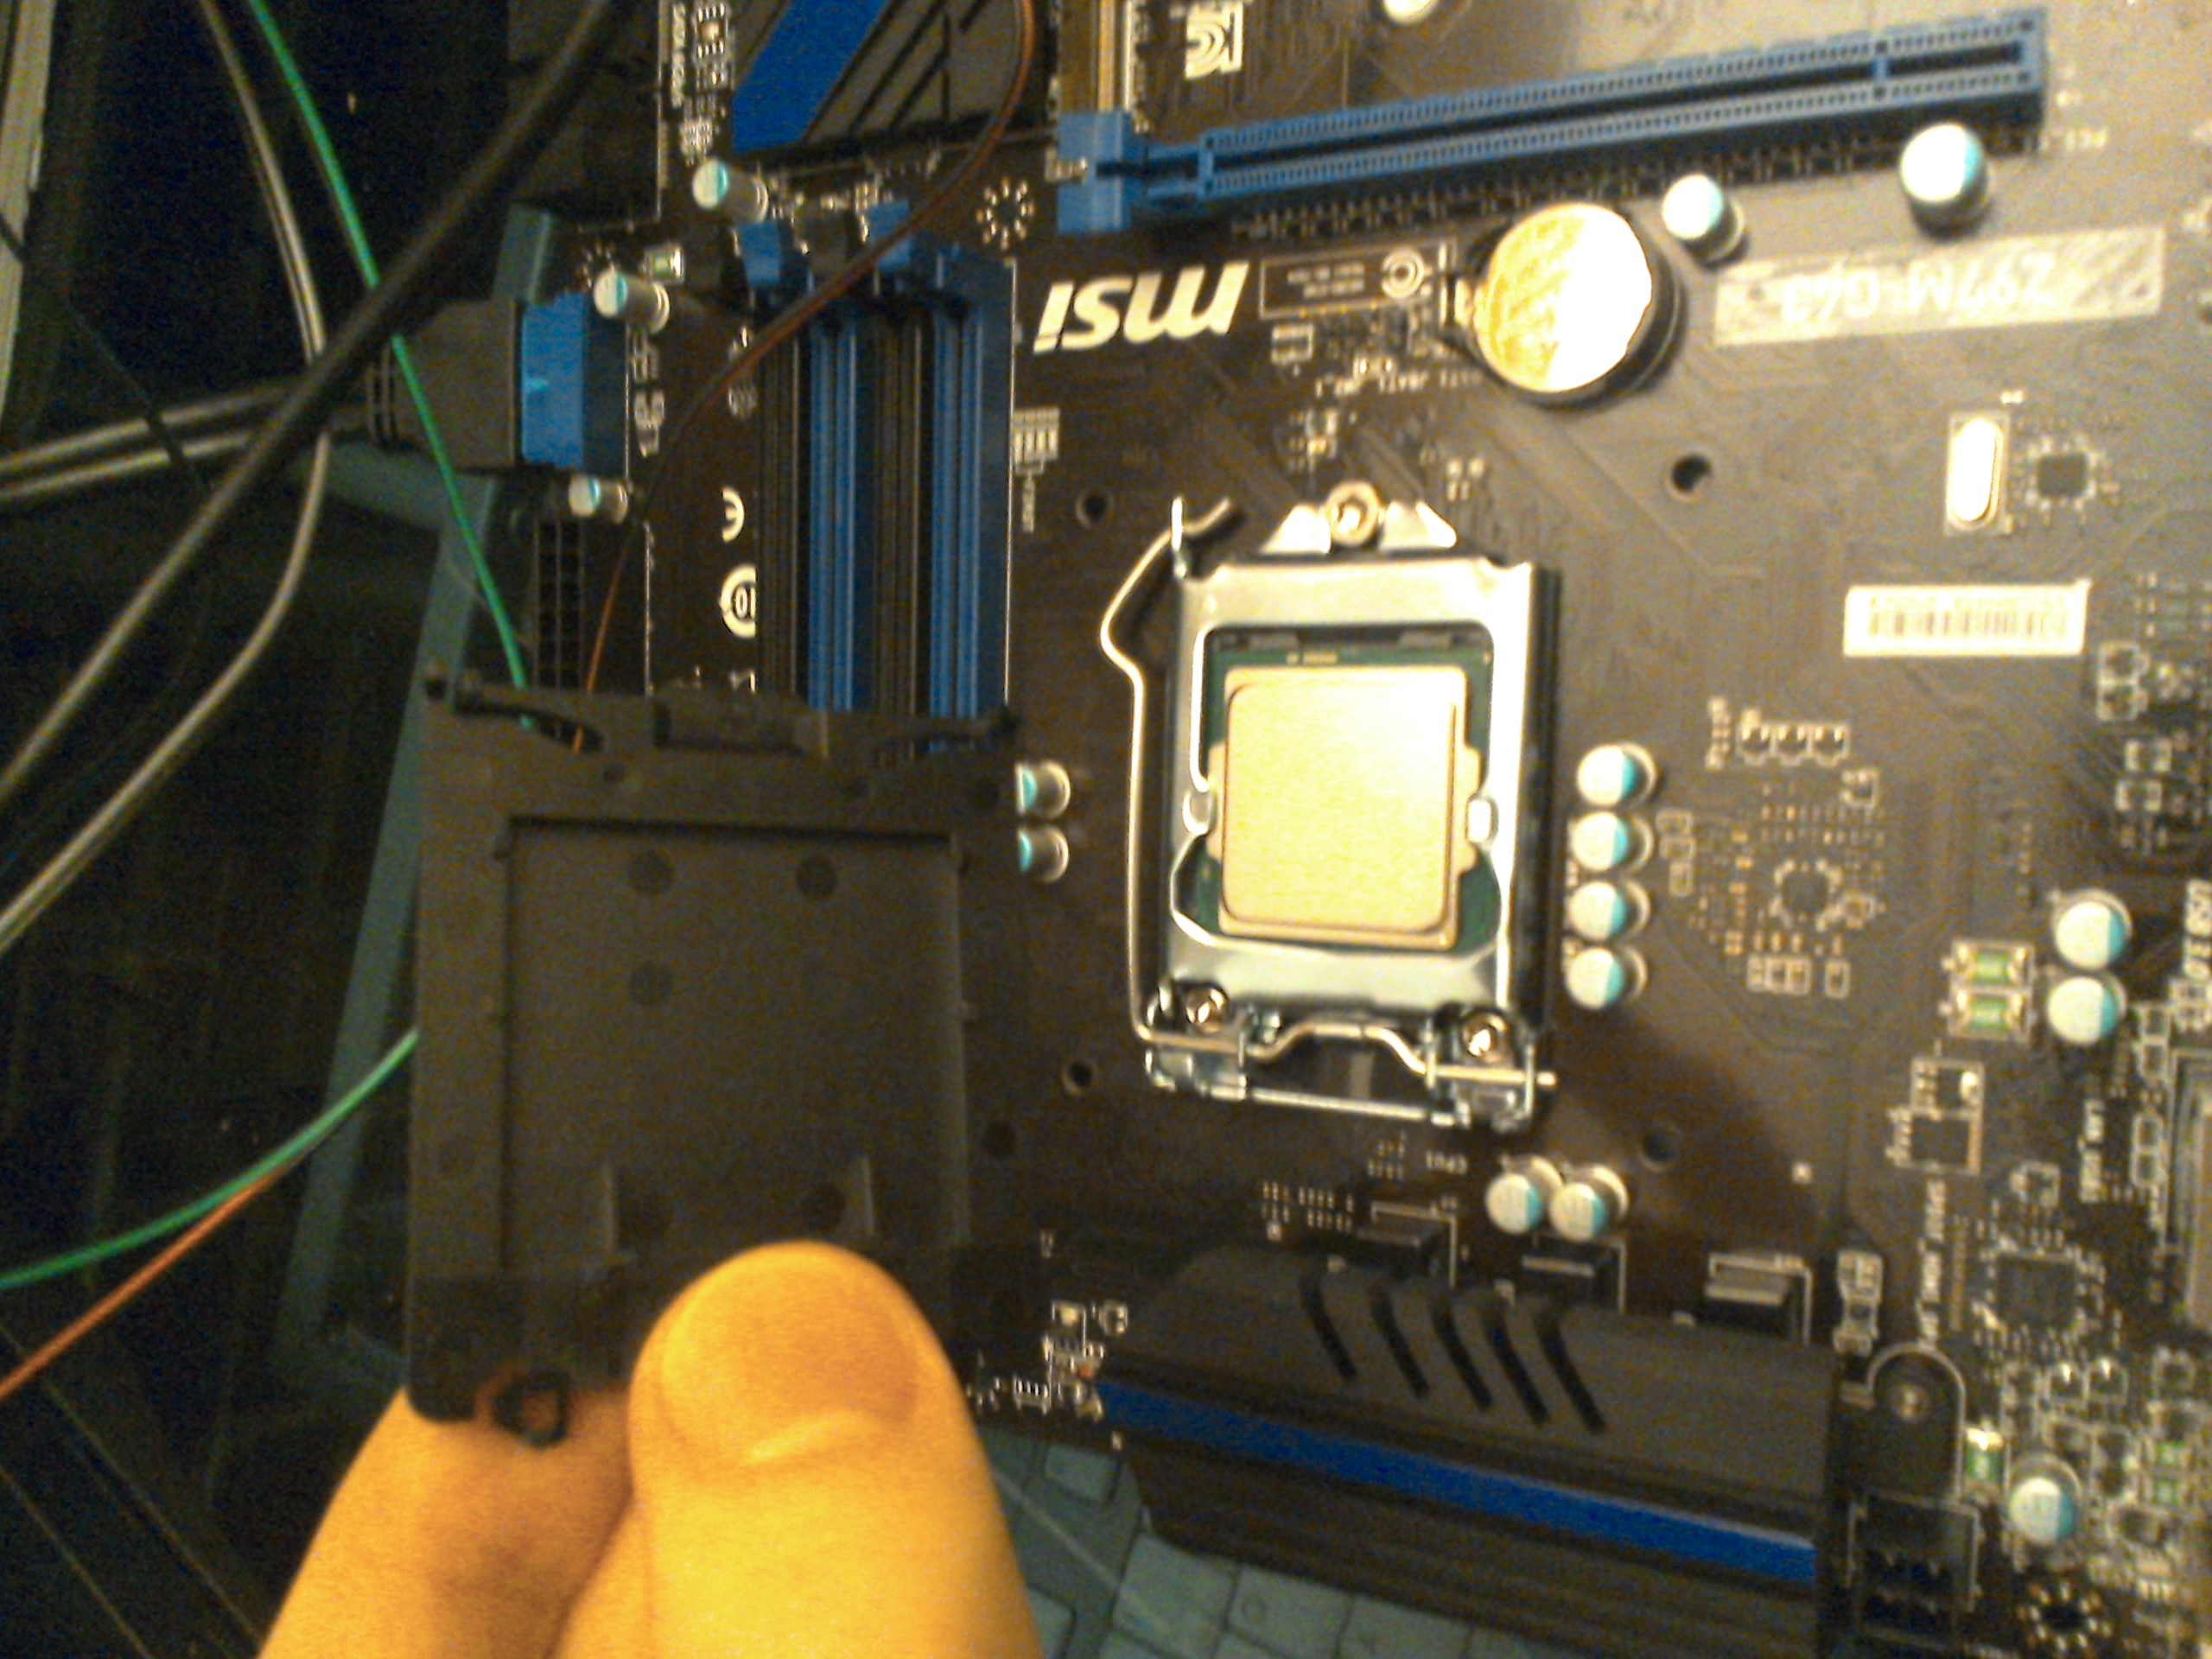
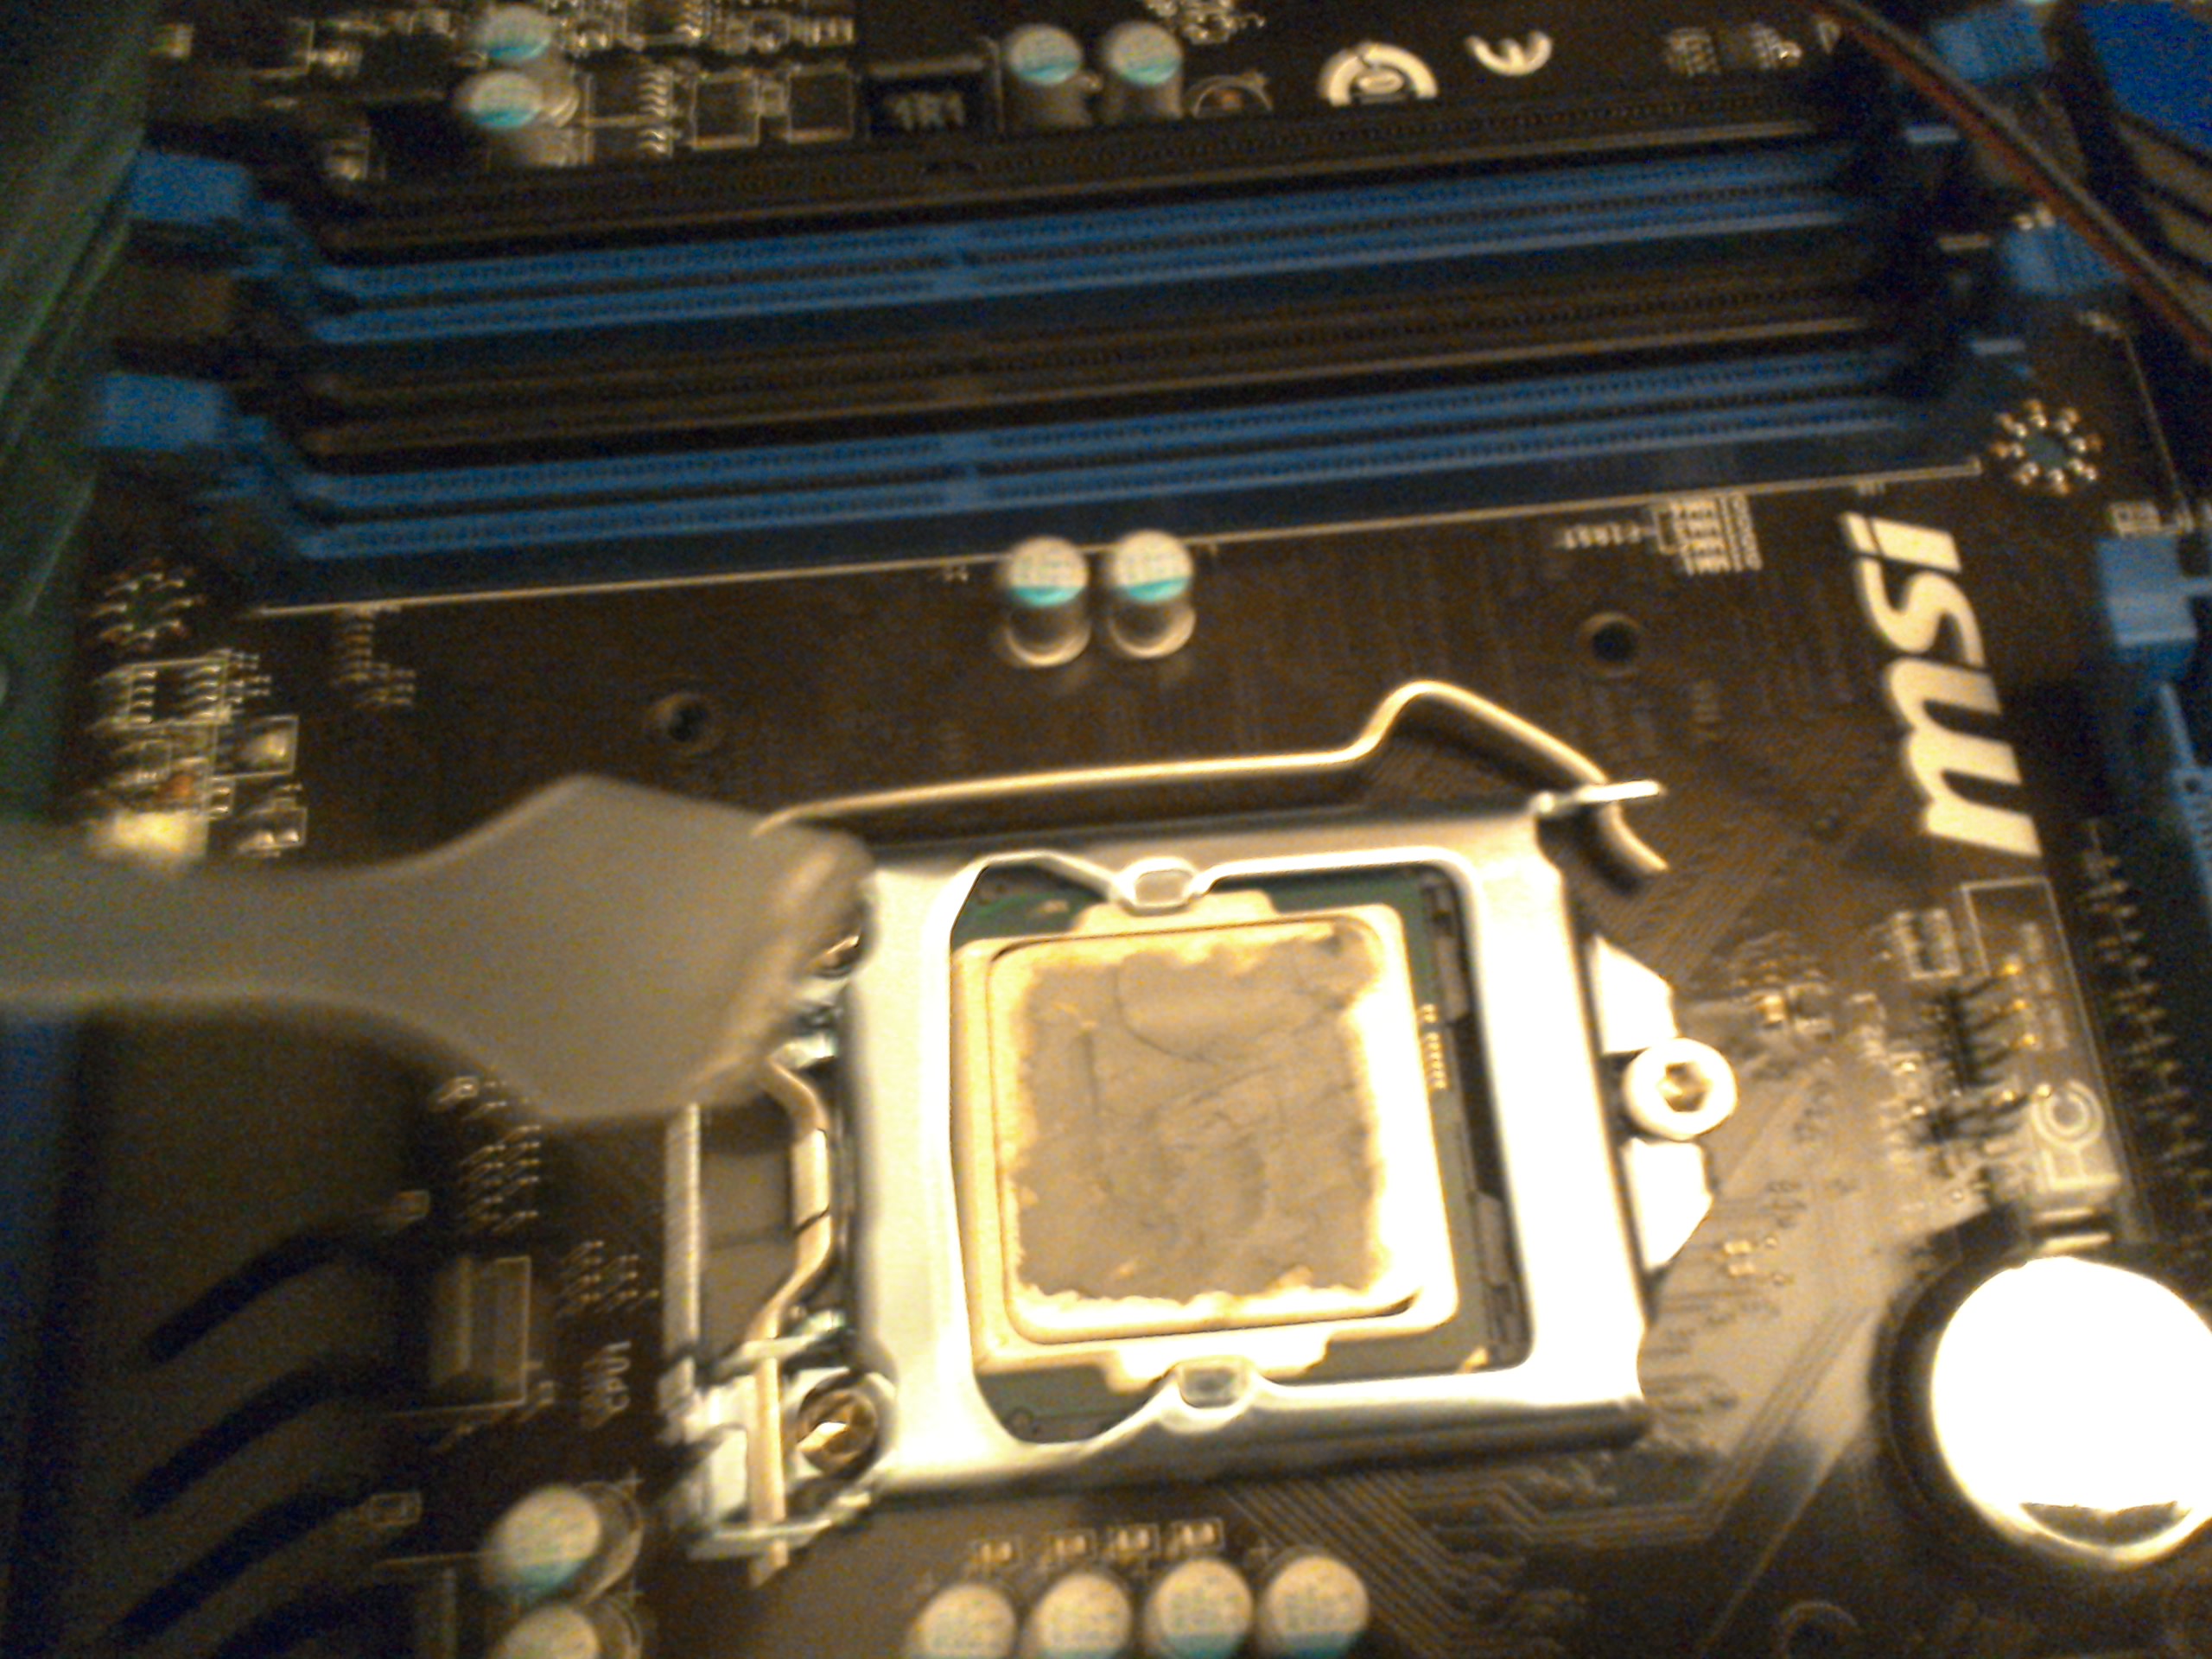
Now it is time for me to remove the plastic black cover on the motherboard for the processor. The processor and the motherboard connection for it are very delicate, so the parts should be covered when not in use. In the picture, my finger is under the release latch for the cover.
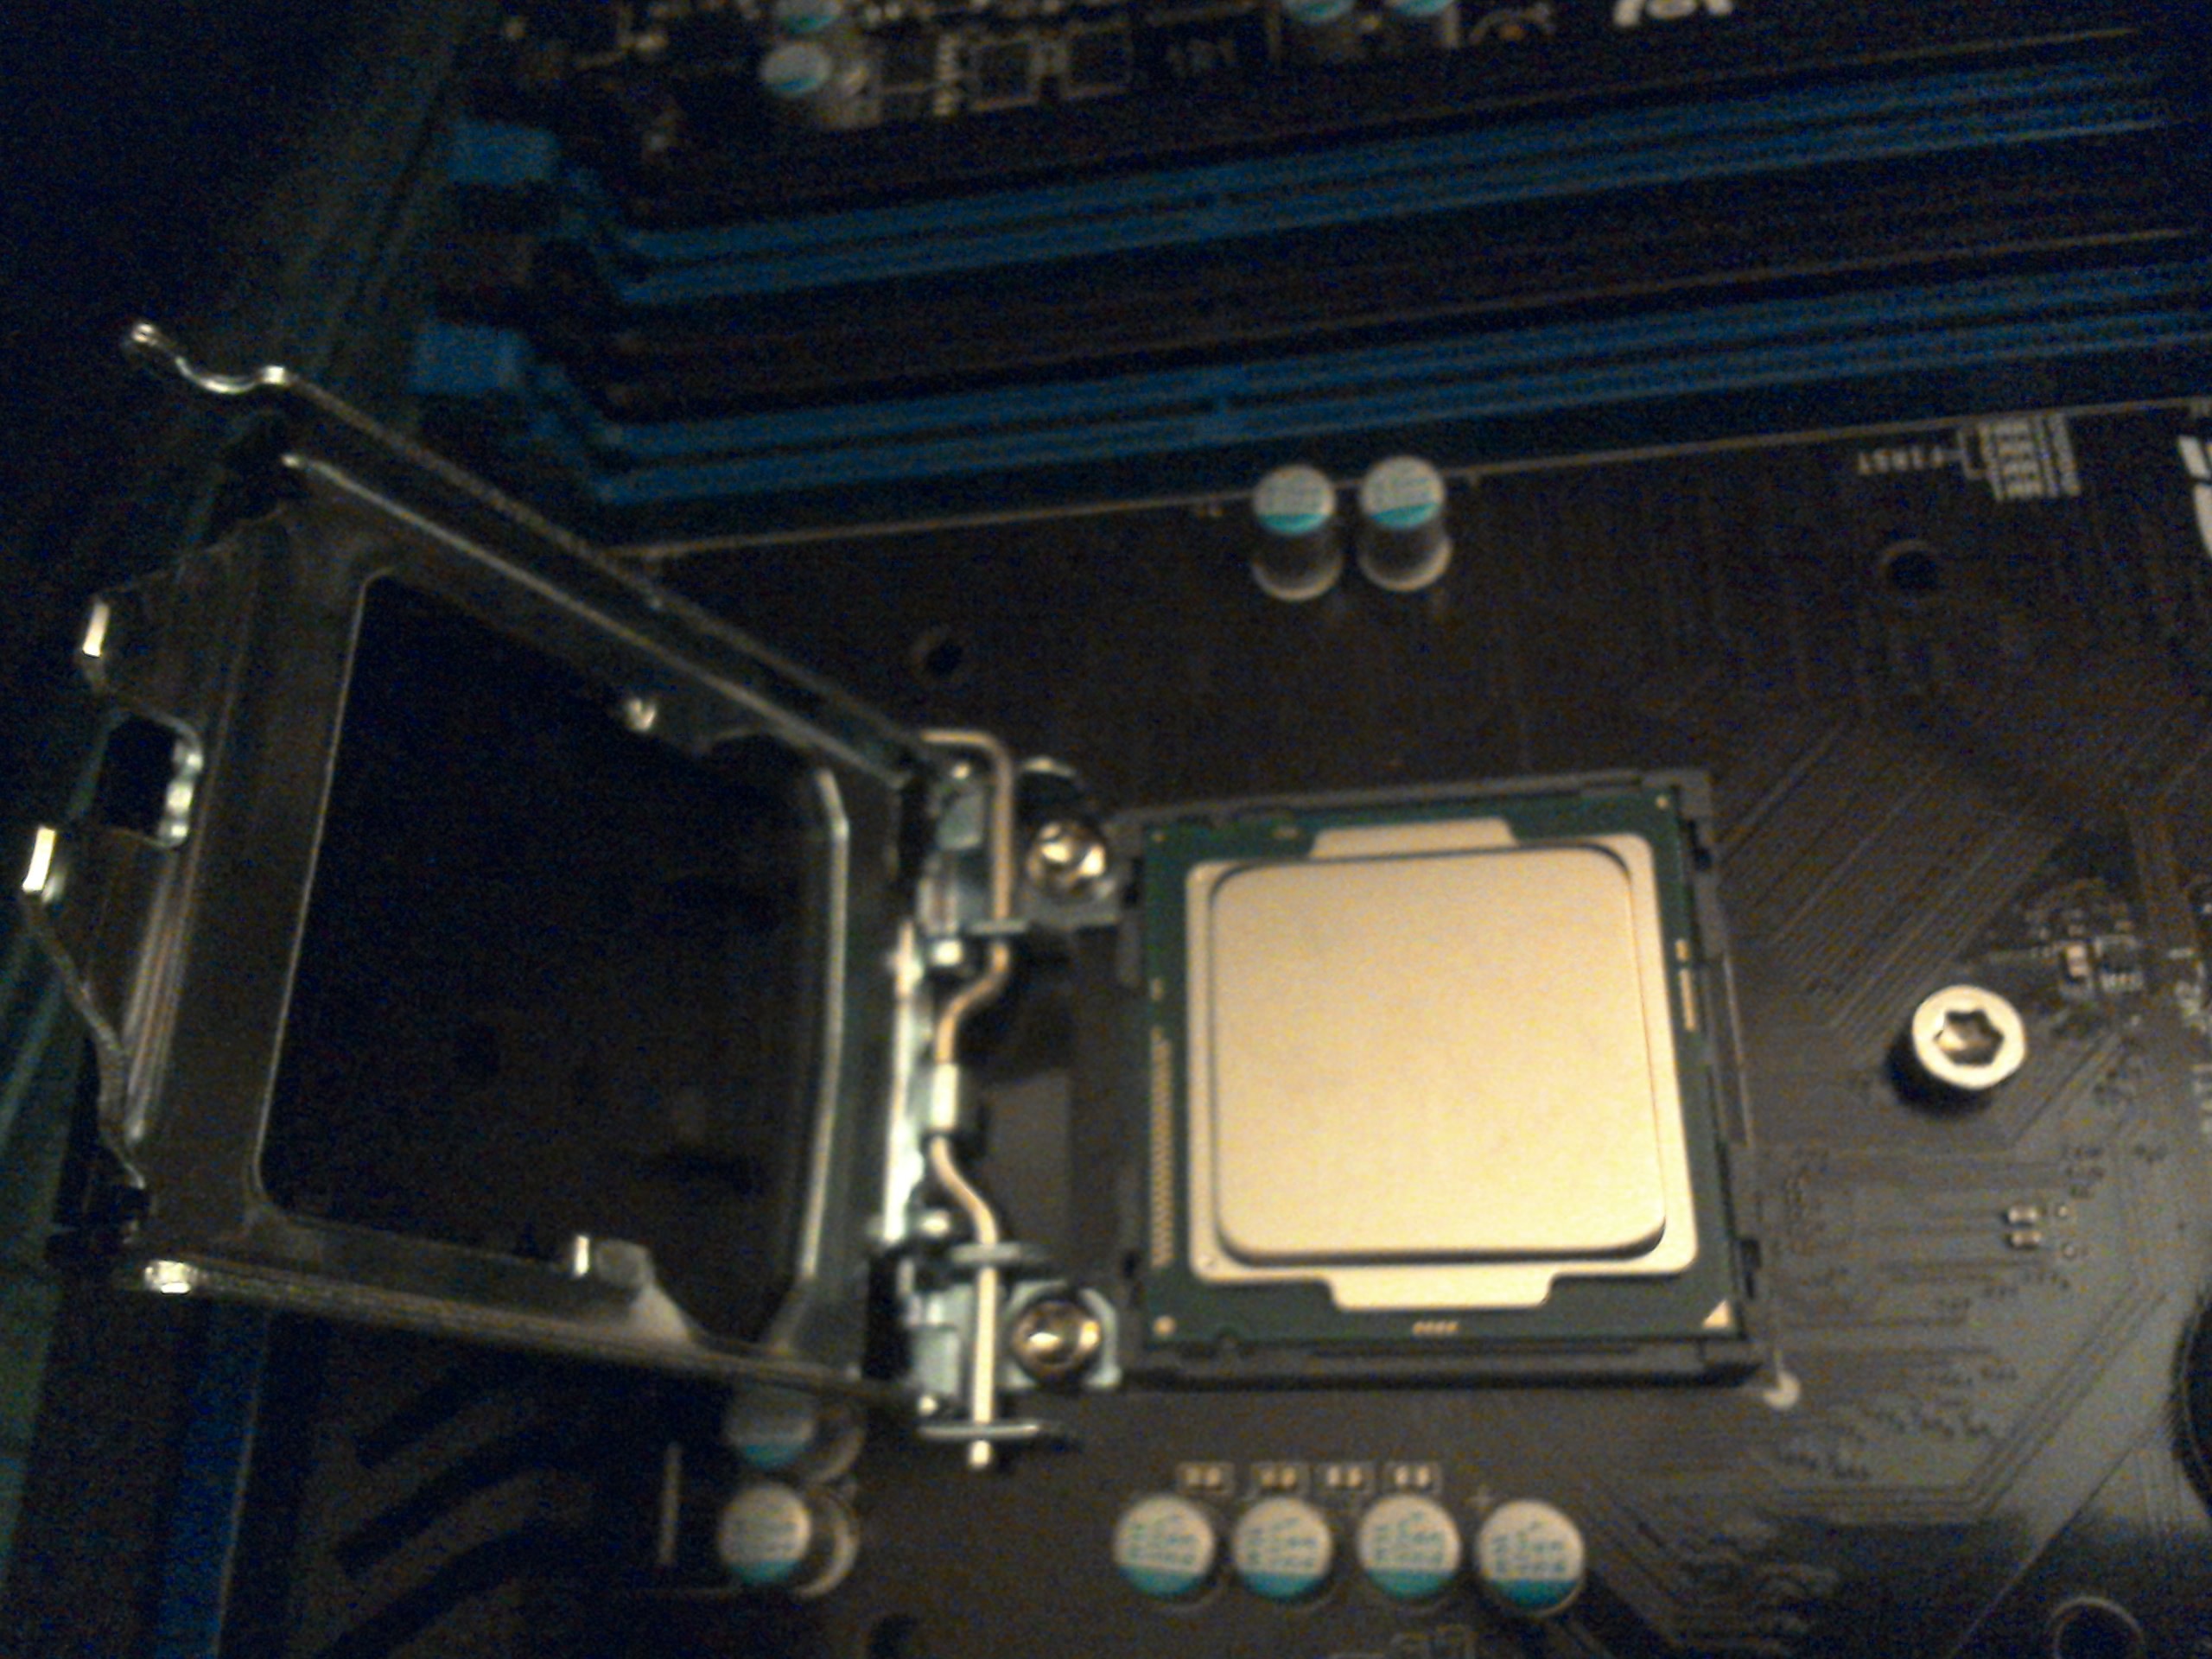
After taking the cover off, I placed the processor on the motherboard's procesor slot by aligning the arrow on both parts. You can see one of the arrows on the lower right of the CPU area in the photo.
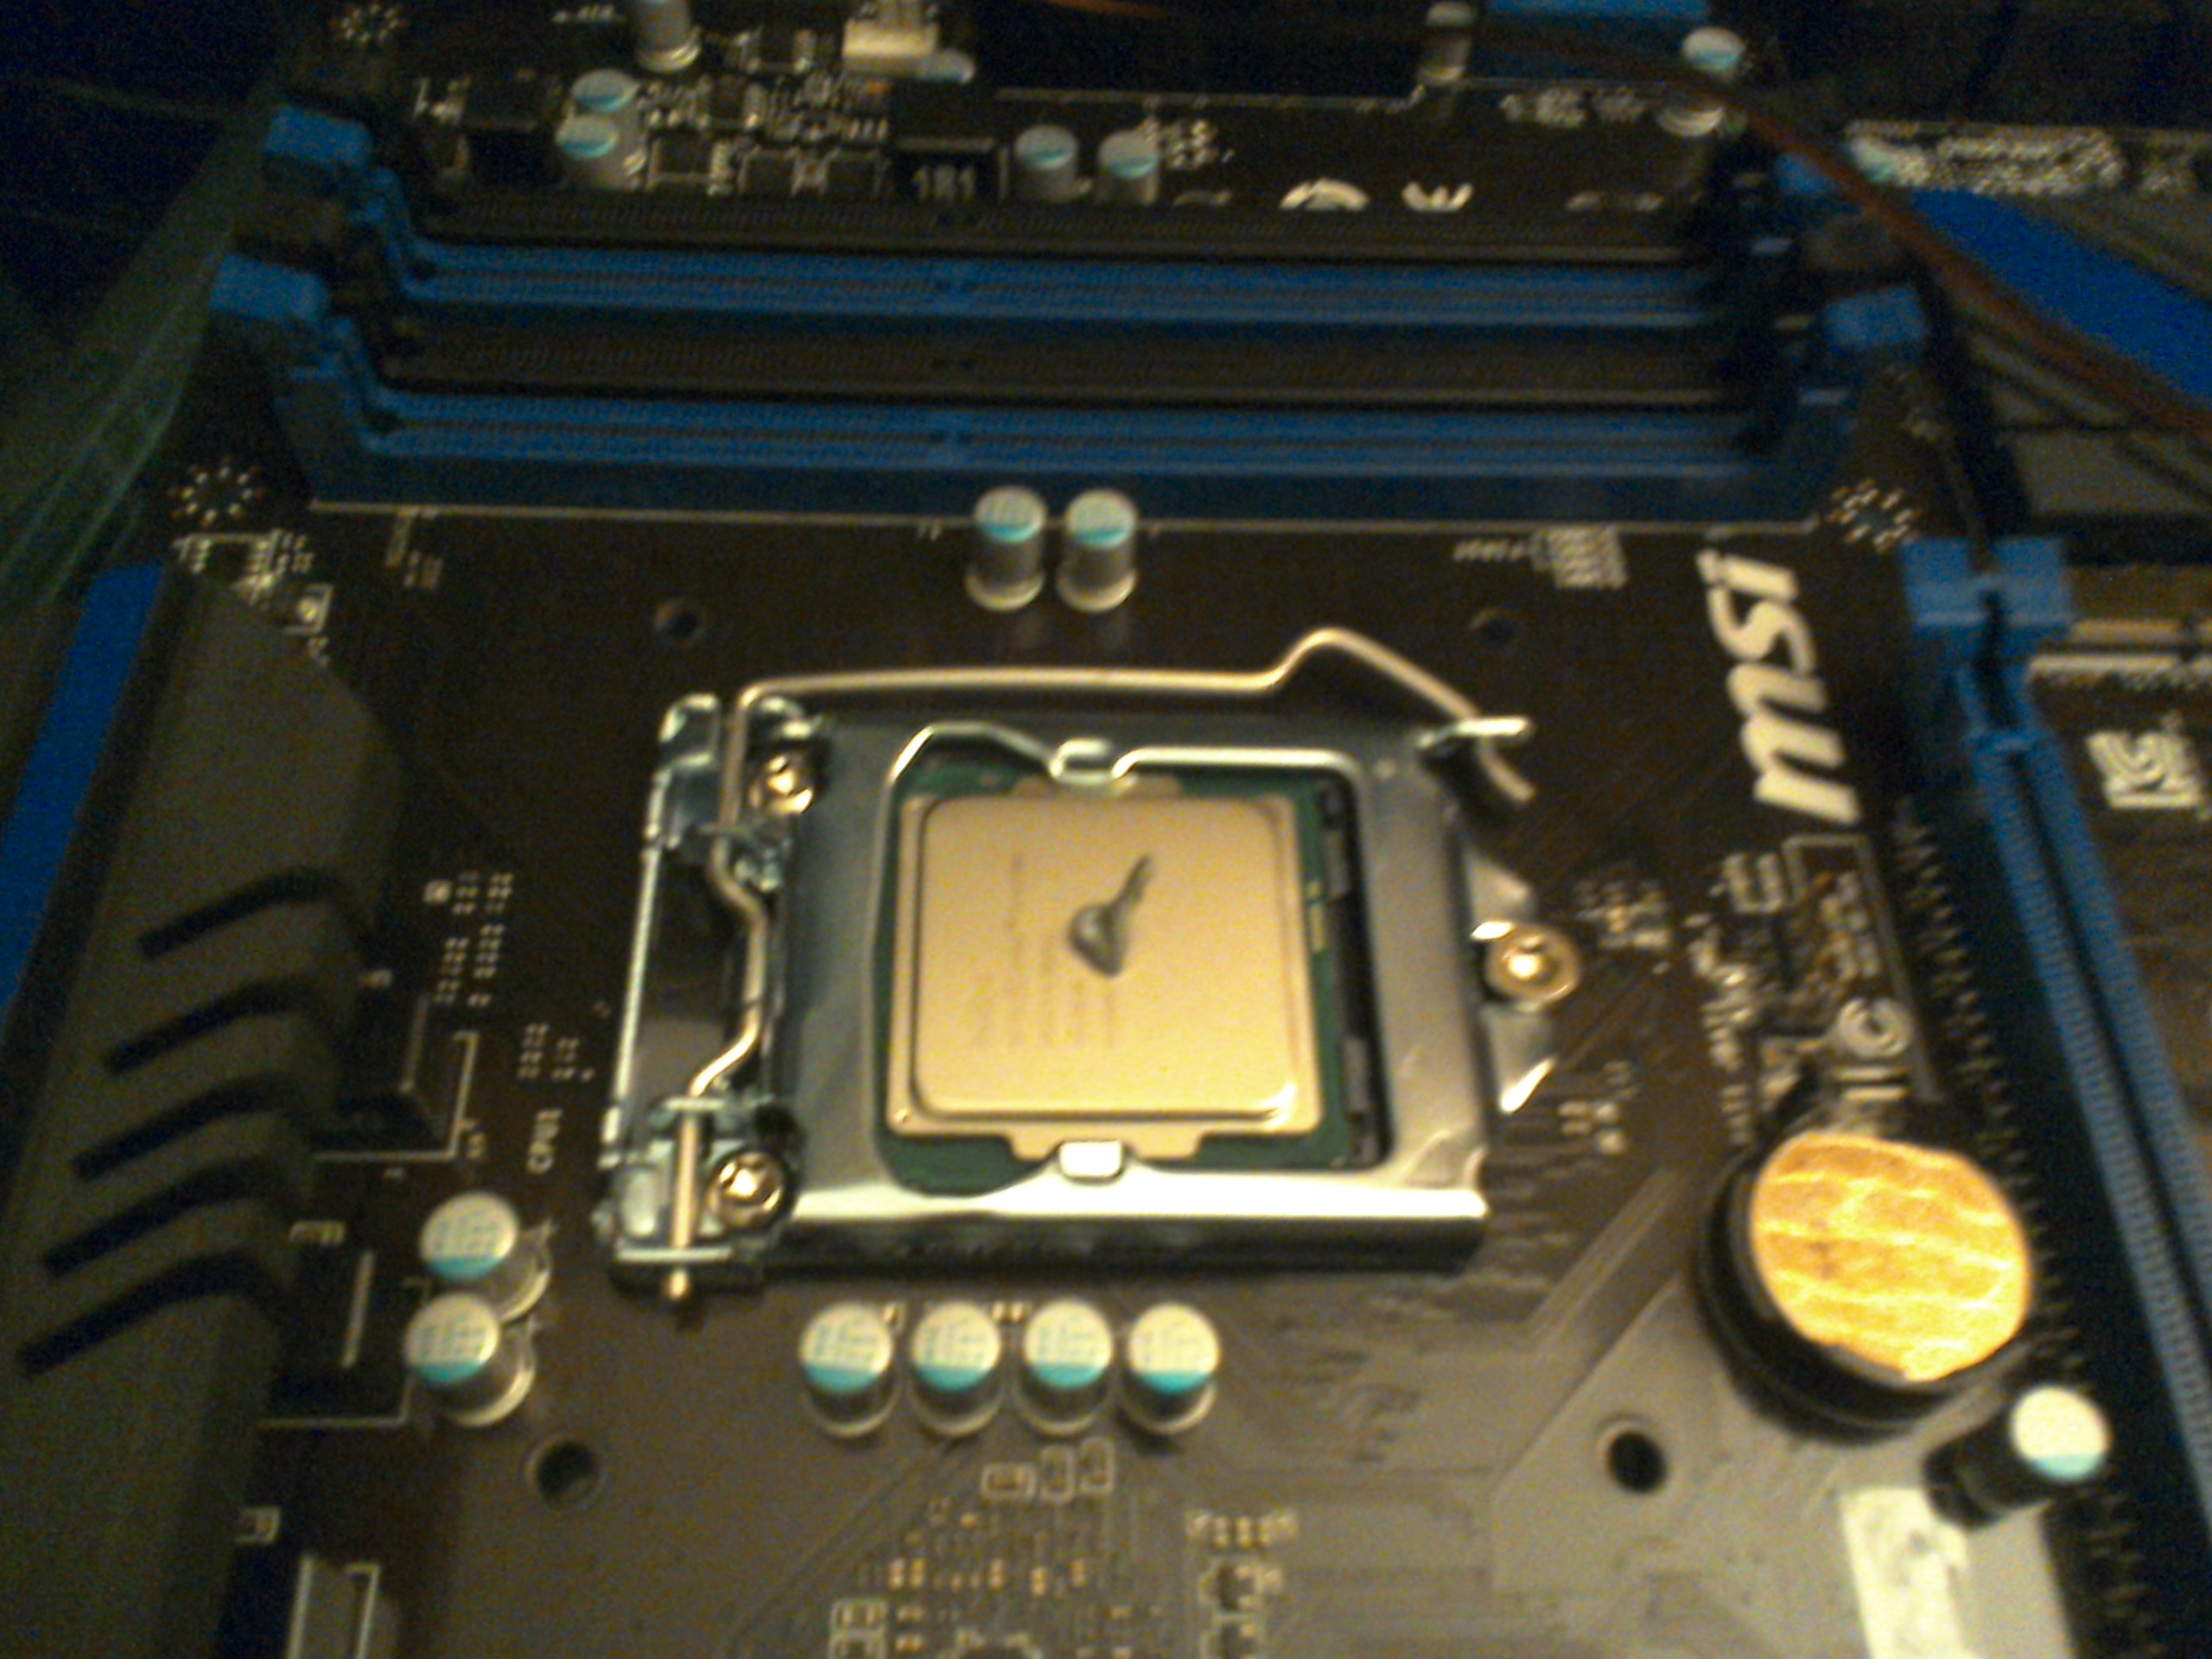
Now the latch holding the processor in place is back down. The black processor cover can't stay above the actual processor, or the processor itself will overheat. I am putting the black cover away in a safe place in case I want to resell the motherboard or put it in storage.
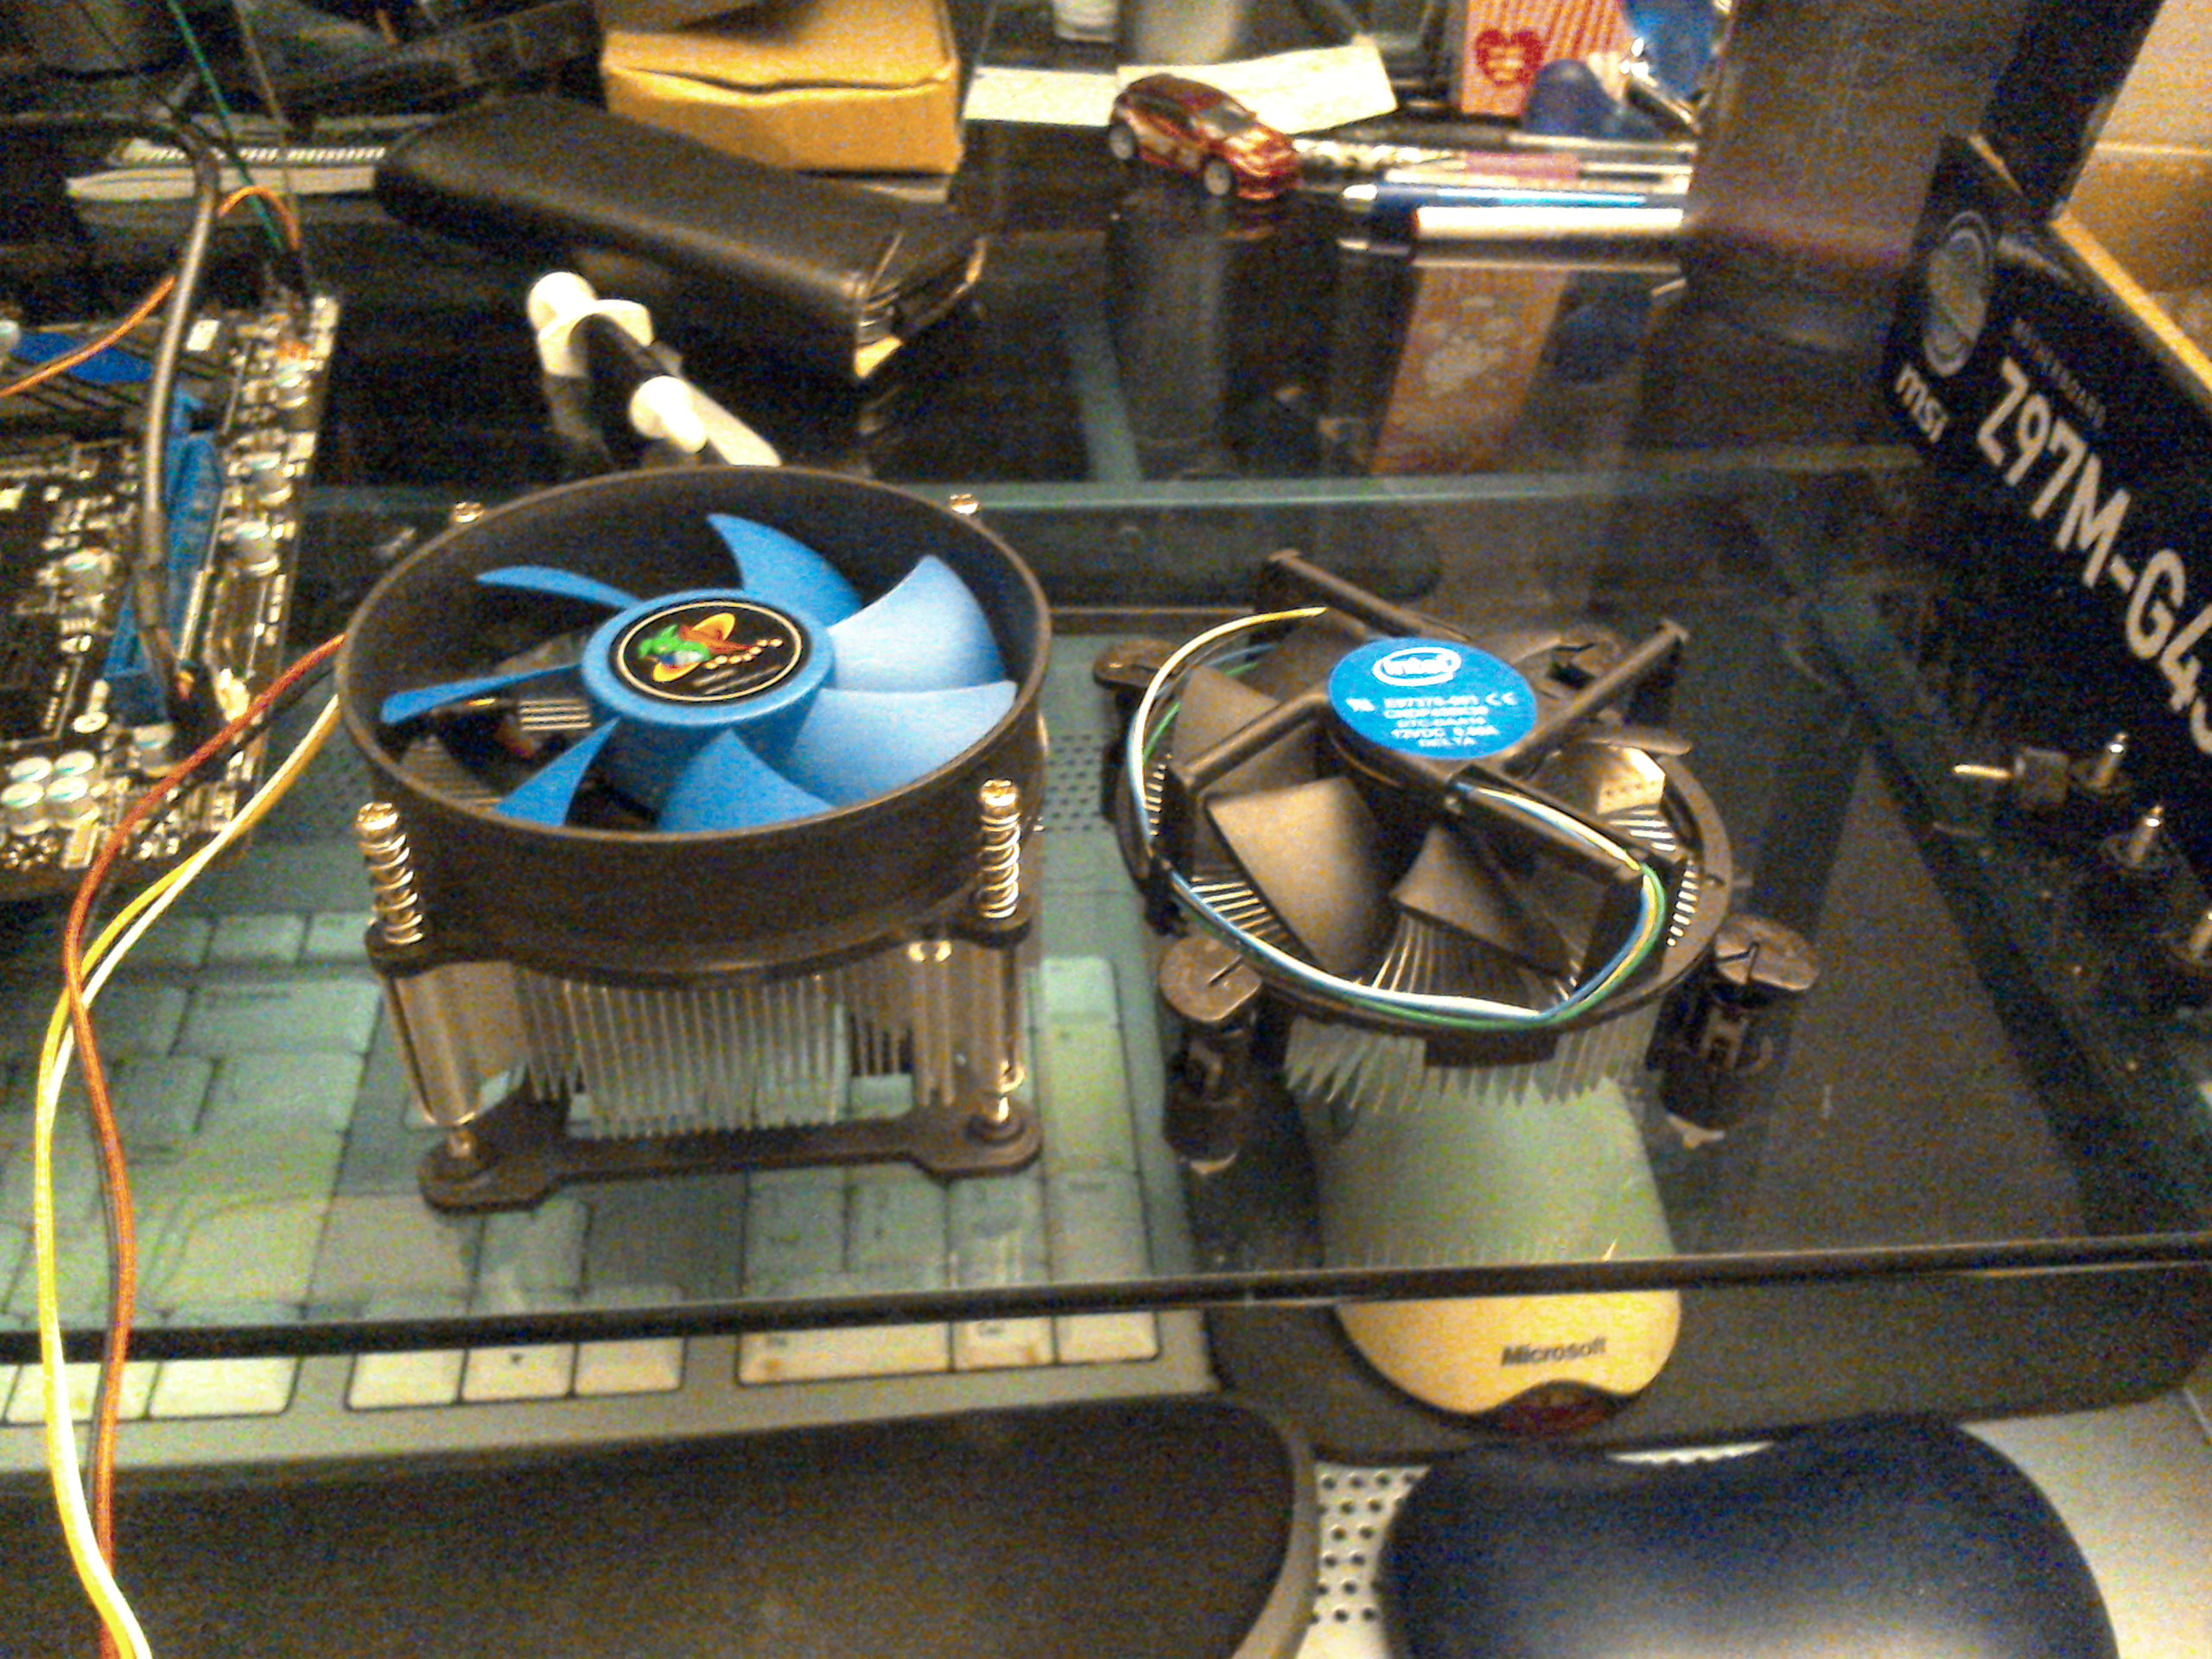
Intel processors come with their own fans! I read in many websites that they can be noisy and doesn't do well in keeping temperature down, so I bought a different fan. In the picture, the Intel fan is on the right. The fan on the left is a Logisys Theta 31.
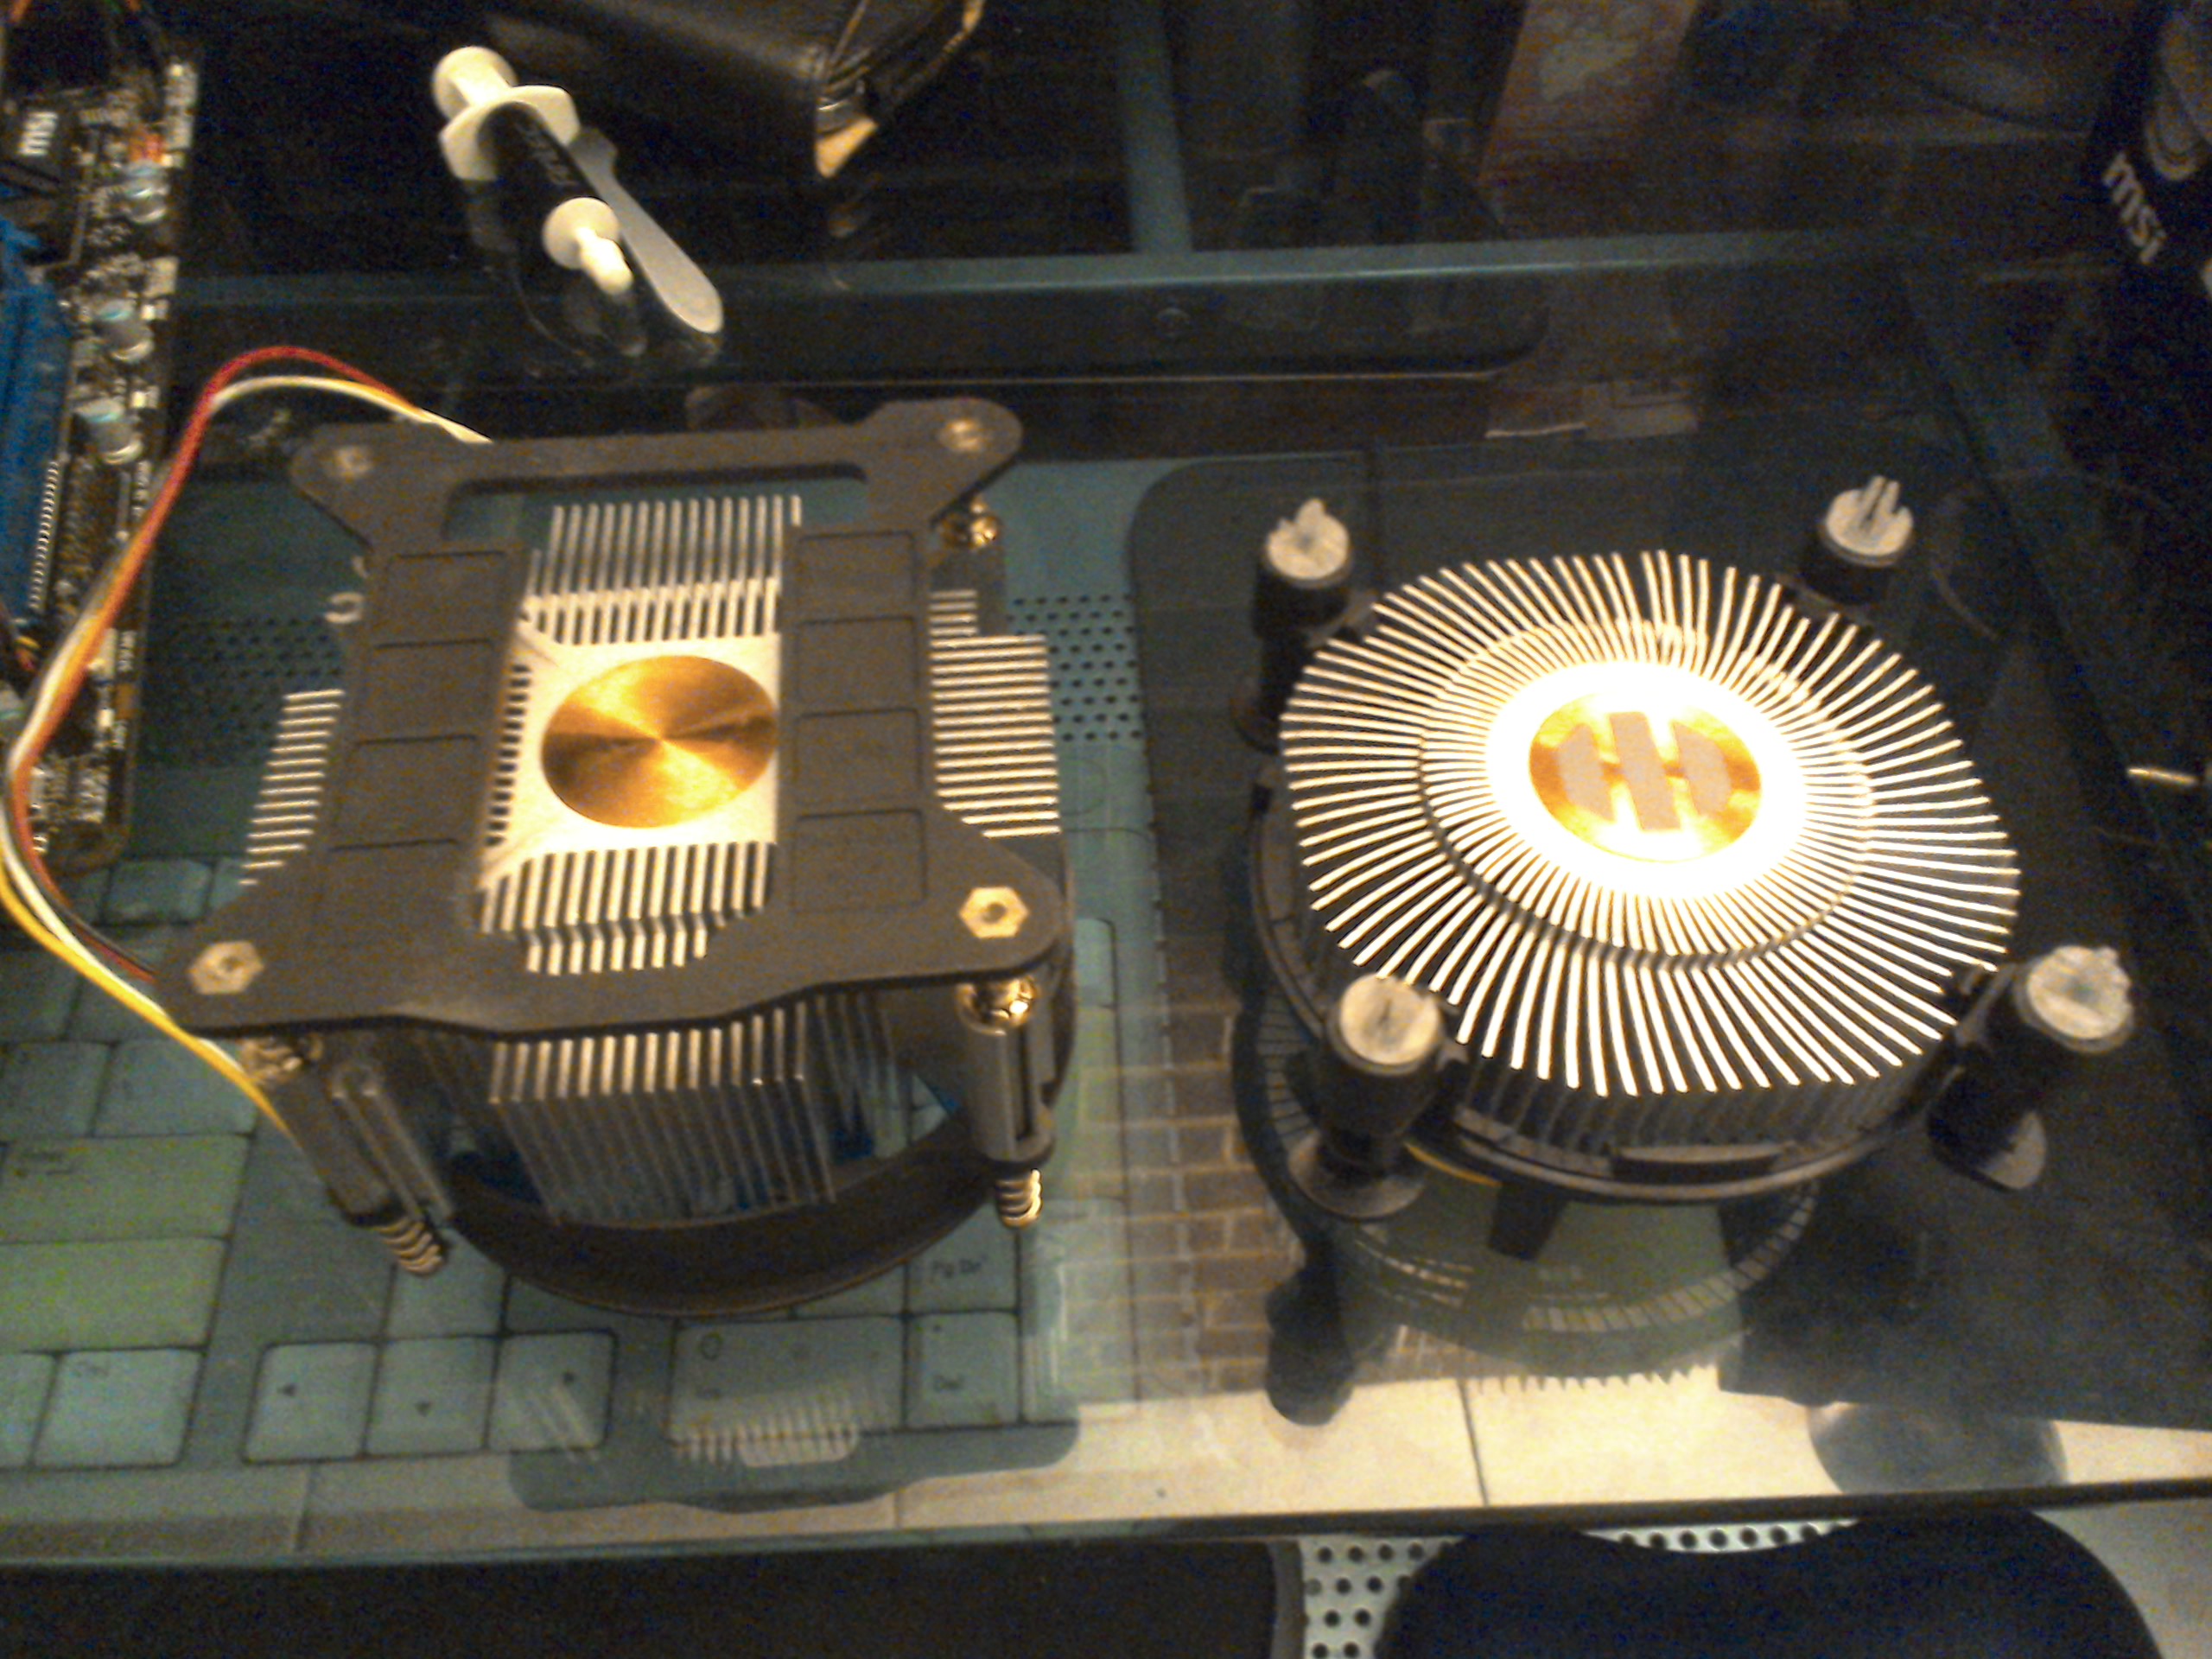
Bottom view of the heatsinks. The orange center is copper. If you paid attention in Chemistry class, you will know that copper is one of the best and most affordable heat conductor. Heatsinks draw heat away from the processor and the fans on top of them push the hot air away from the processor, so it will not overheat. The Theta 31 (left) was advertised as compatible with my processor, but I could not get it to fit easily and I guessed it was for a different motherboard build (LGA1156, not my LGA1155). So I ended up returning it and keeping the Intel fan. That was too bad, as I wanted a very blue fan but the blue Intel sticker on the Intel fan will have to do!
I have placed the processor on the CPU (central processing unit) socket on the motherboard. For processors that powerful, a good thermal paste is very, very important. It conducts heat away from the processor much, much better than any heatsink. I decided not to use the paste that came with the Intel processor and used a paste I bought for my old PC - Antec's Formula 7. The paste should be in a thin layer with no gaps and the heatsink will be placed on it. I started with a little more than a pea-sized amount on the middle.
Some people just put the heatsink right there and let the paste spread under the heatsink. I prefer to use the plastic spreader that came with the paste to make a thin and even layer, making sure that there will not be any paste on the edge so nothing will spill over when the heatsink is placed on the processor.
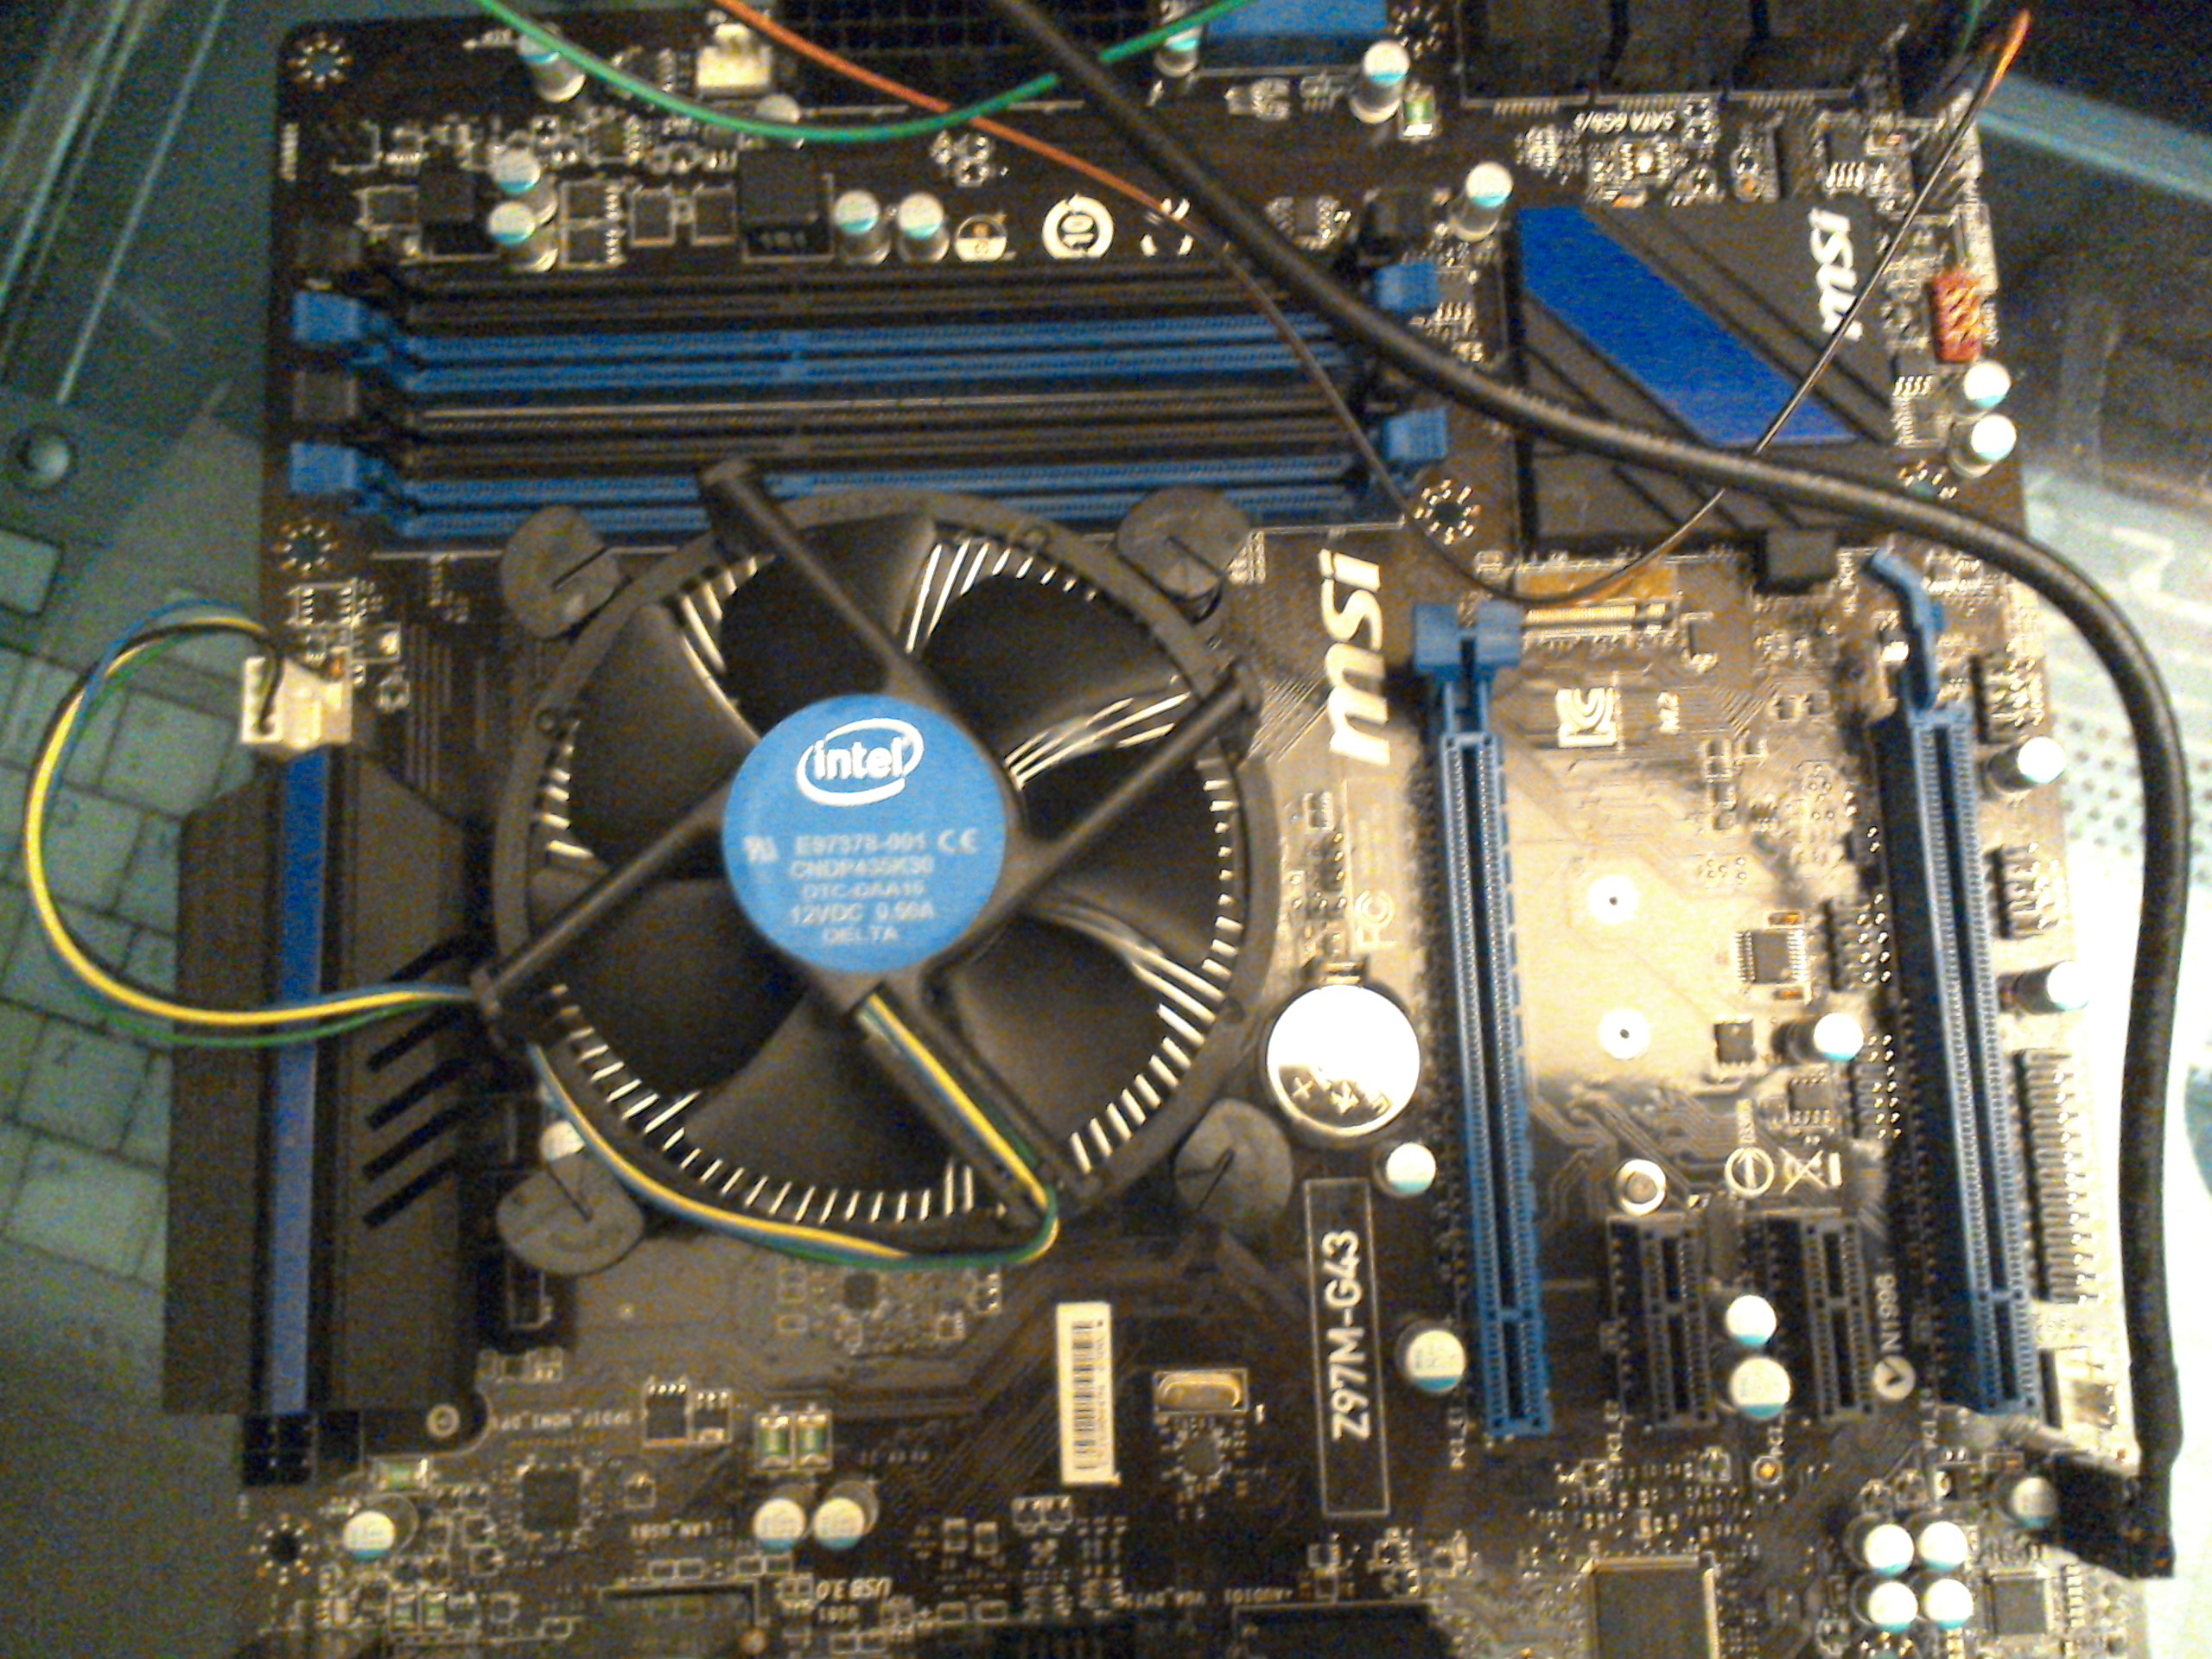
I then placed the heatsink on the CPU and pushed down the four corners of the heatsink to push their pointy ends through the holes on the motherboard reserved for them. I then attached wires from the fan to the motherboard so the fan will power on and spin as soon as the computer is turned on.

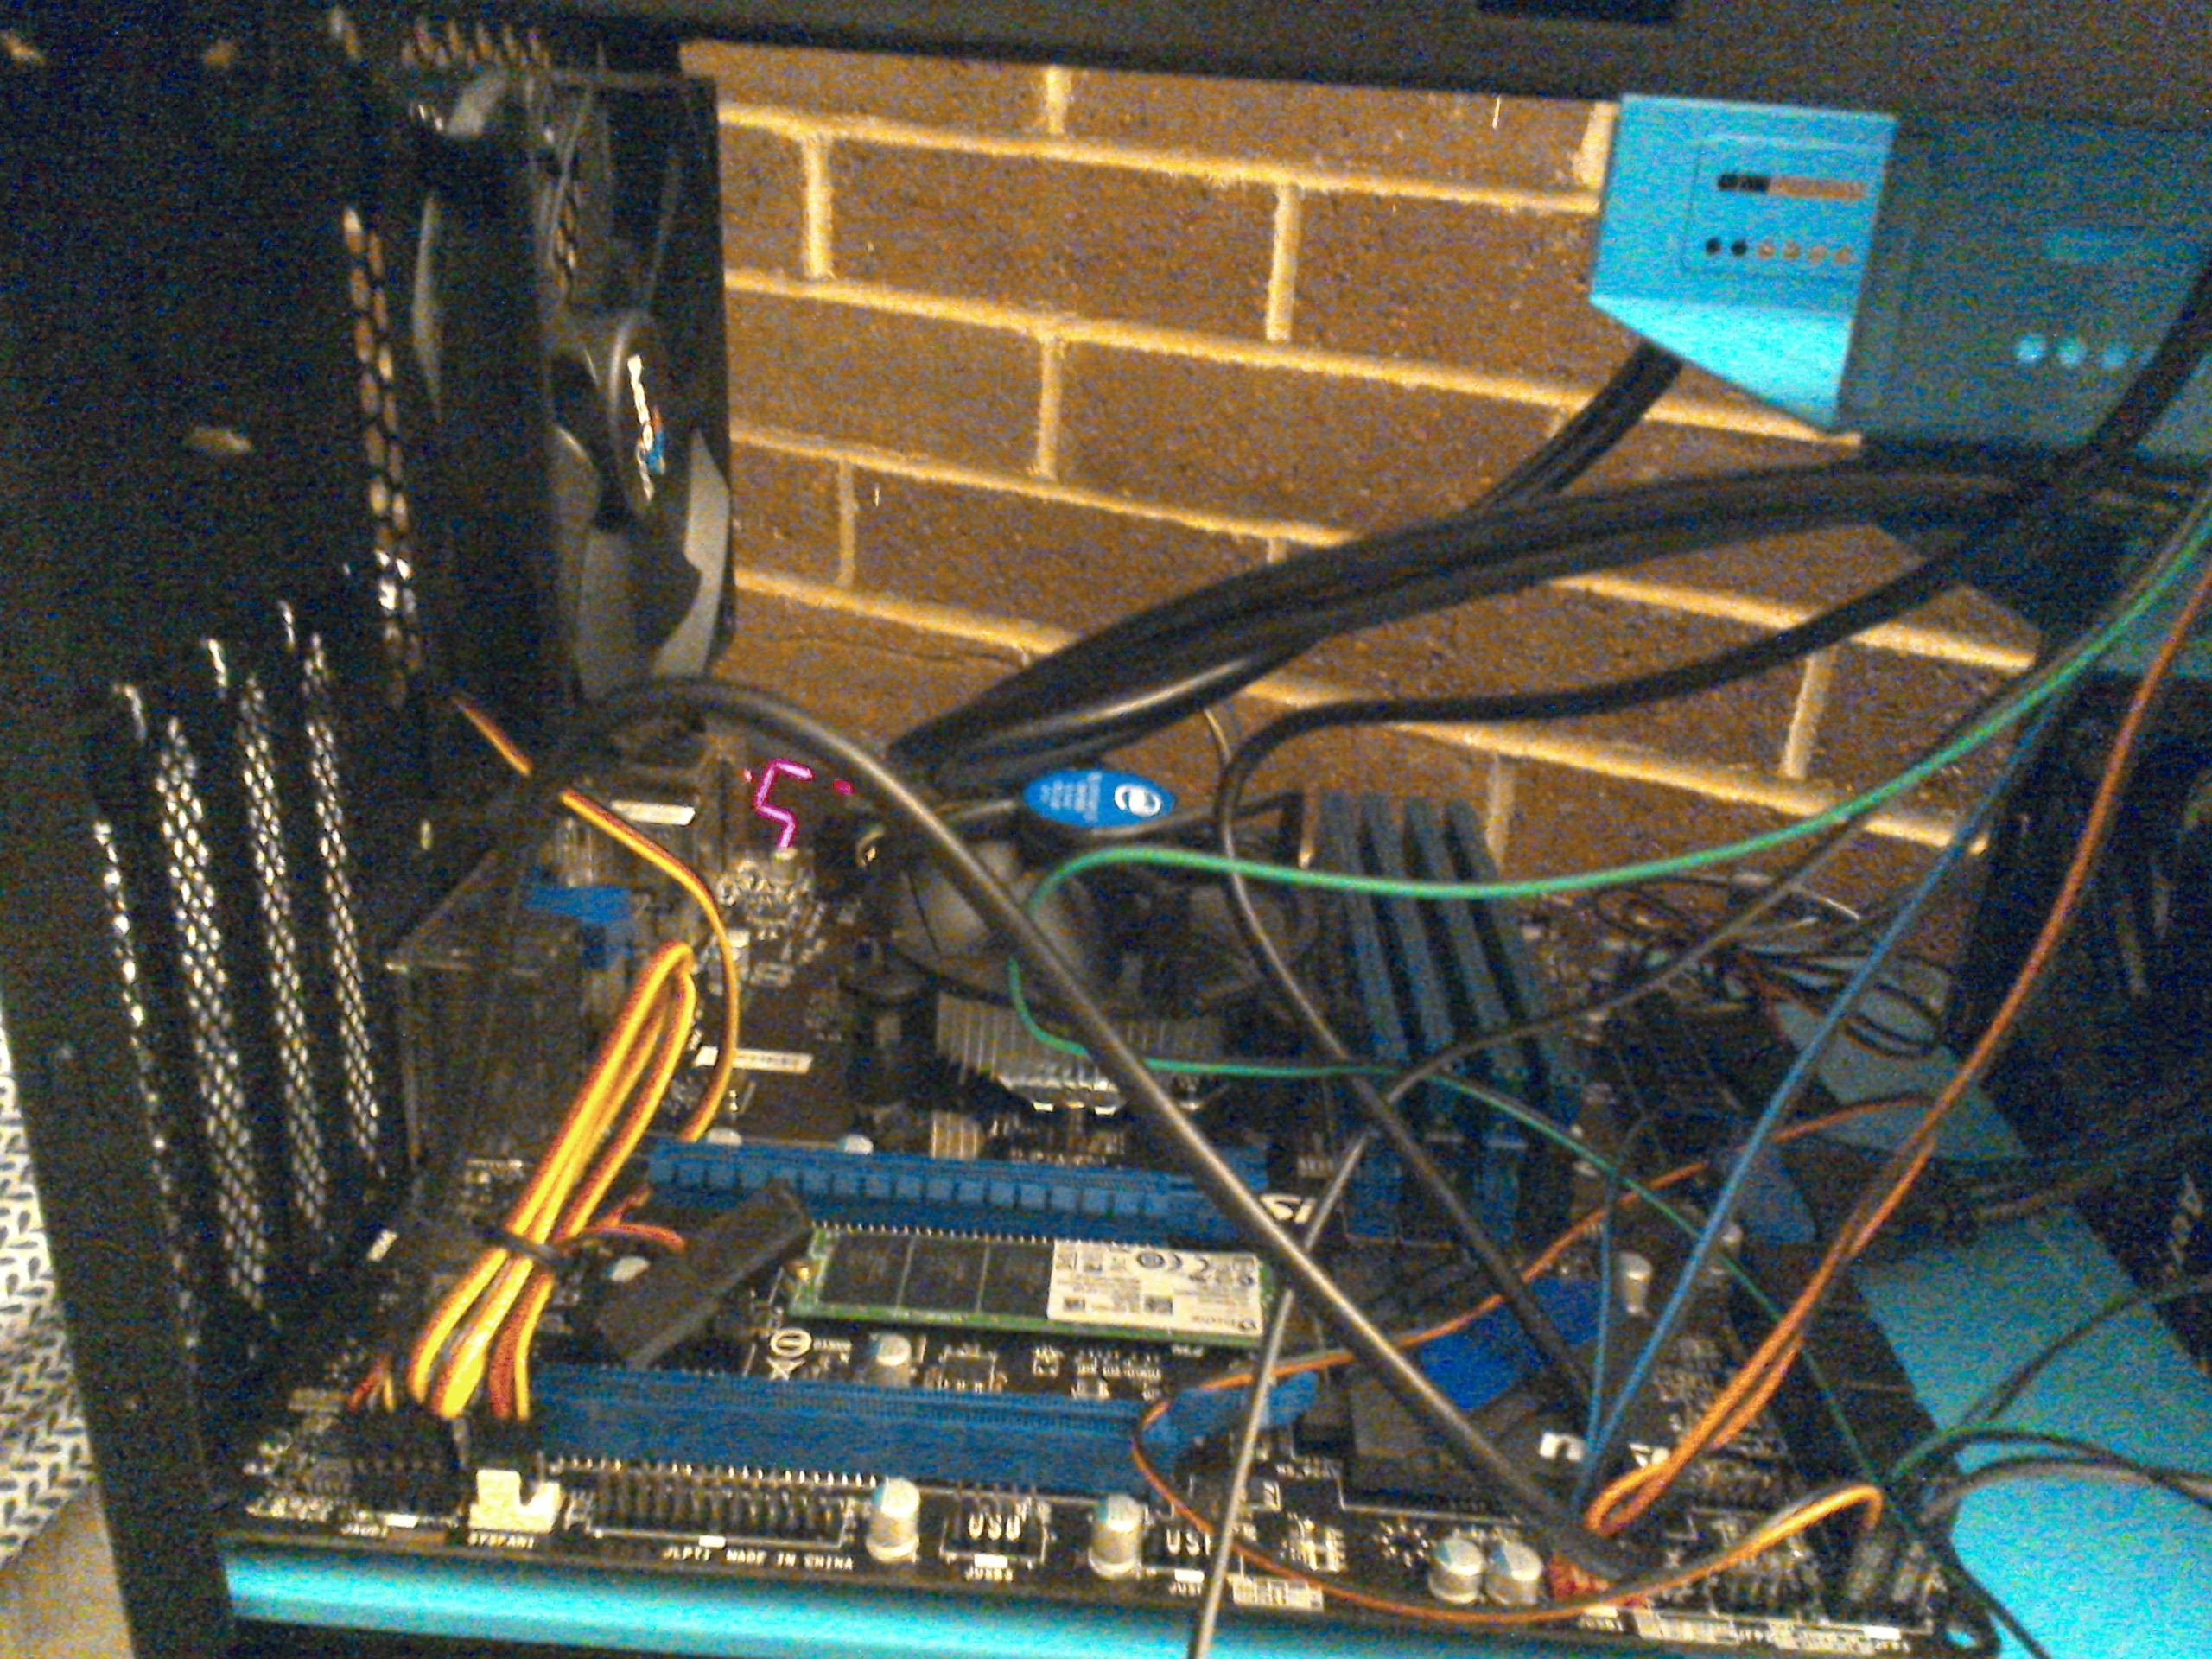
To make sure I don't waste time and energy, I hooked up the motherboard to the power supply and the monitor, and turned it on. It worked! Now I know that all the parts so far did not arrive broken and it would be safe for me to put everything inside the case, which took a lot of time. I don't remember what the monitor in the photo said. I think it said I did not have any RAM so the computer could not start up. No problem, that was easy enough to fix!

It was time to add RAM. Some motherboards available only allowed a maximum of 16 GB. Even good gaming PCs do not need more than 16 GB, but I wanted a computer for the FUTURE, not the present! So I got a motherboard with 32 GB maximum RAM and filled them all with metallic blue RAM. I'll let you guess right now what my favorite color is! :-D
I spent a lot of time thinking about how the hard drive would be. I decided to try to make my PC as lightweight as possible since I would be carrying it sometimes to and from the living room so I could play PC games instead of PS4 games (like, for example, NBA 2K15, which is available for both). The bad news I got was that the case was bigger than I expected (I ordered it online). THe good news is that I had already decided to get a very, very small solid state drive (SSD) instead of the traditional bulky hard drives. So while the case was bigger than I wanted to be, it wasn't heavier.
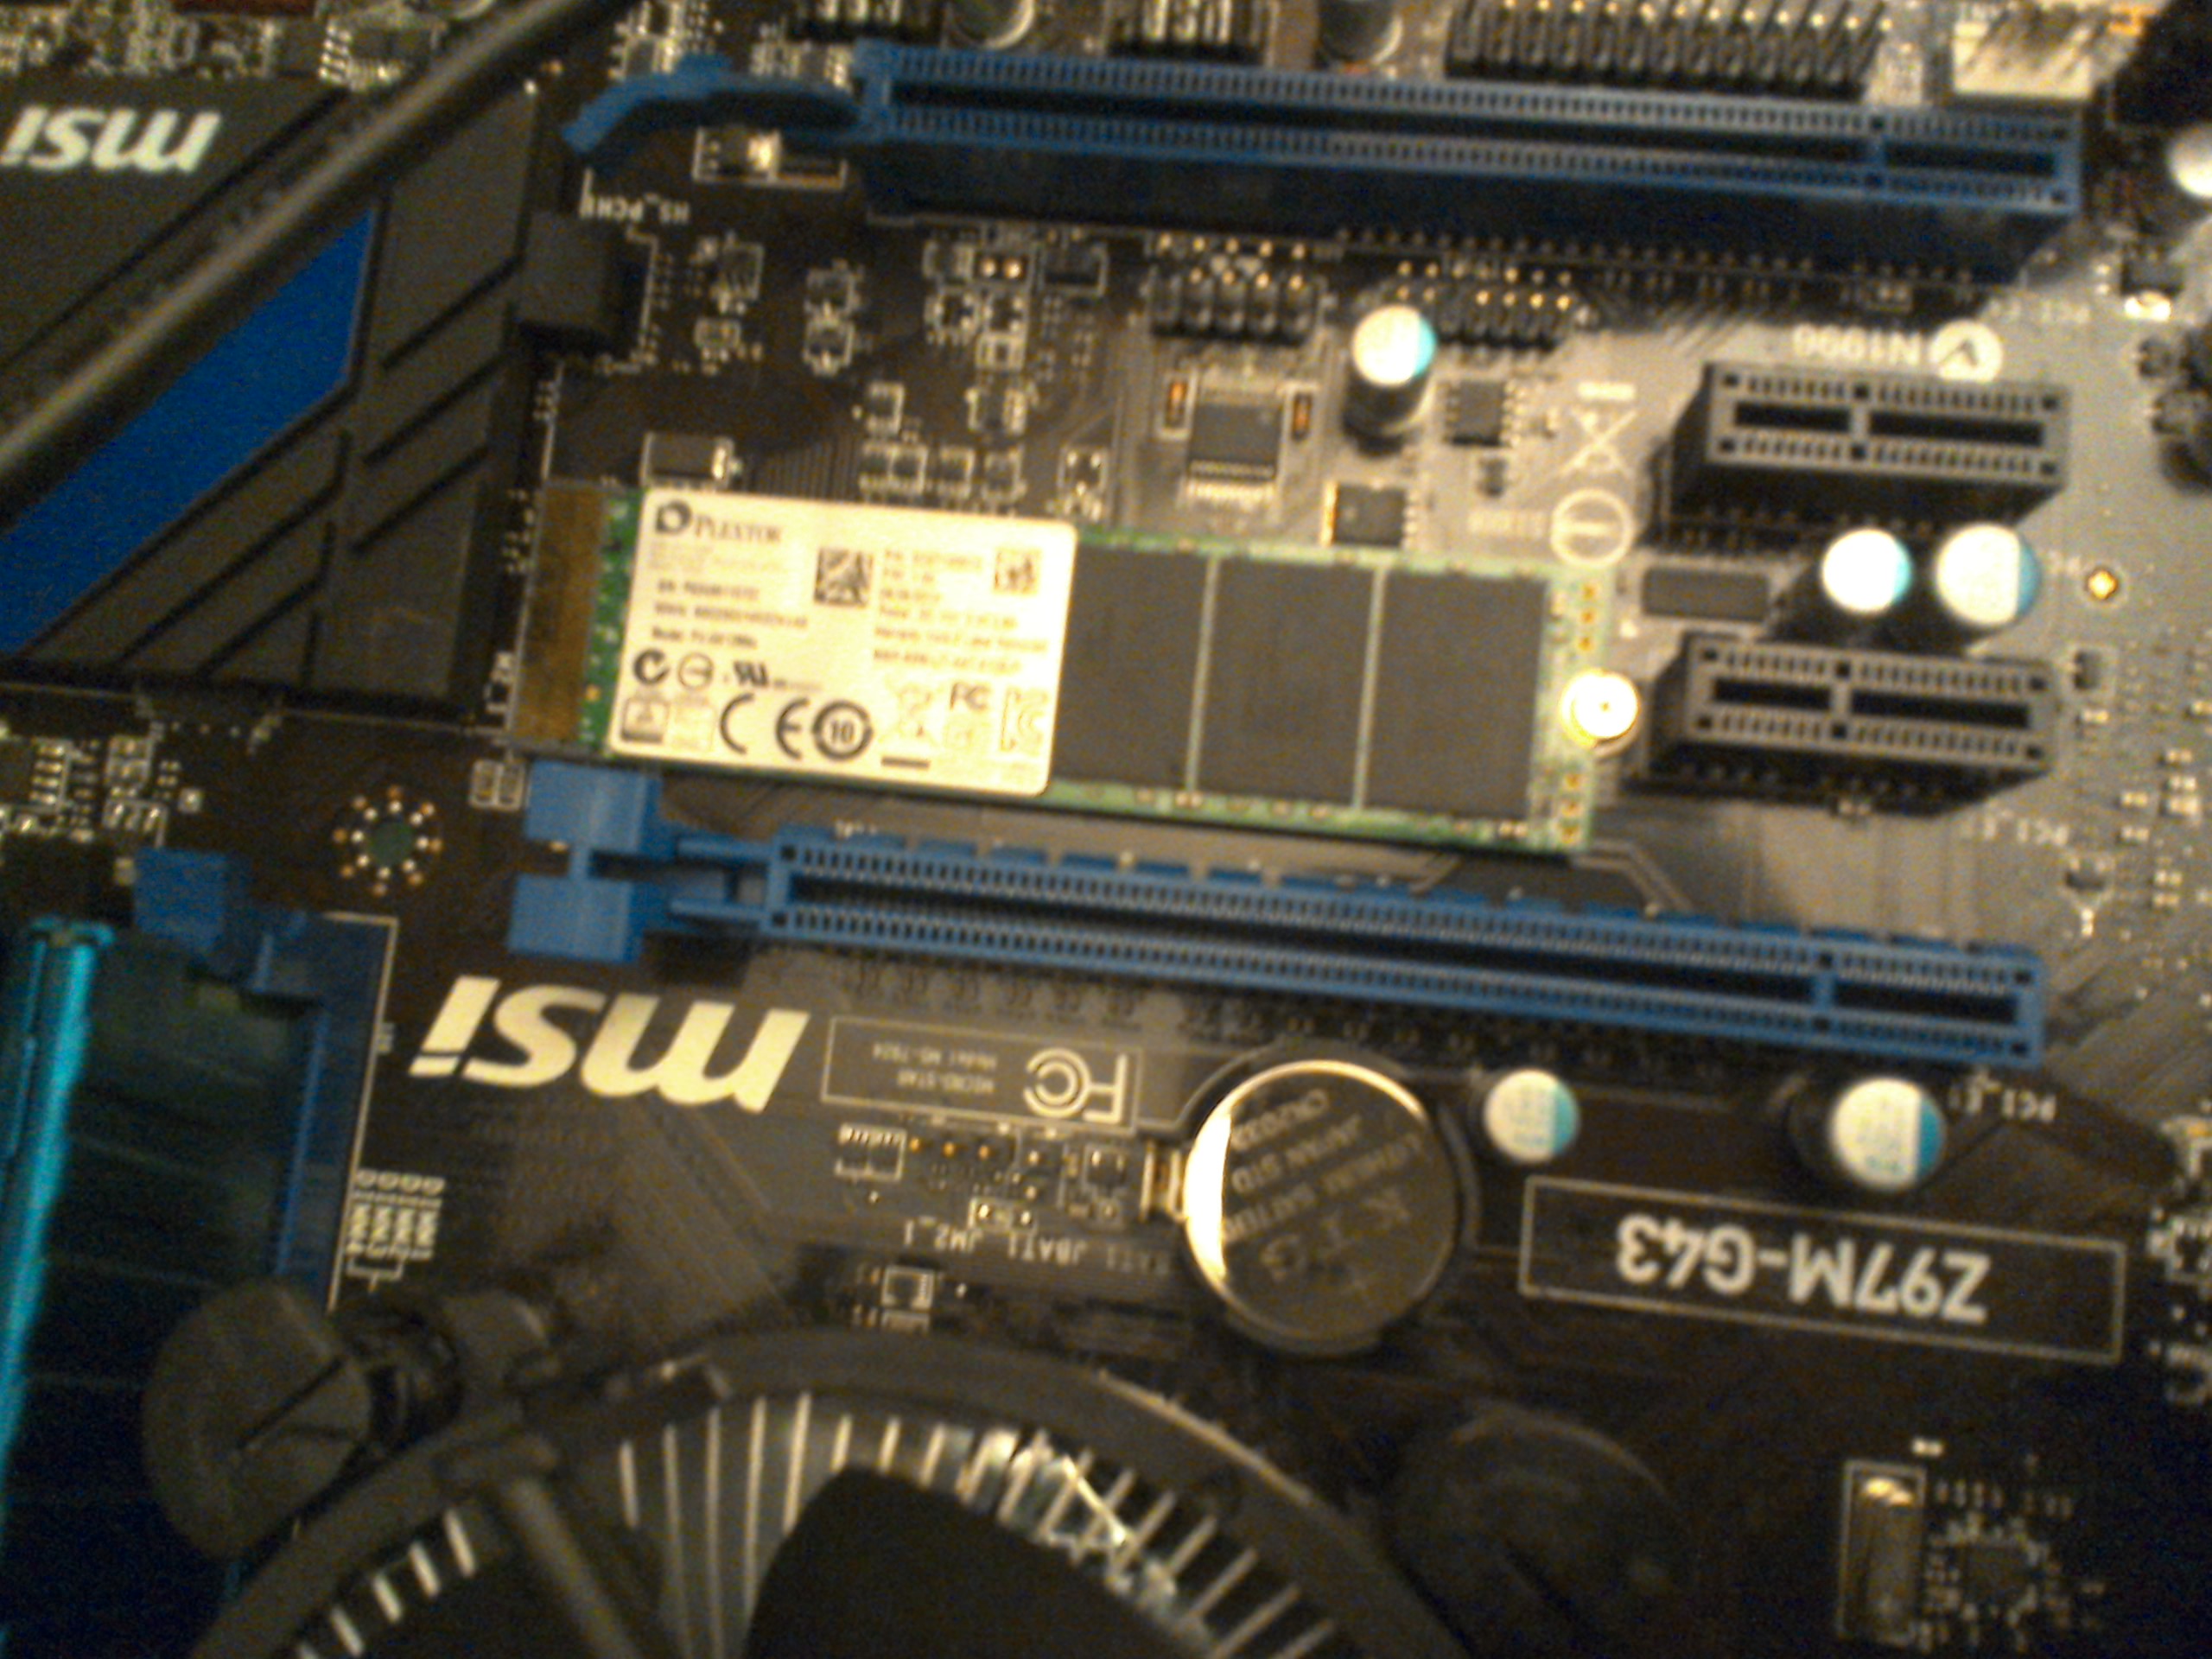
My motherboard comes with a M.2 port, which even now is a very, very new way to connect components to the motherboard. I could not believe 512 GB of storage could fit in something as small as, but flatter than, a traditional USB drive. But it worked! Attaching it on the motherboard was not easy (it was probably the hardest part of my build) and I was afraid of breaking it or the motherboard, but I finally figured it out.
I want to say something else about solid state drives. SSDs are still new technology, and M.2 SSDs are very, very new. SSDs, at the time of this writing, are reputated to last for only a few years while traditional HDs can last for a decade or more. So why do people risk their data using SSDs? They are FAST!!! As my PC has two USB 3.0 ports, I later bought a 1 TB USB 3.0 external hard drive and every weekend I try to remember to back up my entire computer on that HD. It only takes a few minutes due to the speed of the M.2 SSD AND the USB 3.0 connection. So if my SSD dies, no problem, I can just buy another one (and it will likely be cheaper in the future) and re-install the data that I have backed up.
But you say wait, why only 512 GB? Most PCs today have 1 TB (1,000 GB) or more. Well, my old PC had, I think, only 120 GB or something of data TOTAL. Windows 8.1 needs only 20 GB of space for a complete installation. The bigger a hard drive is, the more time it takes to scan and maintain it (especially with antivirus software!!!). I felt a half TB was a good compromise for size, cost, and speed.

Here is a back view of the case. The shiny part is the cover for the motherboard's ports. It didn't fit my case well, but after a little time I was able to get it to fit.

I placed the motherboard in the middle of the case. The case comes with holes and thumb screws to fit three main types of motherboards (ATX, Micro ATX, and Mini ITX).
Now it was time for the rest of the case's wires to be connected to the motherboard, now that everythng was working so far.

Next up was the only large drive of my new PC - the Blu-ray burner. If you are going to build a PC, get as good a drive as you can. Most Blu-ray burners can read and rewrite Blu-rays, DVDS, and CDs. That way you can easily install older programs off CDs and DVDs, or simply hook the computer up to the TV and watch your favorite Blu-ray movies on it instead of your PS3. Internal Blu-ray drives cost only $10-$20 dollars more than DVD drives! Anyway, in the picture I removed the blue front panel of the case so I could slide the burner into the large top slot. The smaller lower slot can be used for floppy drives (no point, I have a USB floppy drive anyway) or touch controls for high-end cooling systems.

You can see the two internal drive trays in the picture. I slid the Blu-ray burner back until it fit, then attached side screws to keep it from moving around when the case is moved around.

The second hardest part of my build was getting the power supply in the bottom of the case. The supply was only a few millimeters less in area than what the case manufacturer had in the specifications, but the supply had very thick cables so it was not easy to get it inside without getting the cables detached! Here is nother tip from me: if money is no problem for power supplies, go MODULAR. That way if you do not need all of the cables, you can just detach the ones you do not need to use and save a lot of space in your case.
Power supplies have pretty thick cables. I had to put the cables through the hole under the motherboard floor of the case first, then pull the power supply into the space in the case reserved for power supply boxes. Fortunately, I had a lot of free space because my case can take up to 4 (I think) internal hard drives. The extra length of cables and wires were tucked away in the space. I attached the power cables to the sockets on the motherboard so all of the components would get full power when the computer is plugged and turned on.

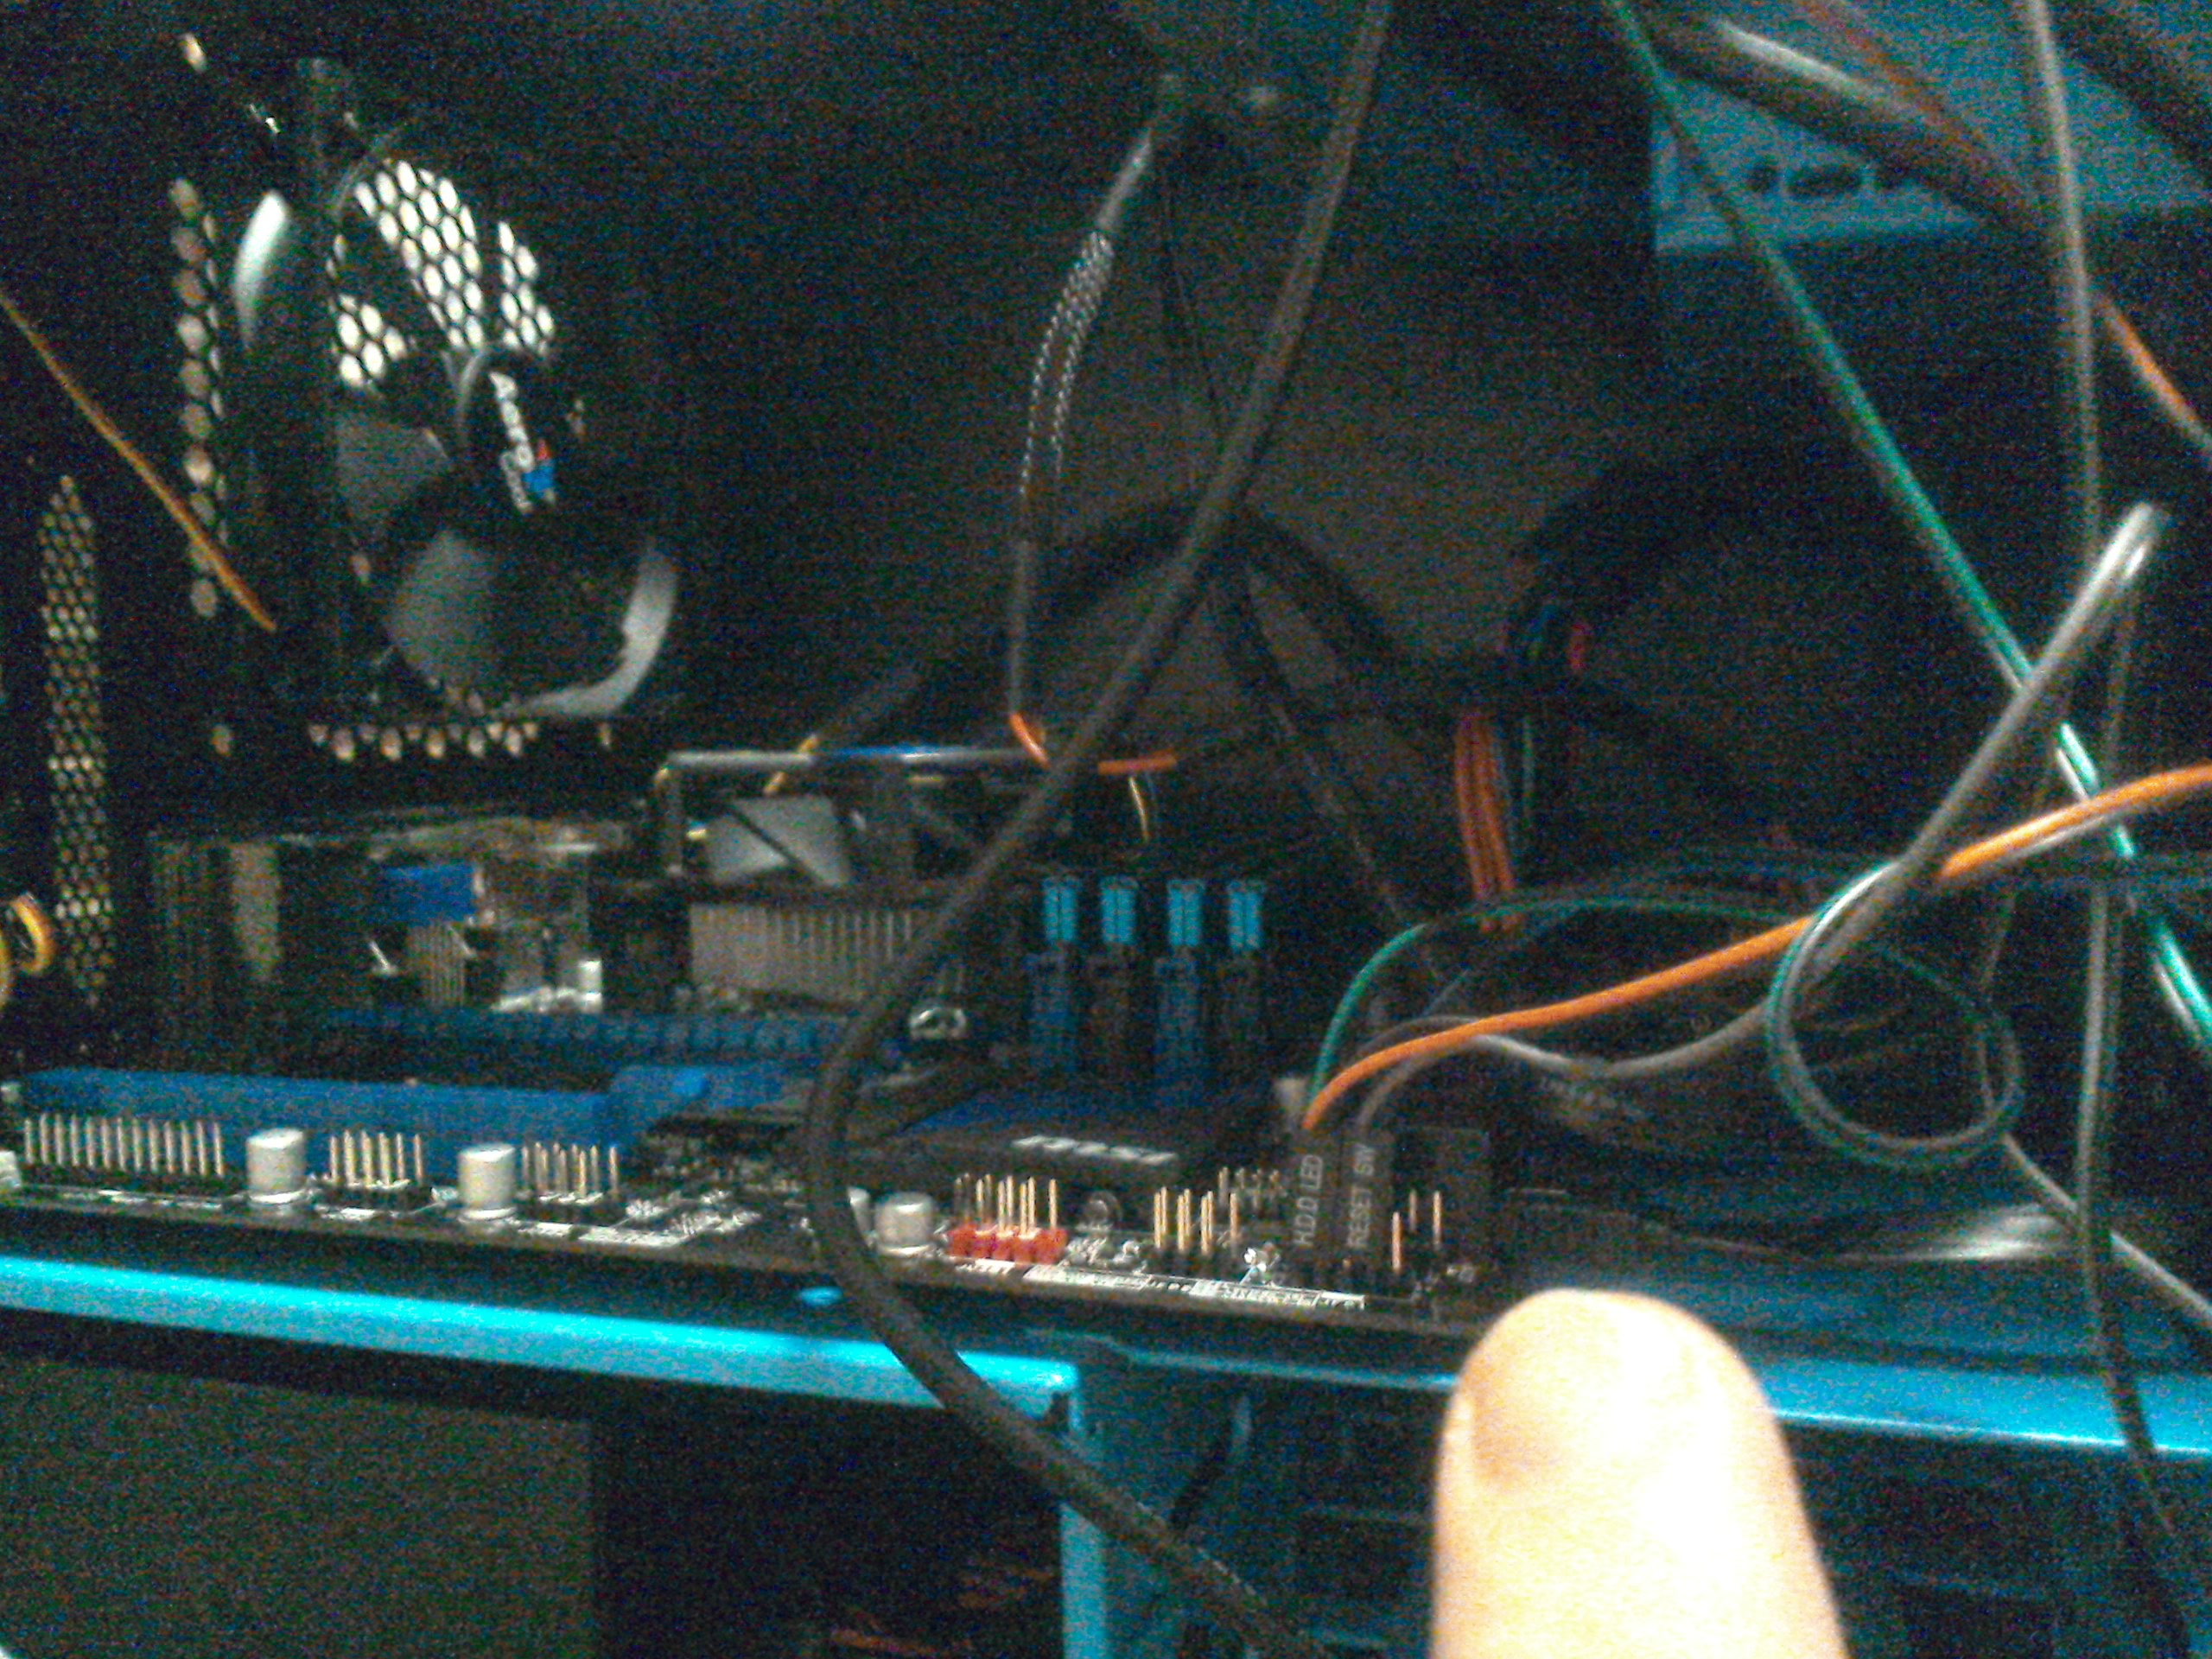
After screwing the power supply to the case, it was time to open the top to attach the wires for the burner to the motherboard. The case was pretty crowded wth cables and I tried to keep it clean. In the enlarged second picture, note that the wires for the case's lights have labels telling what wire is for which light.
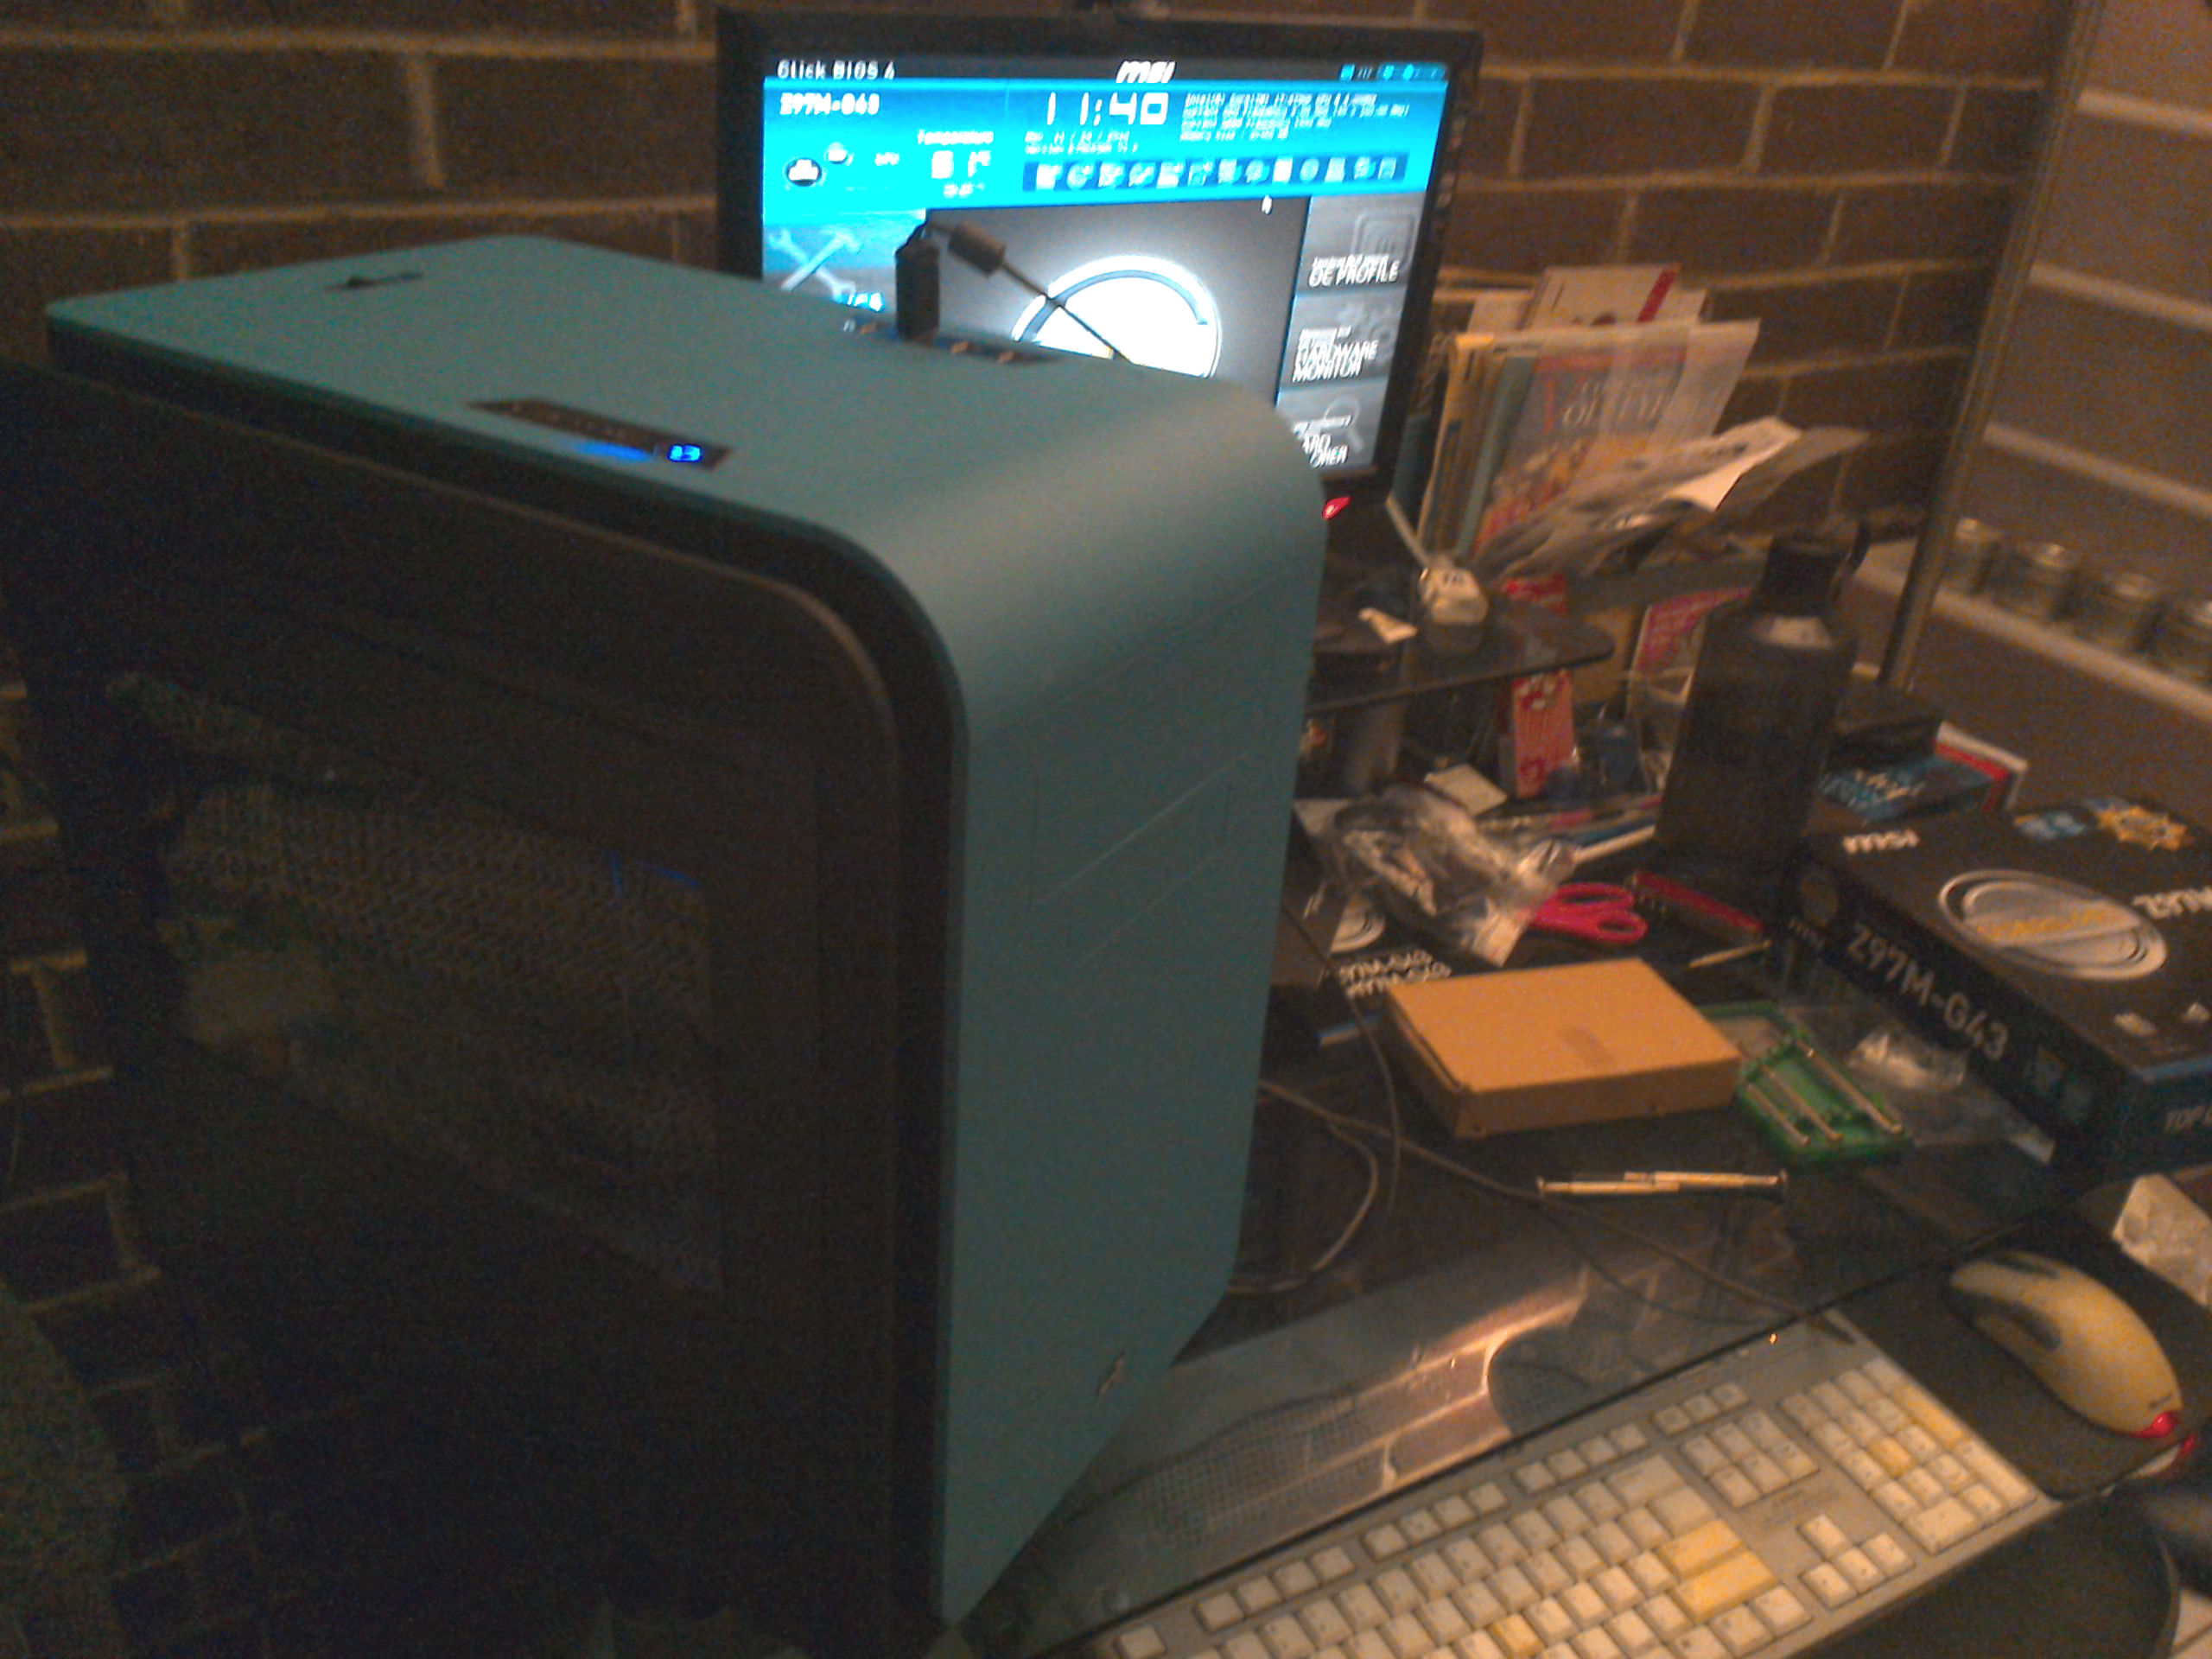
Now to test all my hard work so far. I closed the case, hooked it up the monitor, and attached my USB mouse and white keyboard, which unfortunately still used a PS/2 connection - the old blue/purple one. If you accidentlly unplug a PS/2 keyboard, it will not work when you plug it back in - you need to restart the computer. No matter what, get an USB keyboard. Luckily I had one that I found at a thrift store for only $5.99! :-D Back to the picture, you can see that the computer is turned on and the MSI BIOS screen is running. Now it just needs an operating system.
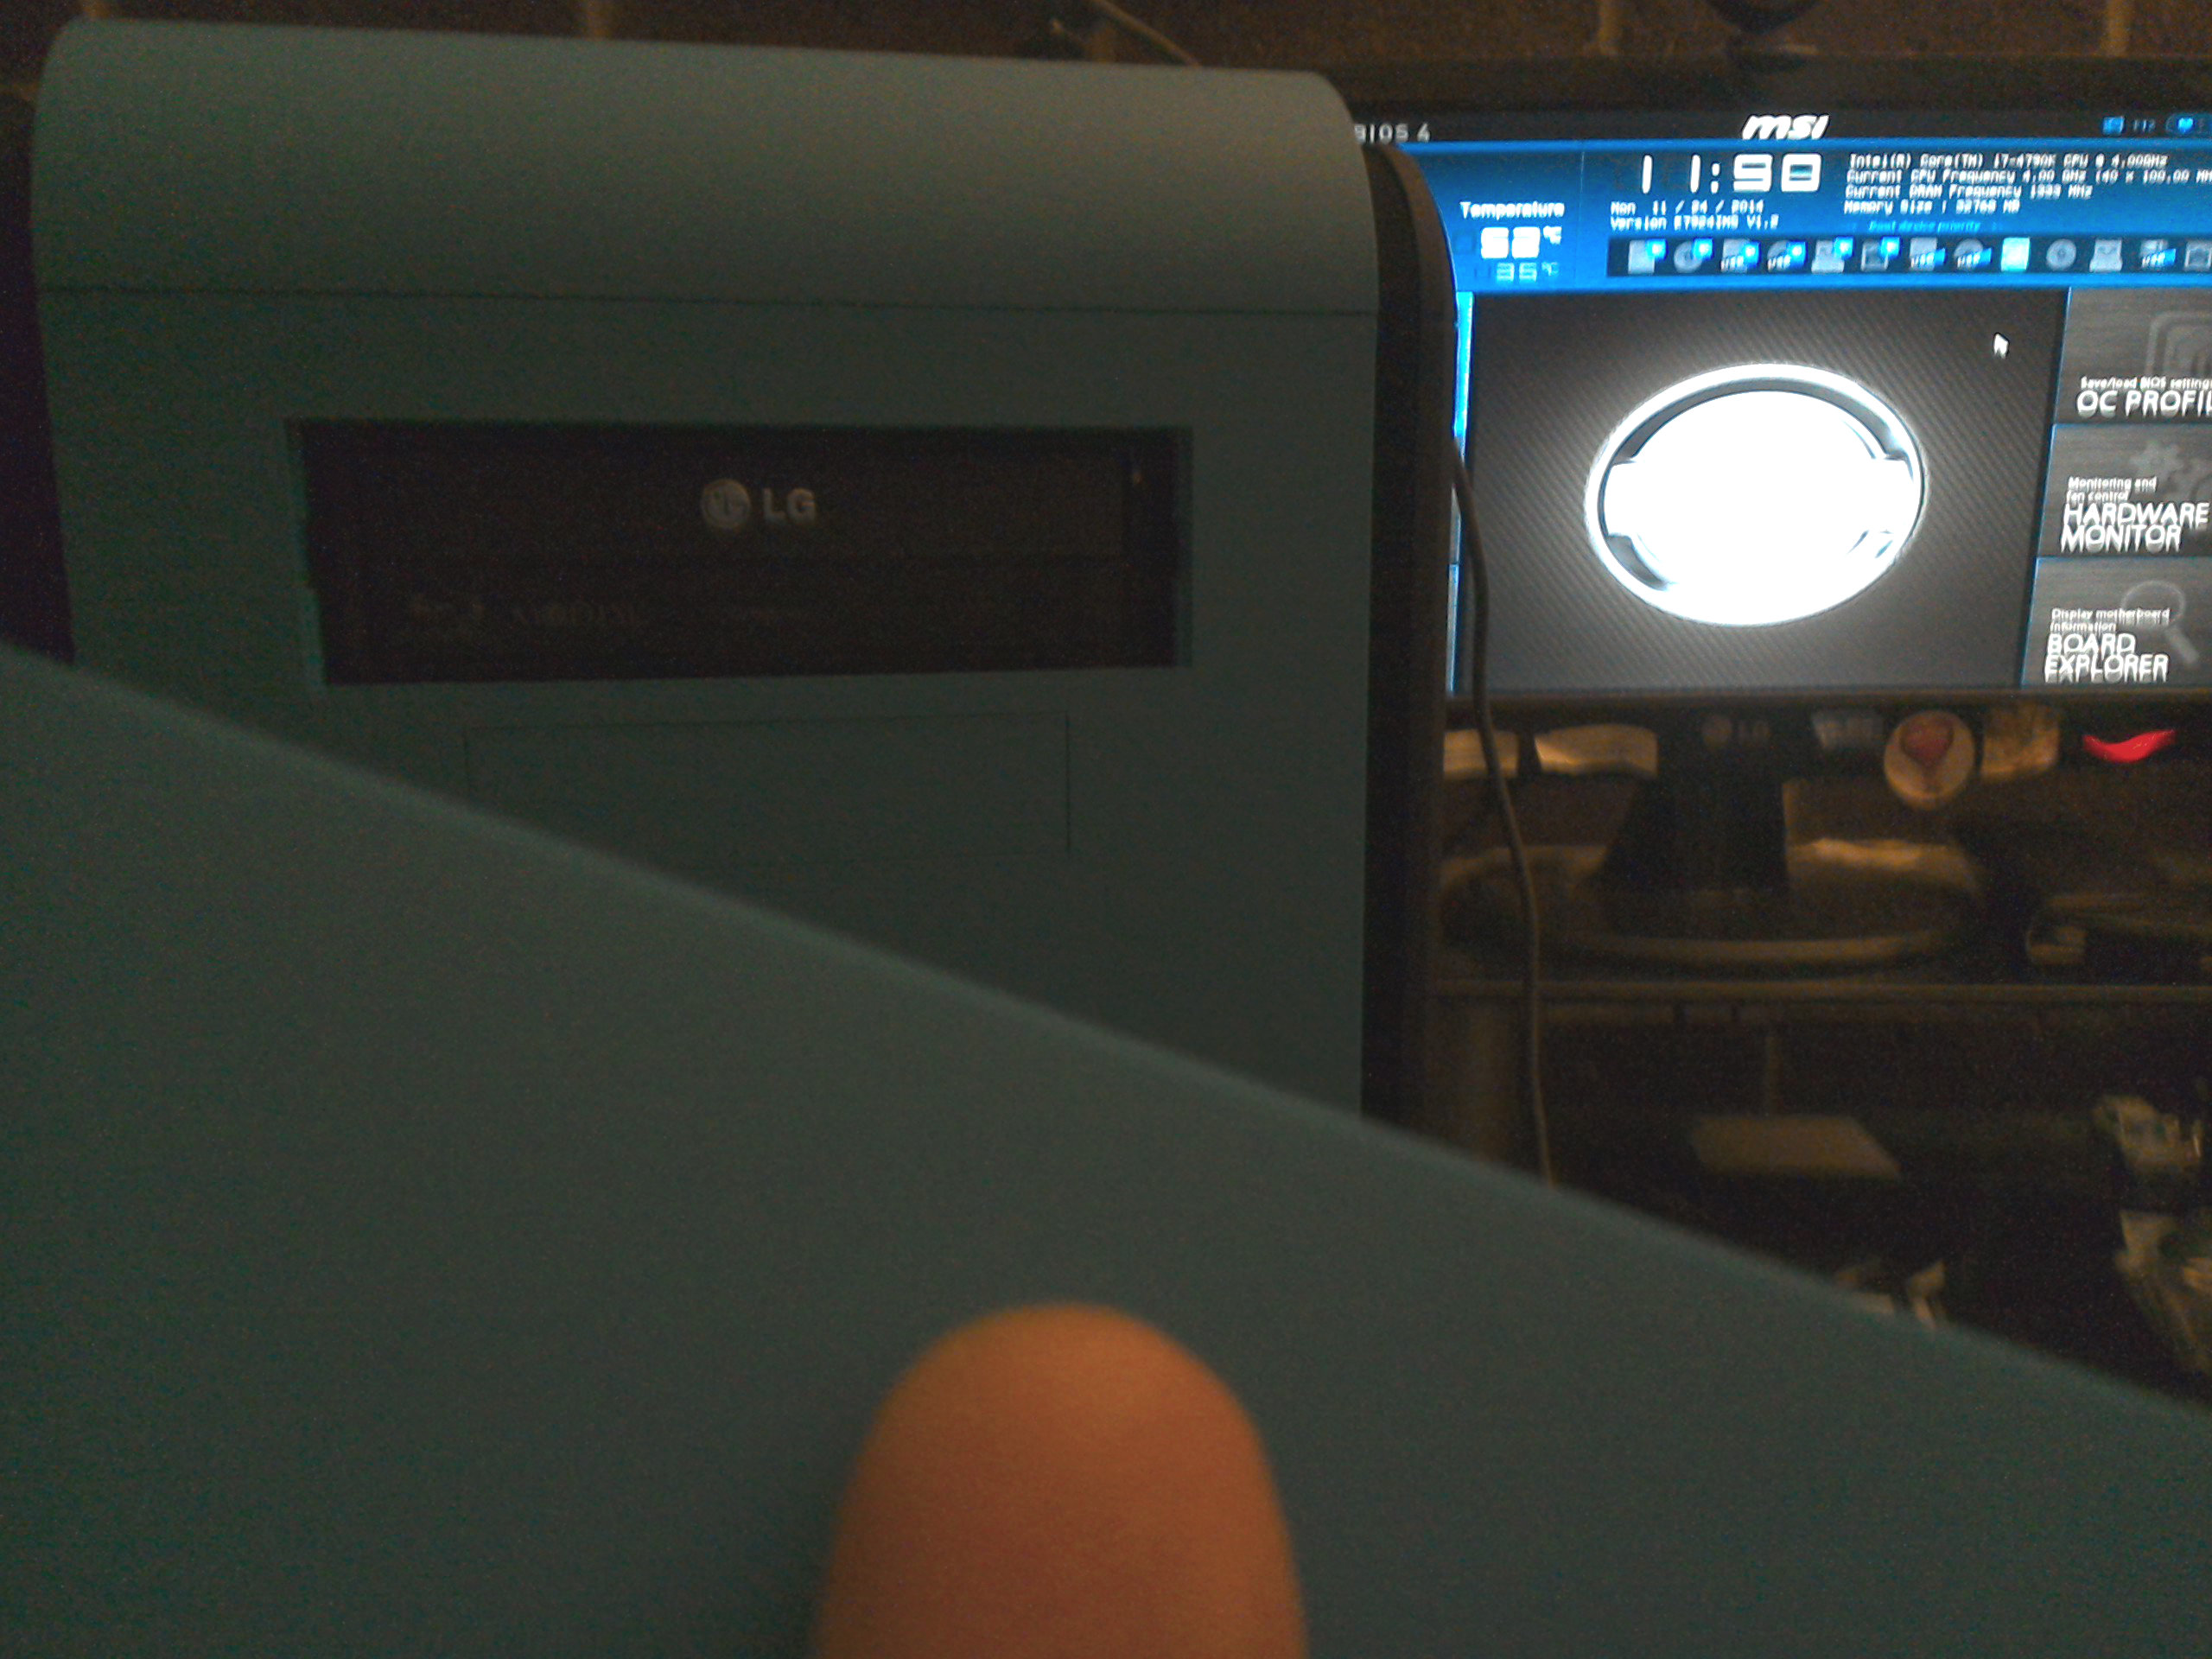
Before I took that important next step, I put the front cover of the case back on. I thought that the top drive cover would somehow open and close with the Blu-ray burner, but I realized that it had no moving part to open and close itself with the drive. So by hand I removed that top cover and put the front cover back on. Good thing too, as I need to be able to open the burner to insert the Windows installation DVD.
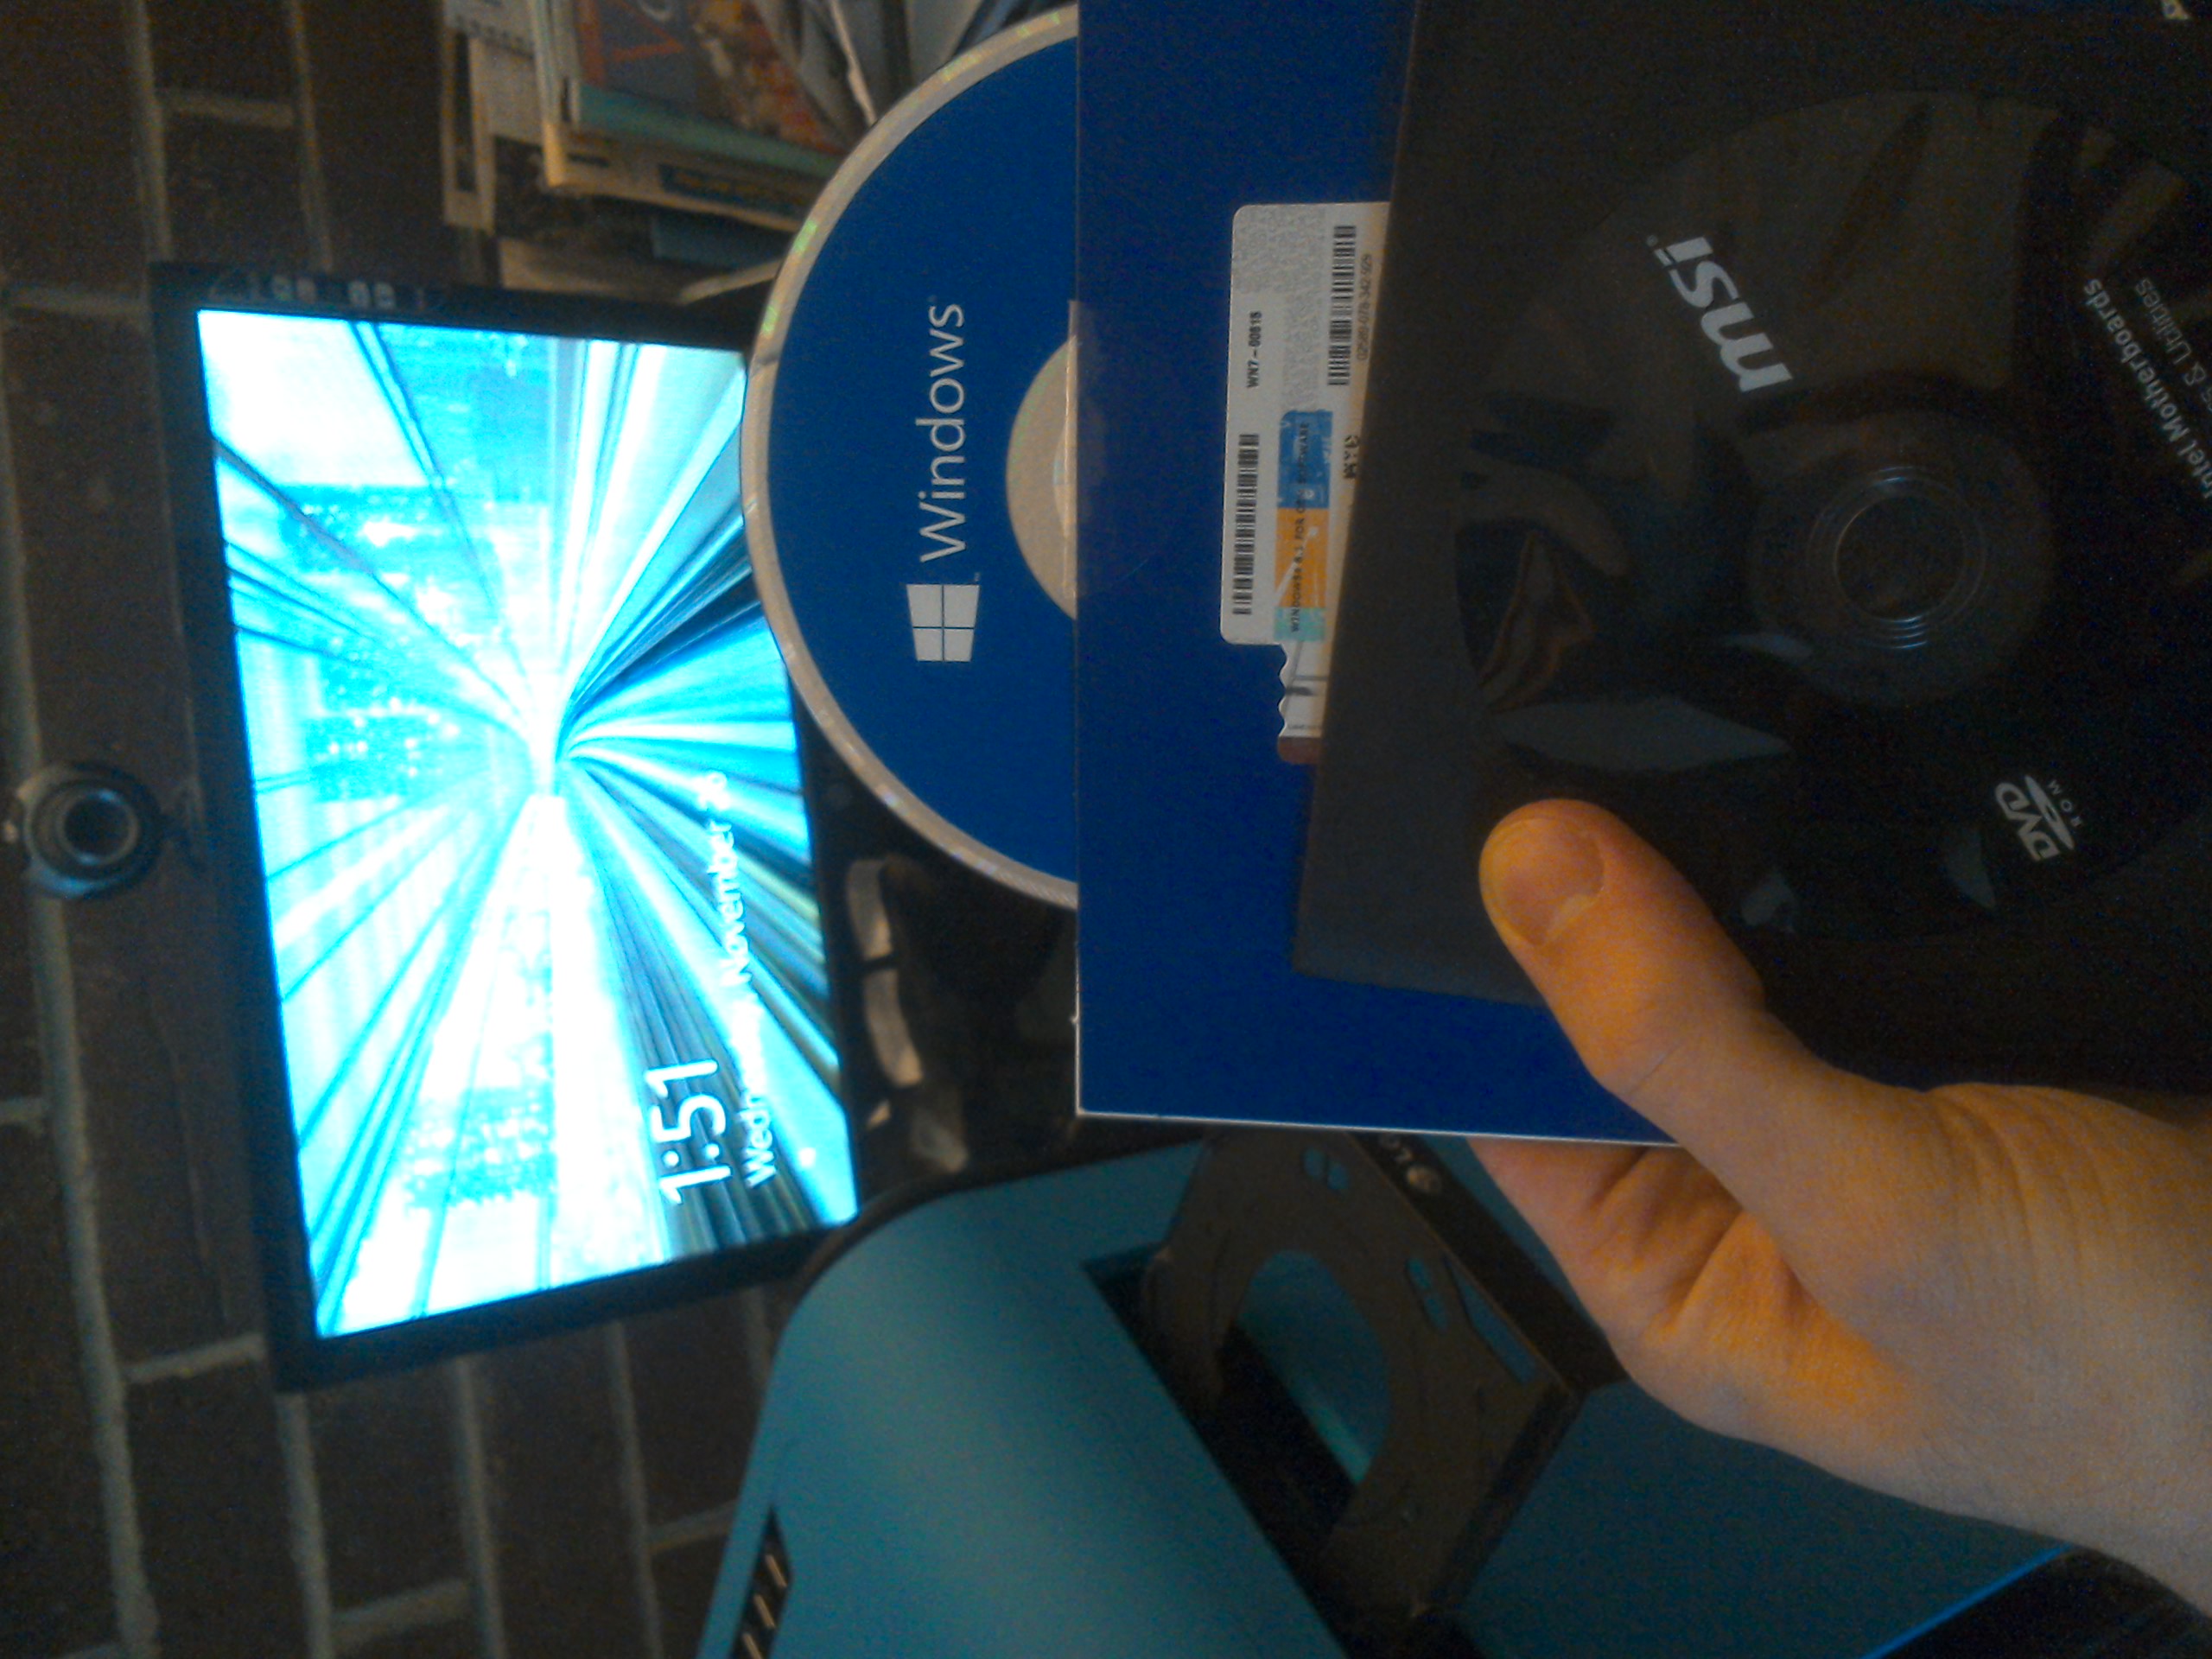
In the picture, I have installed both the Windows 8.1 operating system and MSI motherboard software in the computer. Now my computer was acting like a normal computer! Using the OEM Windows DVD is a good way to save money (around $50). You can't reuse the installer on a different motherboard or get technical support, but if you are pretty good around Windows anyway you won't notice any difference.

There were two mistakes to be fixed before my build could be 100% completed. First, I received the wrong video card and I had to exchange it for another one. In addition, I meant to order a wireless USB adapter with all the other components, but I forgot to! So several days later, here they are. My old computer used a very bulky PCI wireless adapter, so I was very interested in a micro USB adapter. As for the GeForce GTX, I know 980 is better but it costs $200 more than 970, and I don't play THAT many computer games anyway so I compromised on the next best thing.
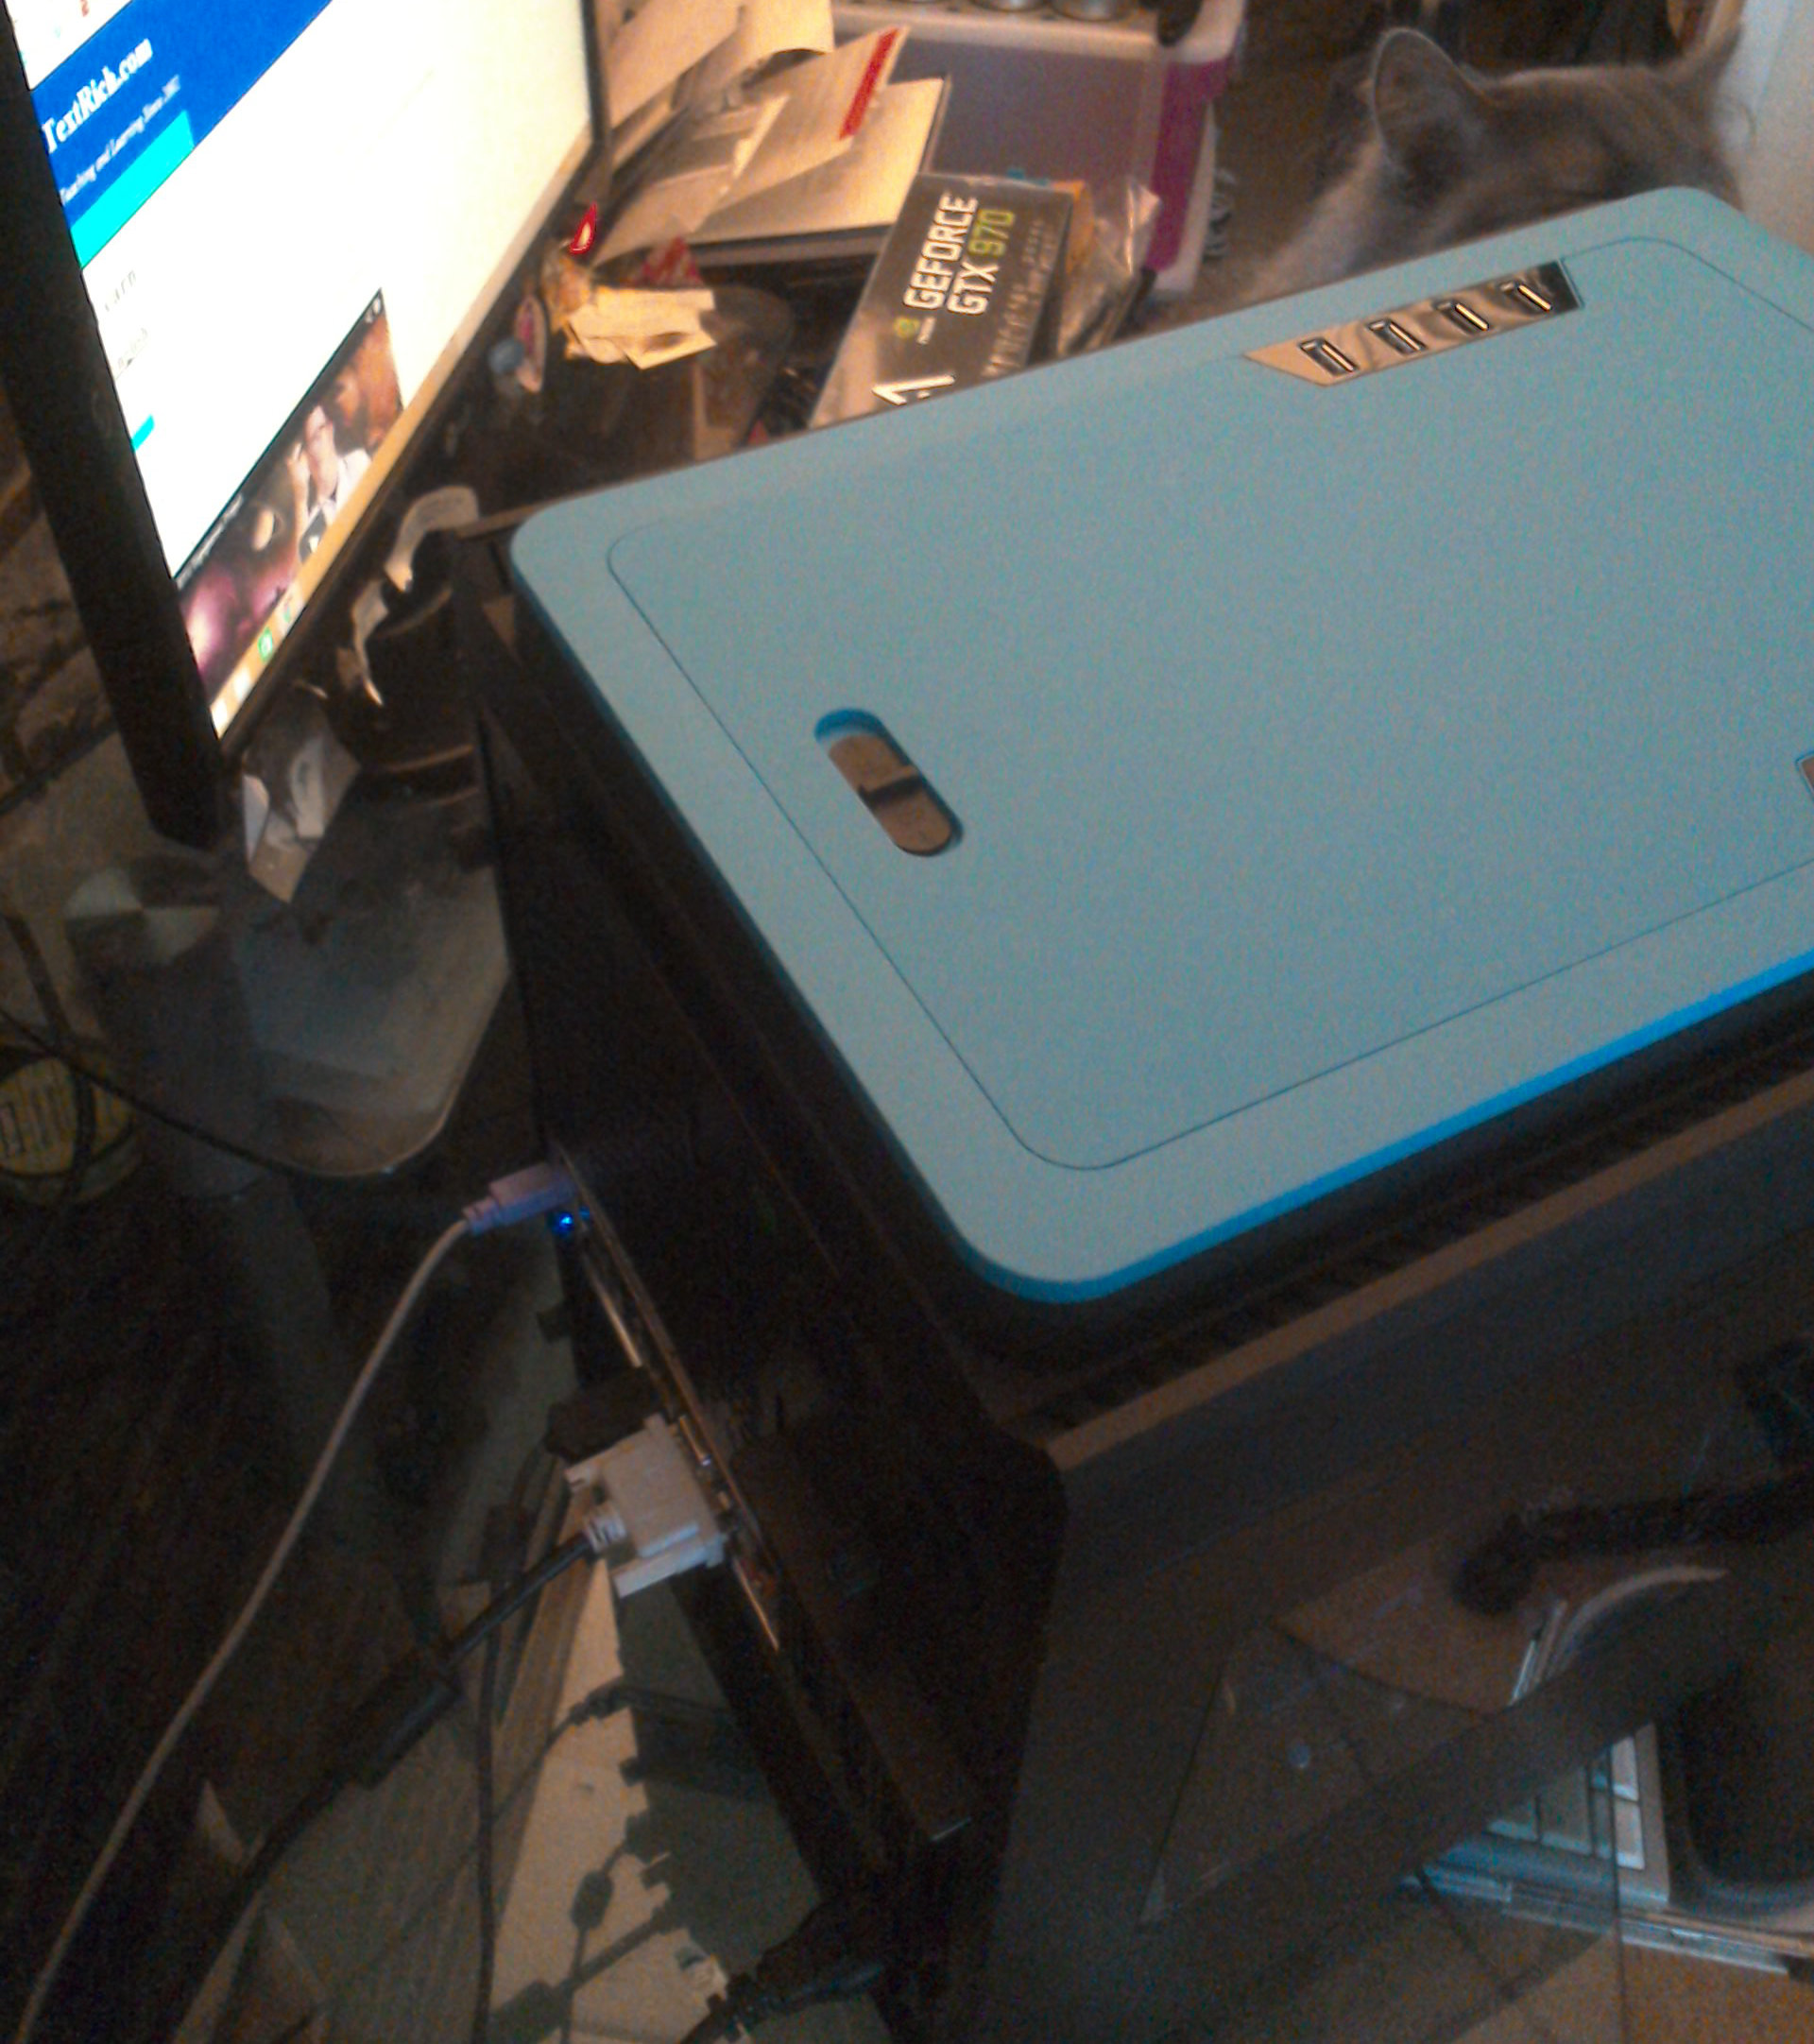
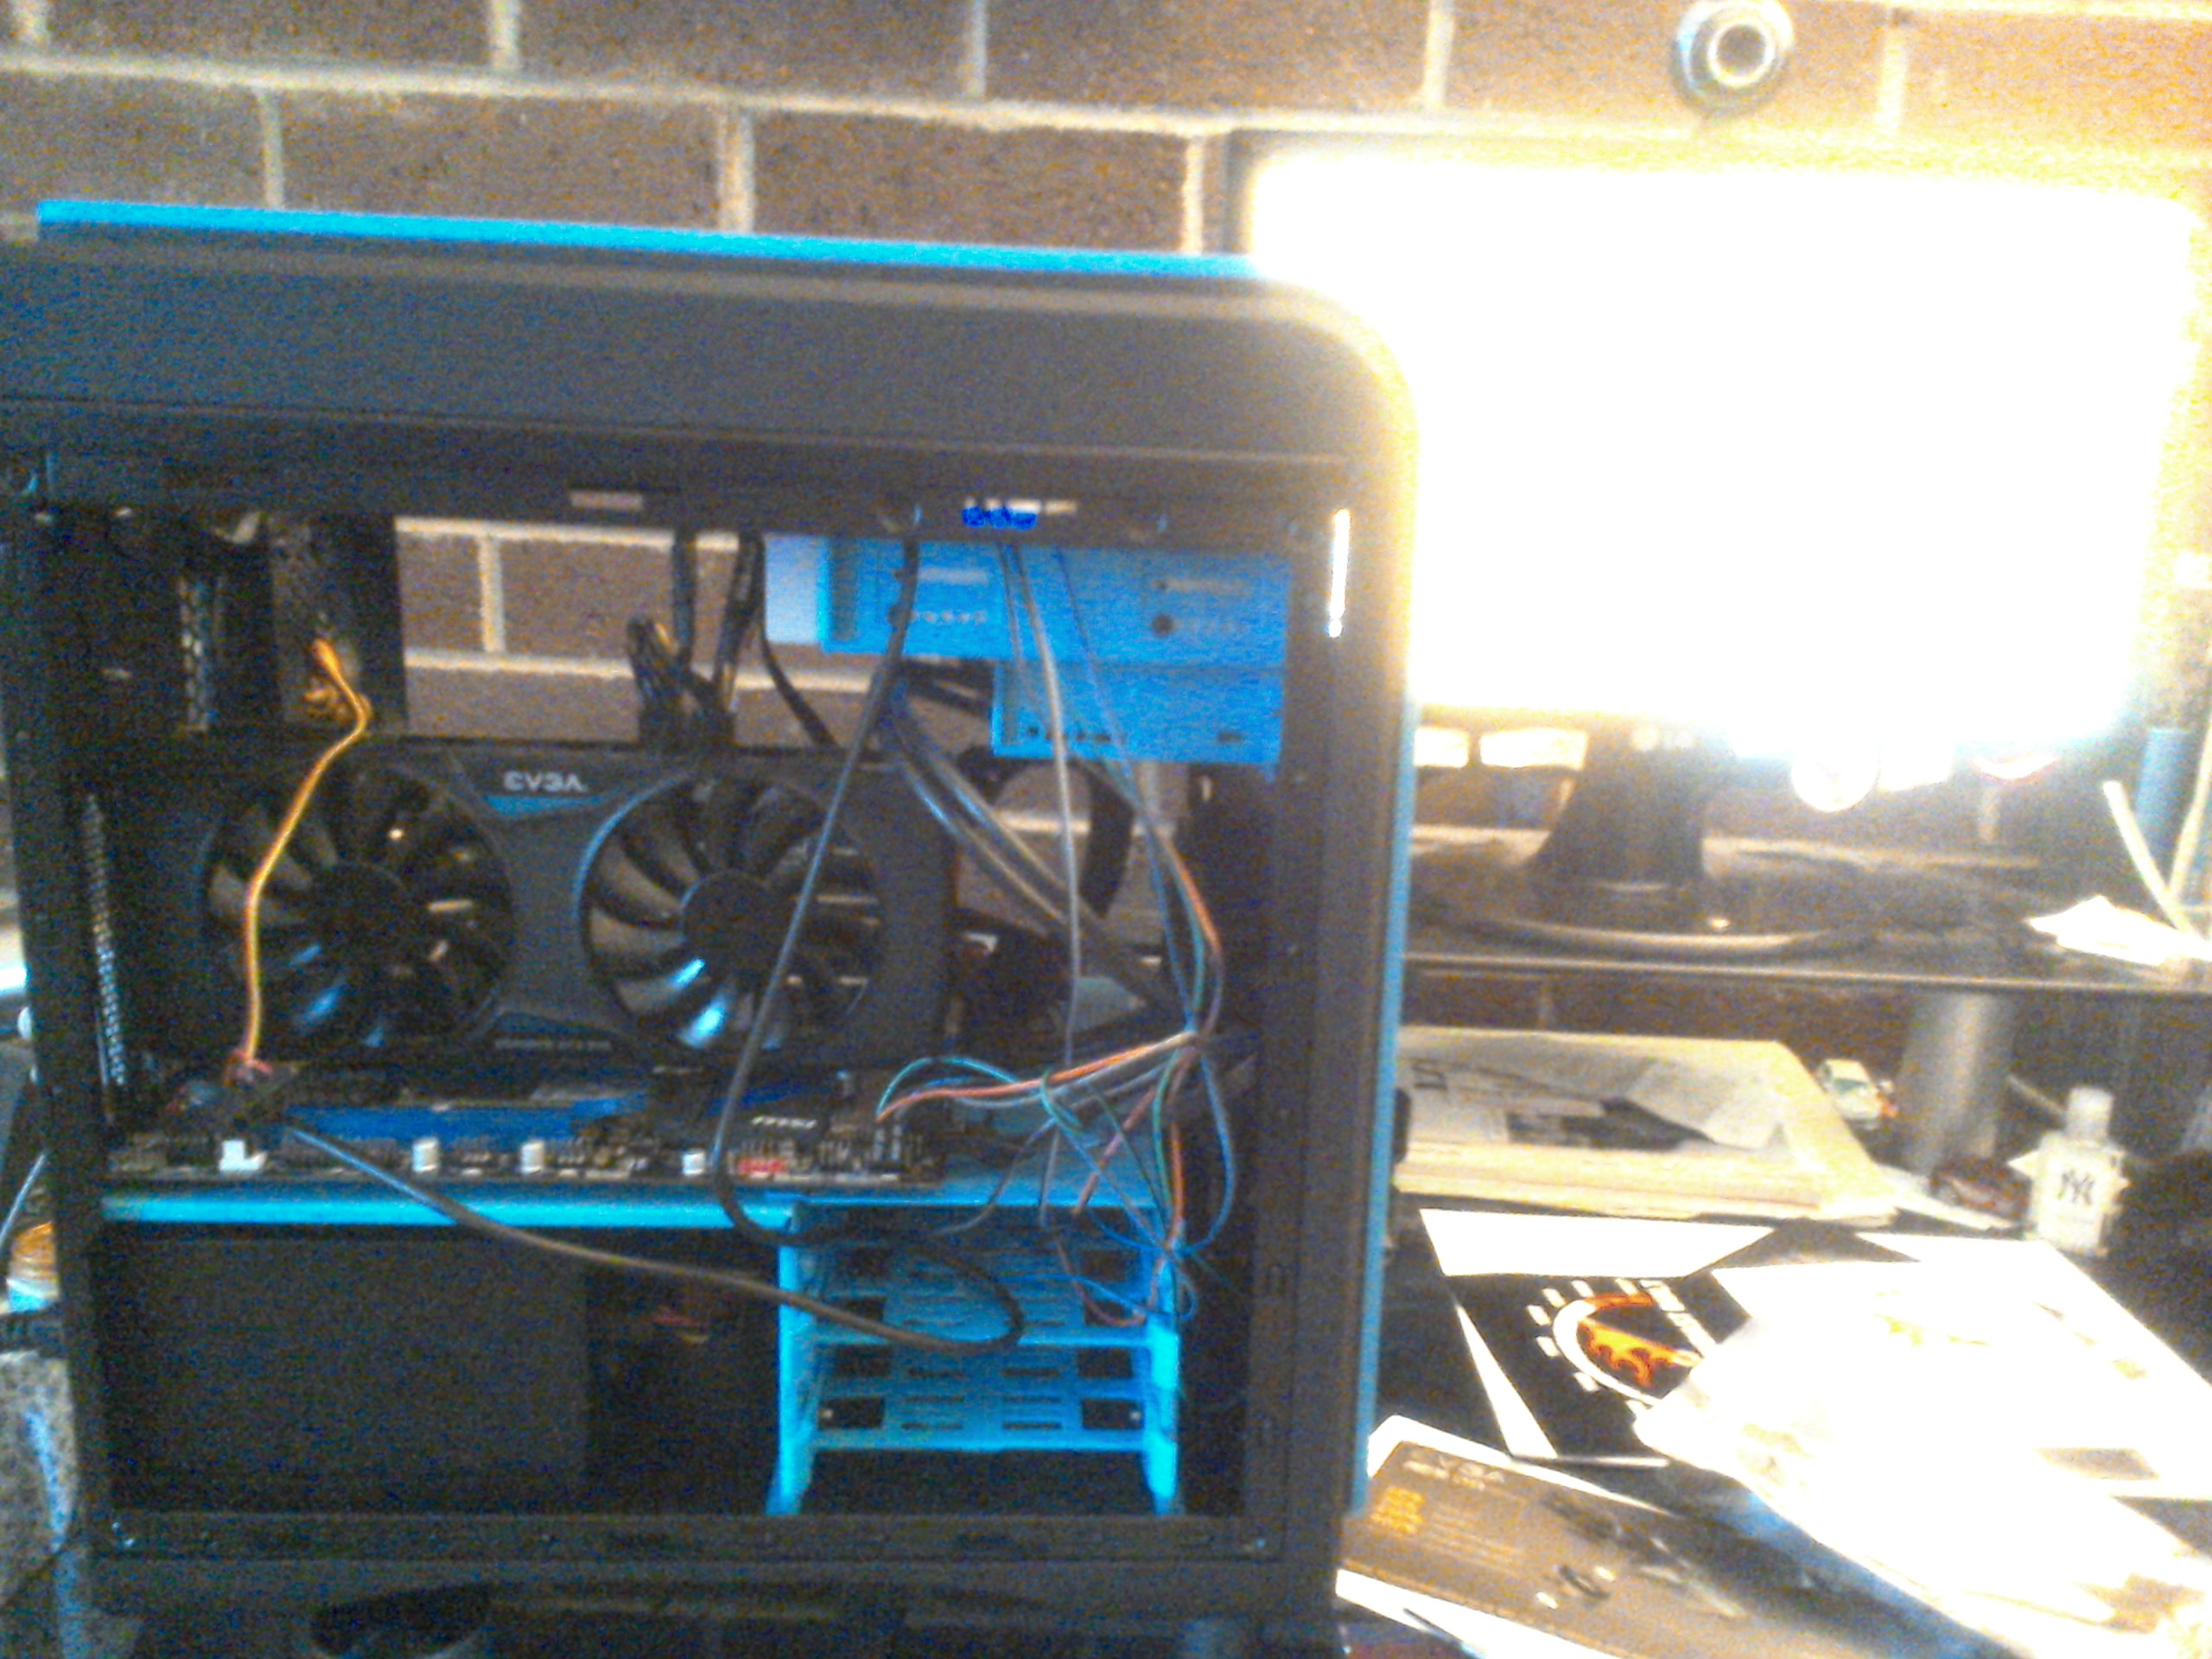
The wireless adapter was a success! It isn't as strong or fast as other adapters, but it is very small and that makes it so much easier to carry it around to set up network games. You can see it glow blue in the back of the case. One of my daughters liked my hard work very, very much. You can see her rubbing against the case in the photo.

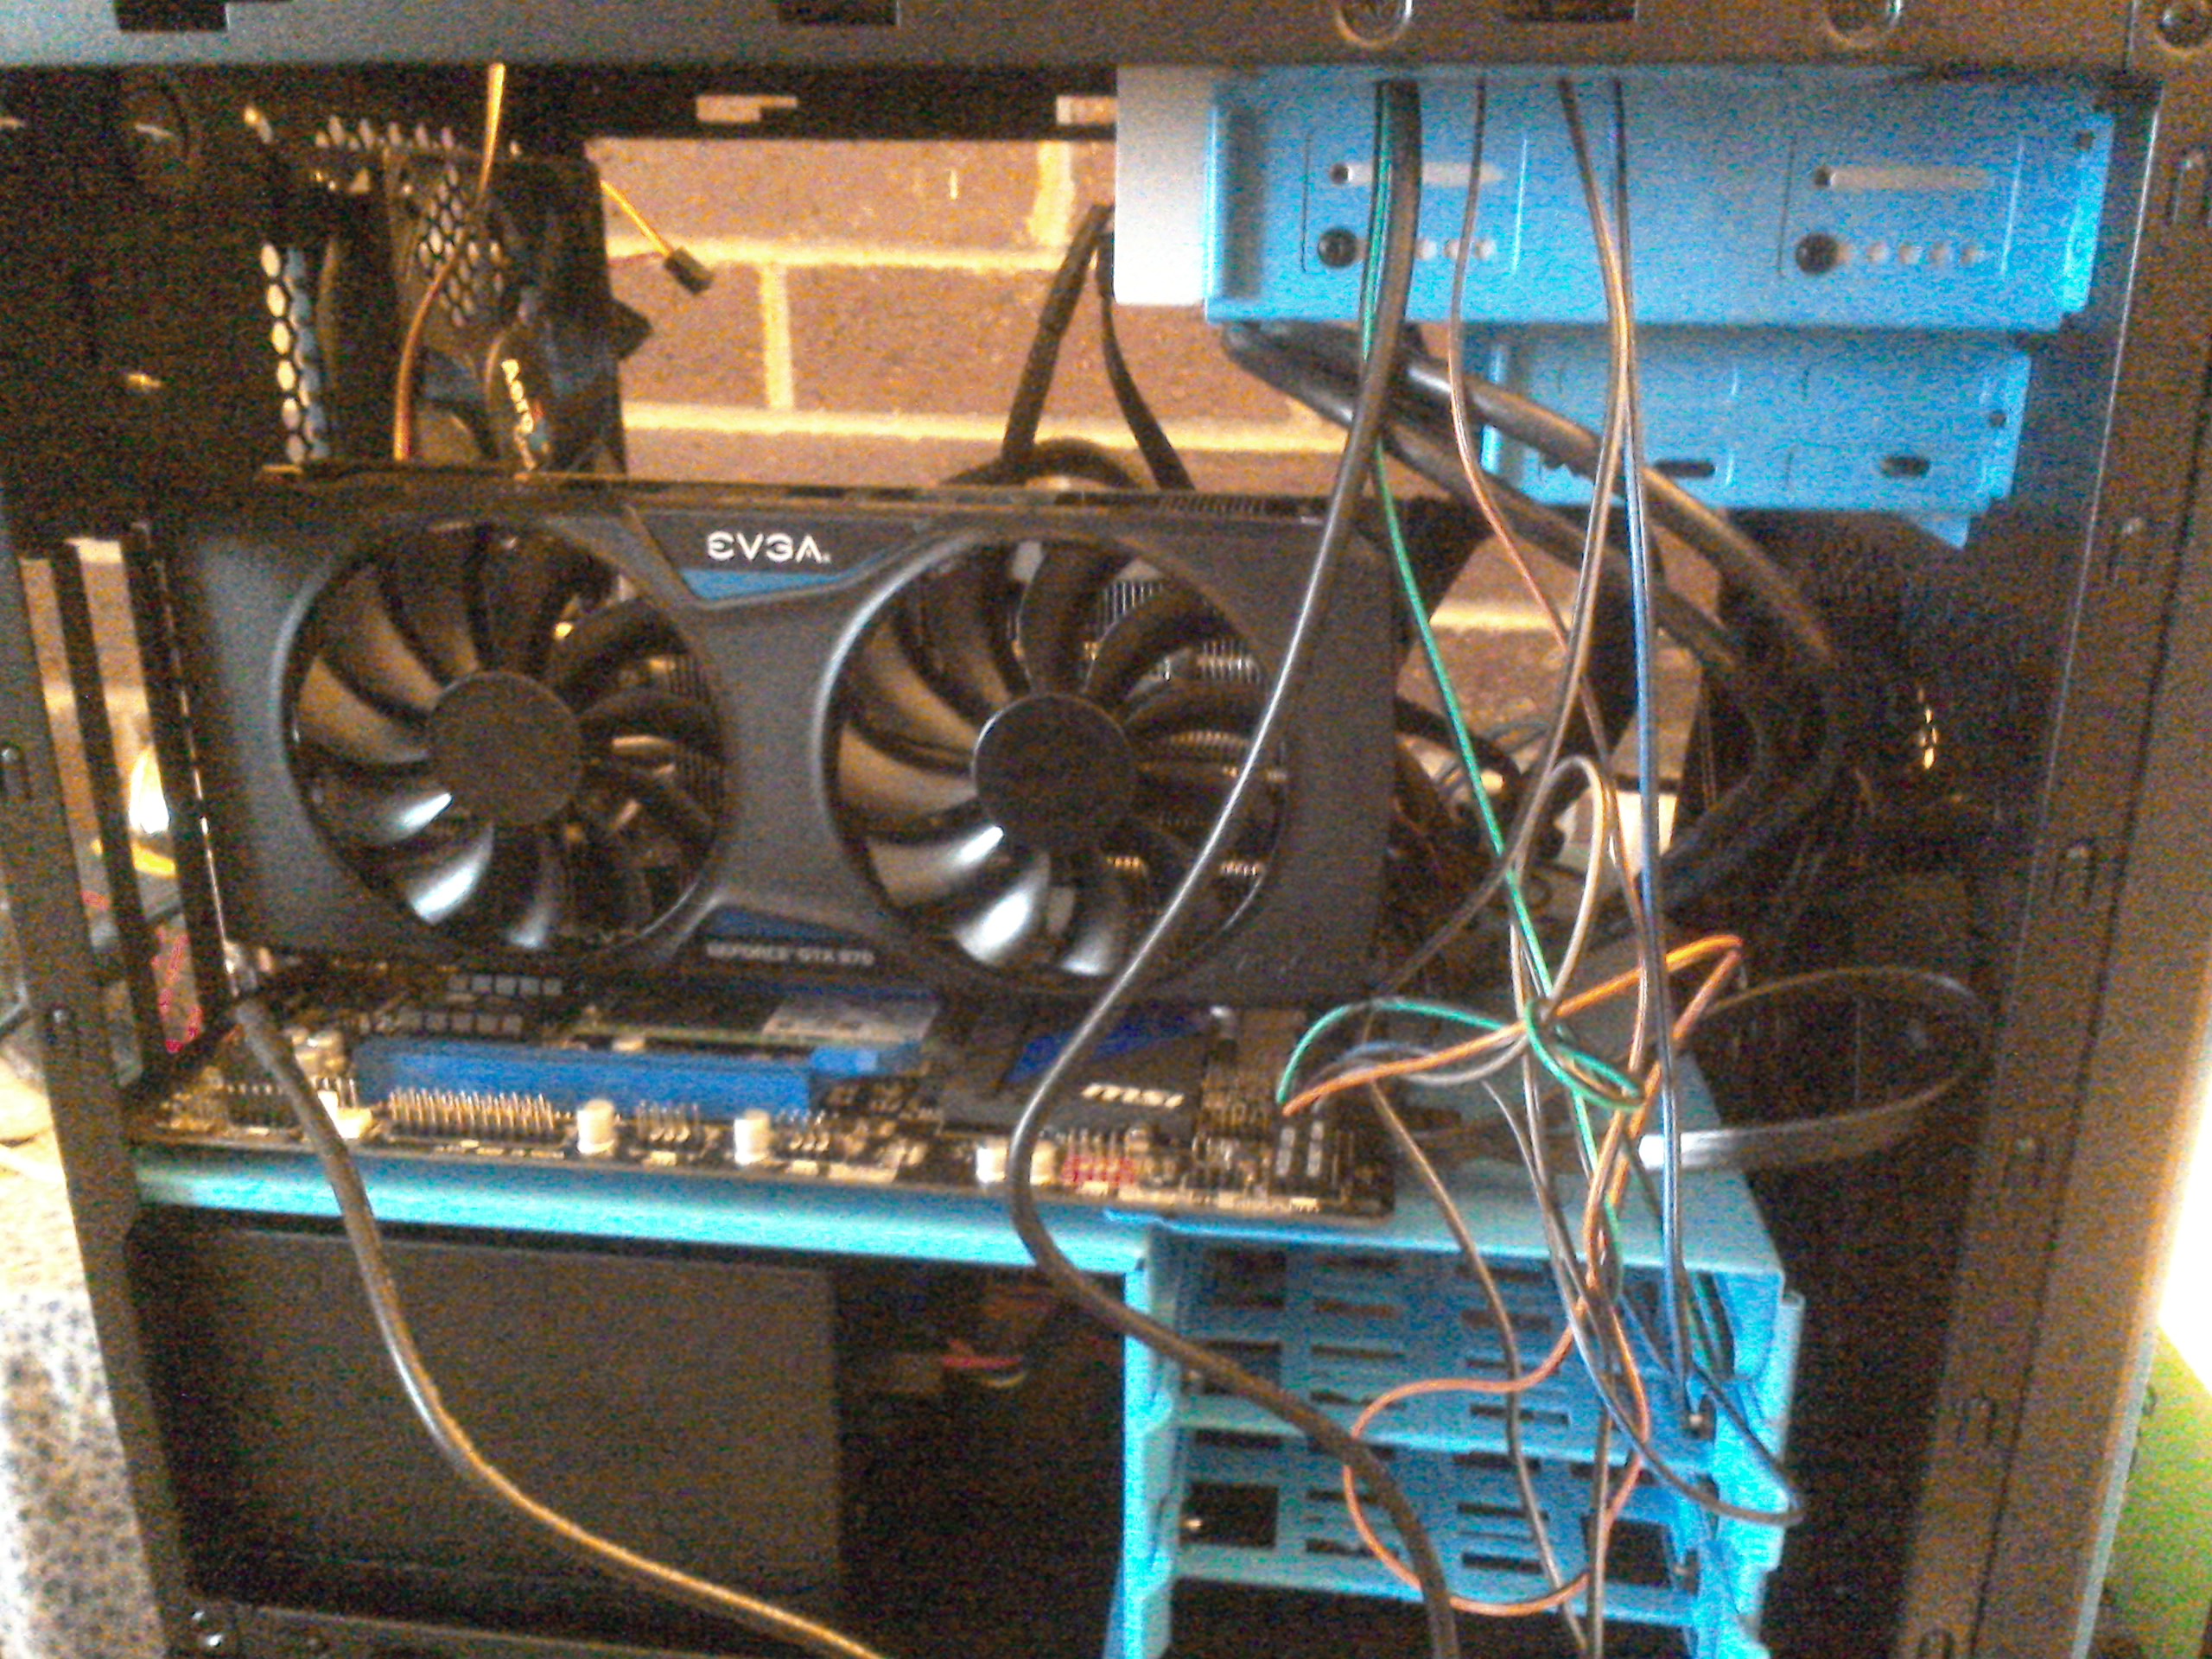
In the two pictures above, the video card looks HUGE! It made me glad I decided on a Micro ATX motherboard after all.
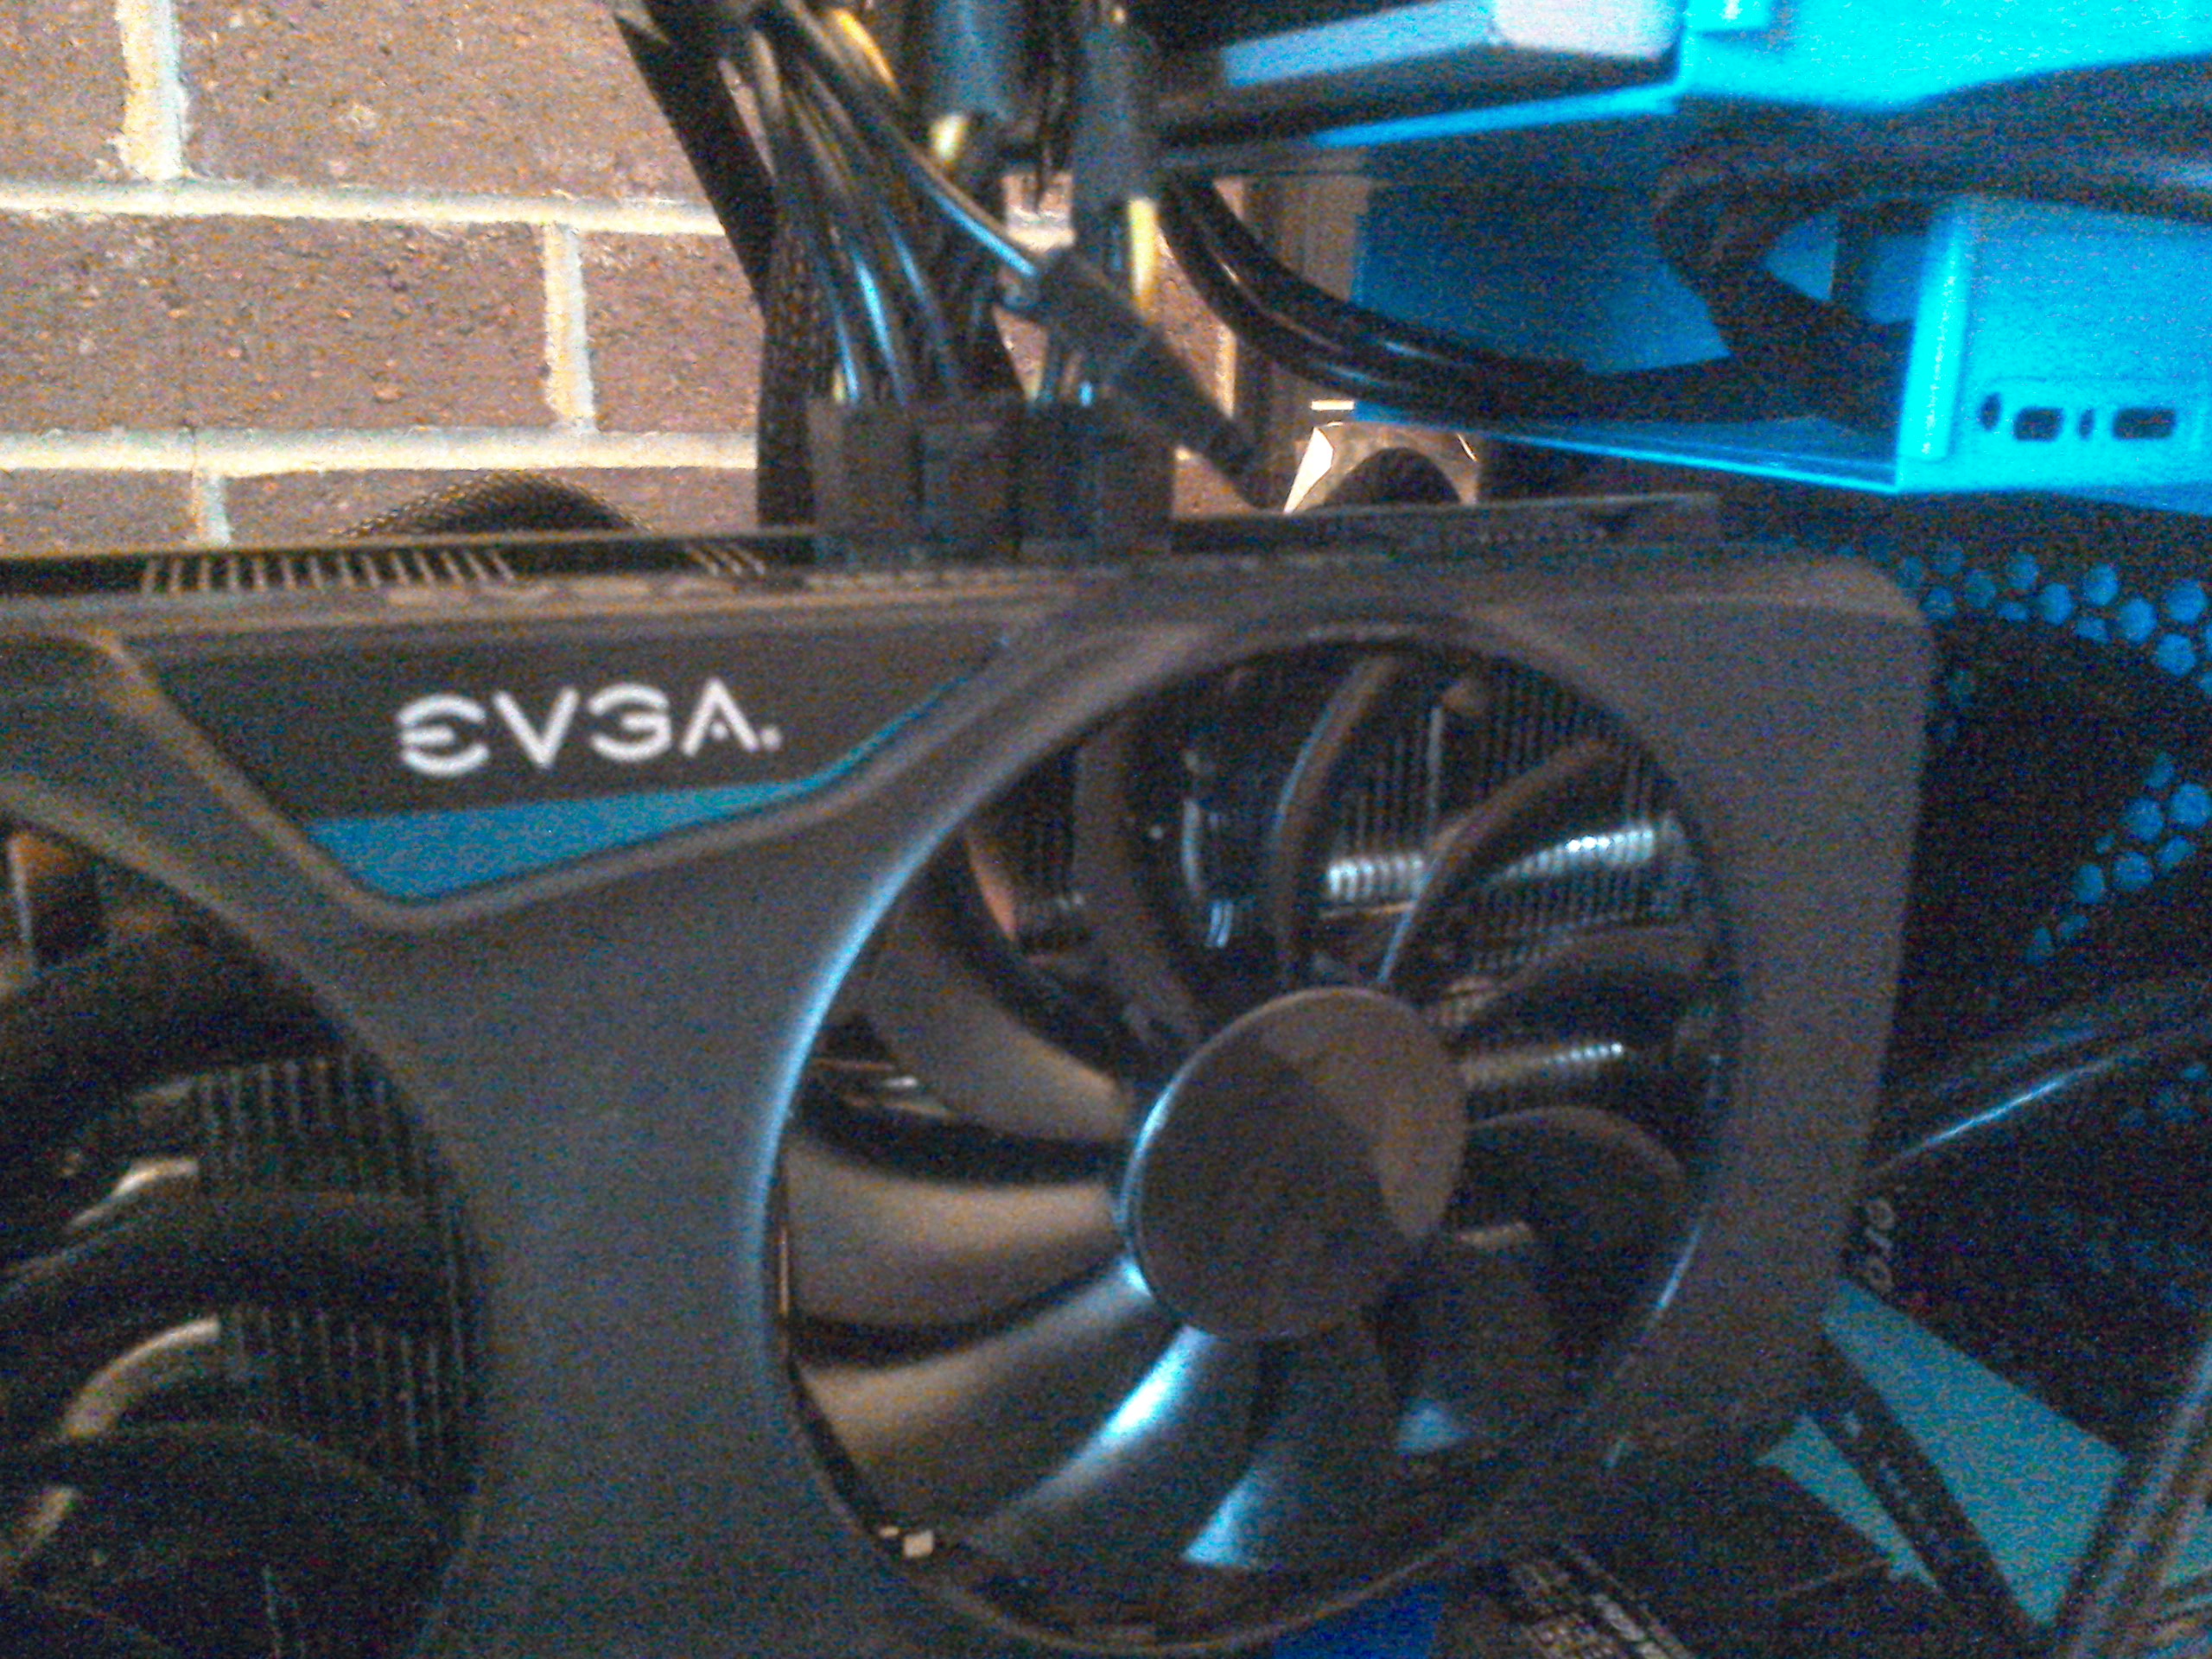
The video card was so big and powerful that it required two plugs from the power supply! After connecting it, I moved the monitor's connector from the motherboard to the video card. All good!
↑ Go back up to this page's Table of Contents
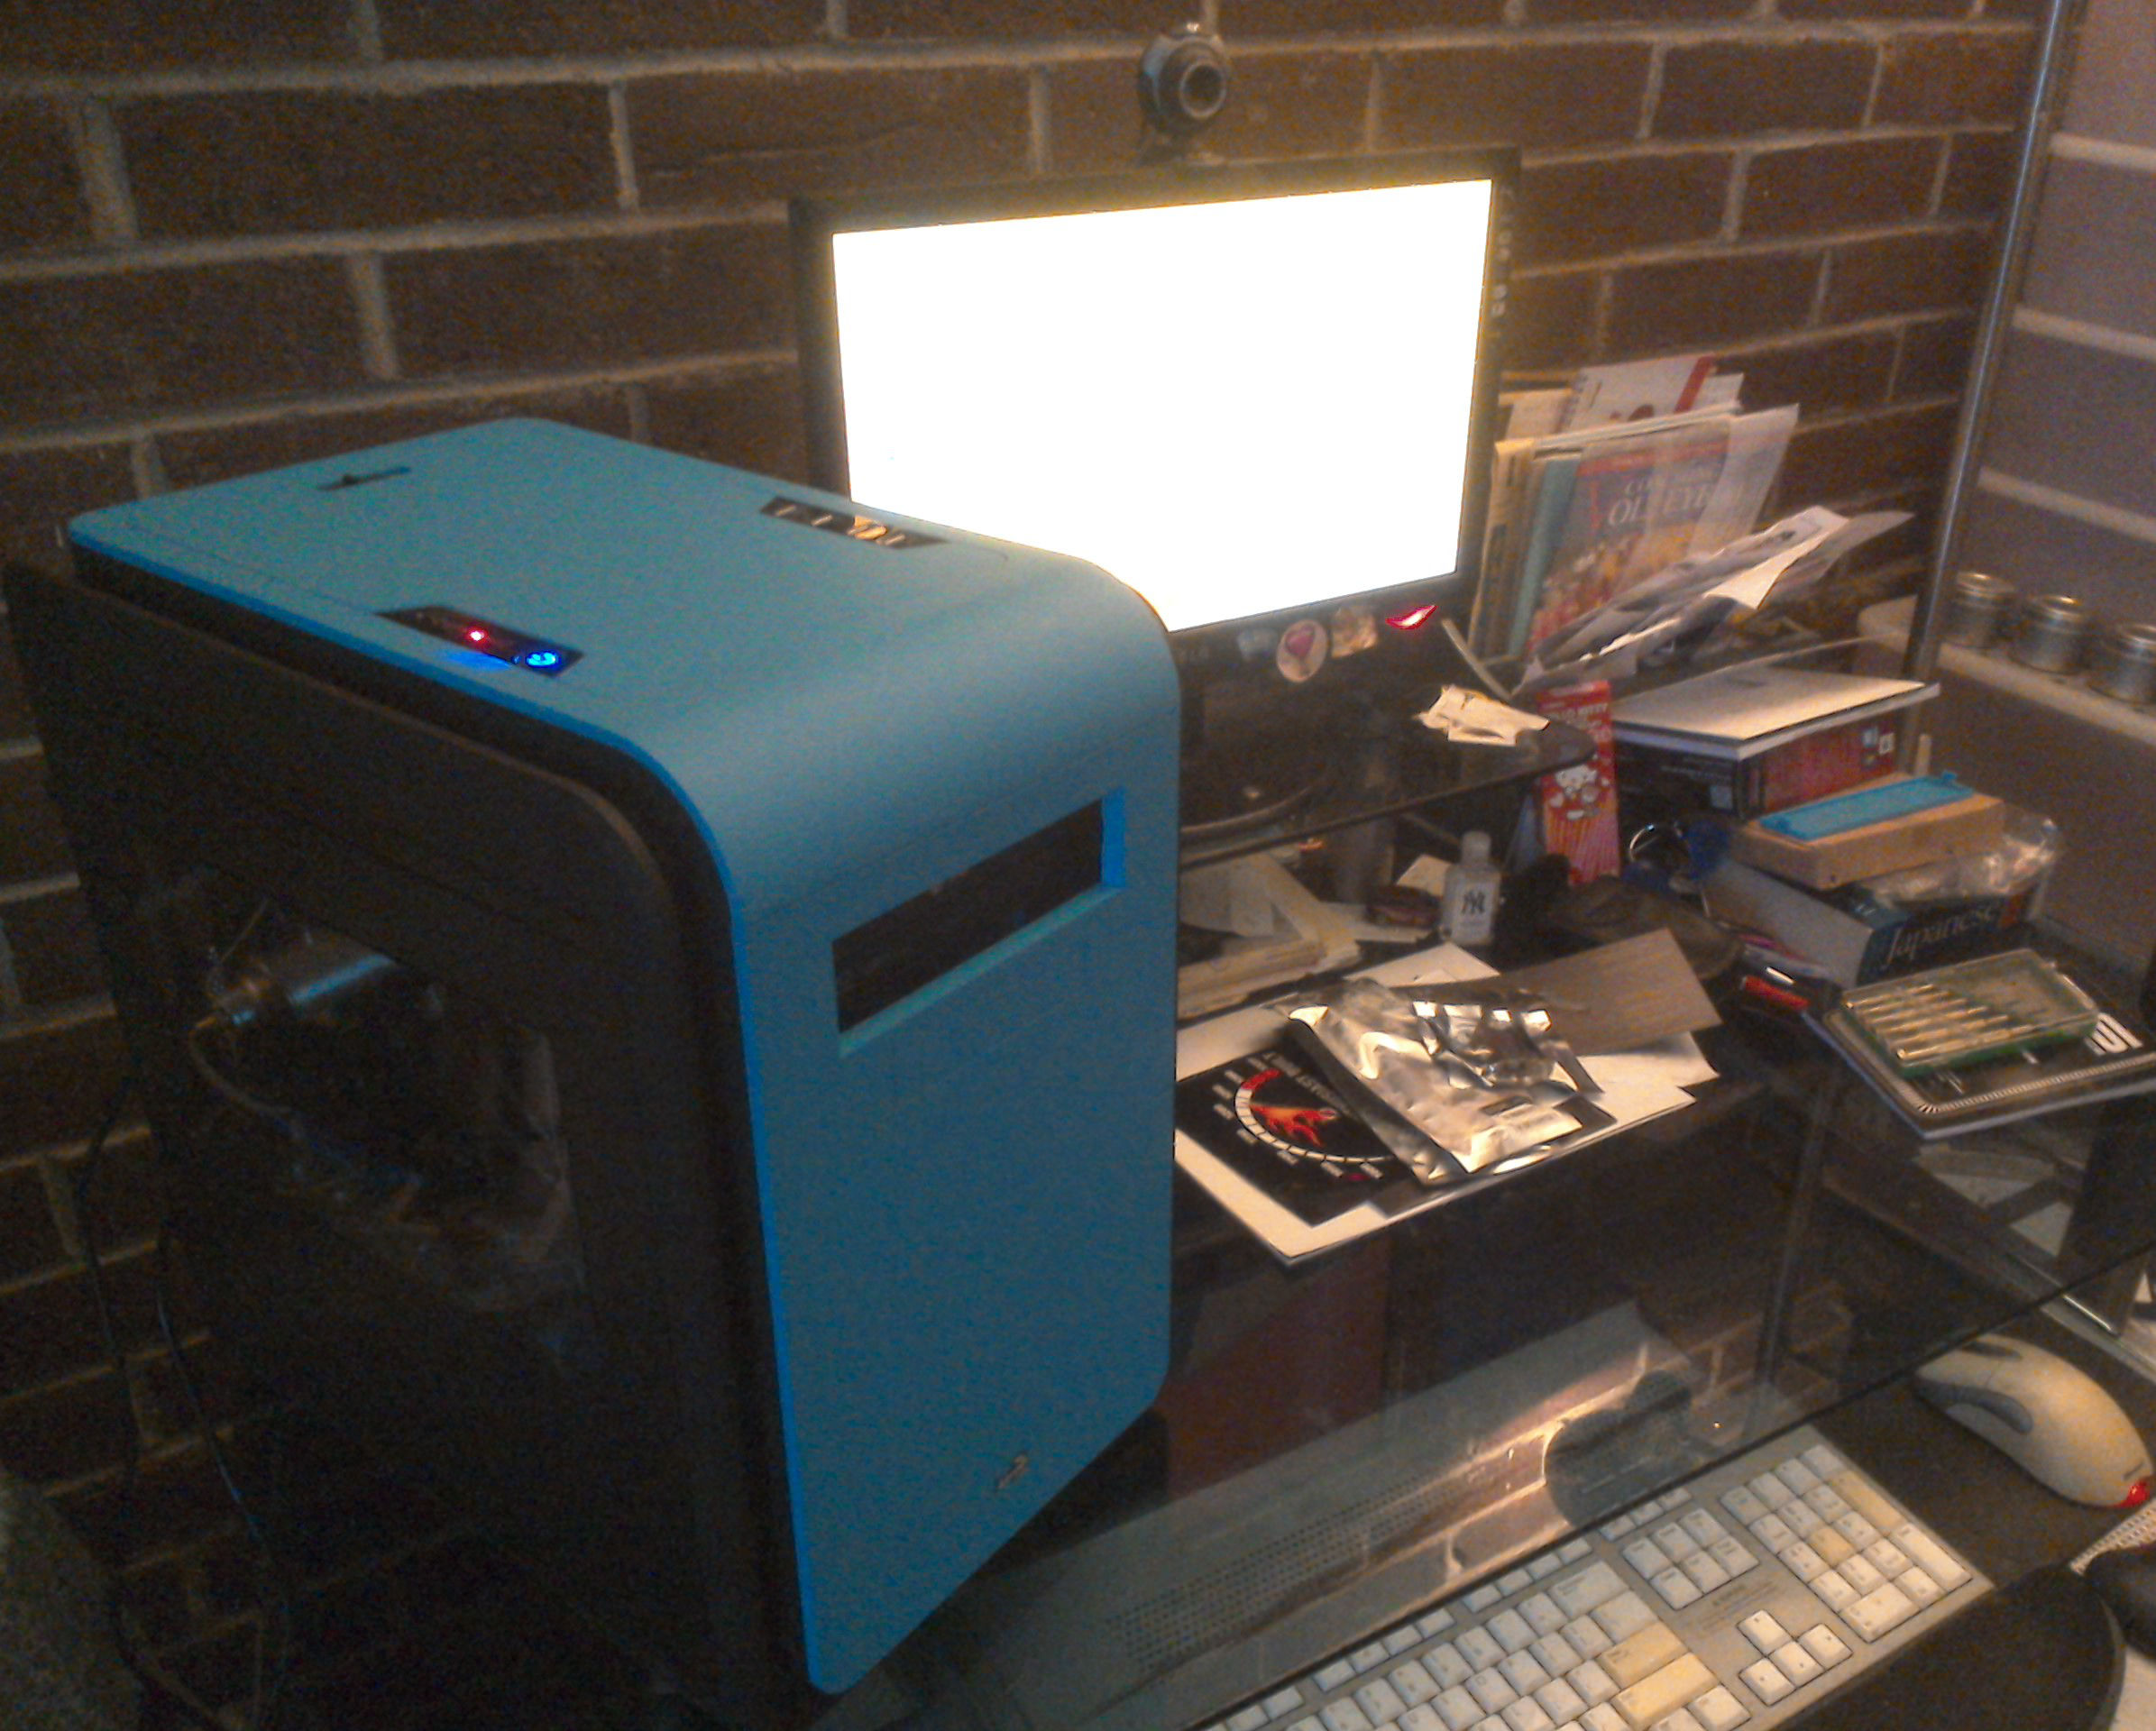
It took me several hours total to put my computer together. I love the blue color of the case, the see-through side panel windows, and the many modern features of the PC such as USB 3.0, GeForce GTX 970, and an Intel i7 Quad Core processor. I played with some numbers and it turned out that while I spent a lot of money on the highest quality parts and components, I saved $625 building it rather than ordering a similar computer through a custom a PC company such as Velocity Micro.
It was definitely a good value building my own computer. Not only did I save money, but I also learned a LOT about PC hardware. It felt very good to finish that big project and get a beautiful, fast, and powerful desktop made exactly the way I wanted it.
↑ Go back up to this page's Table of Contents